How to turn on and off UAC on Windows 10
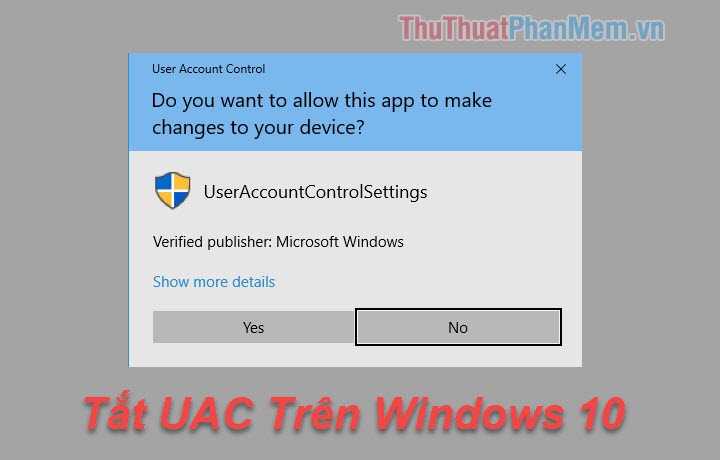
How to turn on and turn off UAC on Windows 10. During the process of using the computer, do you realize that every time you run an application or install an application, there is an existing window so we can choose Yes or No. to confirm whether we run the application or not
In the process of using a computer, do you realize that every time you run an application or install an application, there is a window that appears so let us choose Yes or No to confirm whether we run the application. Use that or not. This is the UAC feature in Windows, this feature will help protect our computer to prevent software from automatically running or changes affecting the computer system. However, most users feel uncomfortable when these messages appear. So in the following article TipsMake.com will guide you how to turn off UAC extremely fast and simple, please refer.
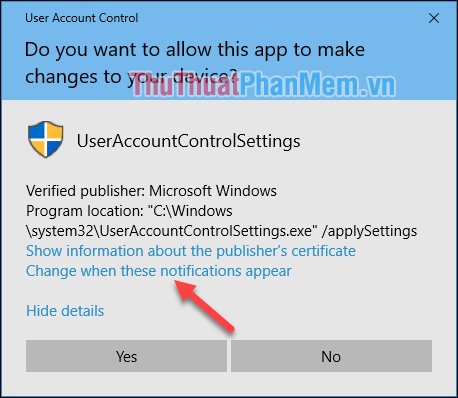
When the UAC notice pops up, click the Show more detail item

Next select Change when these notifications appear
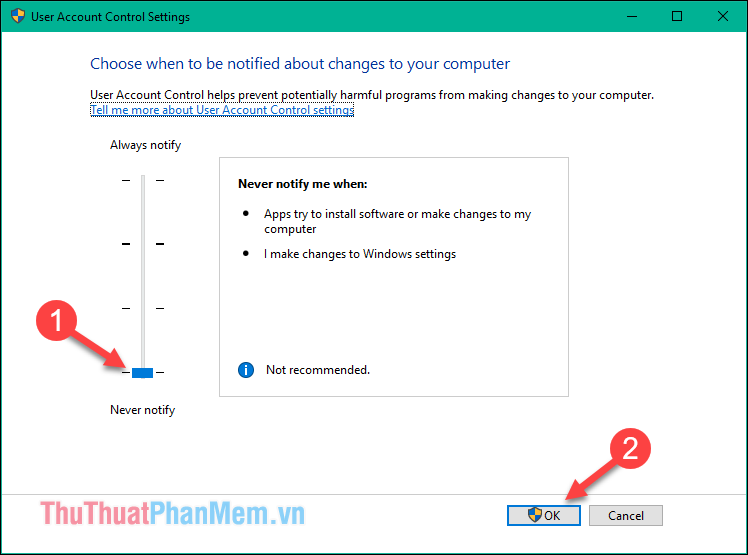
Now the User Account Control Settings window pops up, drag the slider to the bottom (Never notify) then click OK to save.
So, UAC has been turned off.
Method 2 : This way is the fastest way we can do.
You open the search window on windows 10 then enter the keyword uac, then the results appear you choose Change User Account Control settings

Then User Account Control Settings window appears you perform exactly the same as how 1 is finished.
Thank you for watching, wish you success!
Was this article helpful?
Your feedback helps us improve.
Related Articles
 3 ways to turn off the Windows 11 firewall, steps to turn off the firewall on windows 115 minutes read
 Steps to turn off Windows 11 Update, How to stop updating Windows 114 minutes read
 3 ways to turn off the Windows 10 firewall, steps to turn off the firewall on Windows 105 minutes read
 How to turn off, turn on Windows Defender in Windows 103 minutes read
 How to turn on / off volume in Windows 104 minutes read
 How to turn on AHCI in Windows 8 and Windows 10 after installation4 minutes read
Reader Comments 0
Sign in with email or Google to join the discussion.