How to turn on AHCI in Windows 8 and Windows 10 after installation
Usually today motherboards will have AHCI enabled in UEFI or BIOS by default. If you want to install Windows using AHCI instead of the IDE, you usually need to turn on AHCI in the BIOS / UEFI first.
This guide will show you how to turn on AHCI in Windows 8 / 8.1 and Windows 10 after you have installed the operating system with the IDE by mistake.
Some note before implementation
- You must be logged in as an administrator to activate AHCI after installing Windows.
- You should create a restore point before following this tutorial. Thus, if you make a mistake, you can easily undo it by performing a system restore using the restore point you created.
How to turn on AHCI in Windows 8 and Windows 10 after installation
Here's how:
1. While in Windows, press the Win+ keys Rto open Run , type regedit into Run, and click OK to open Registry Editor.
2. If prompted by UAC, click Yes.
3. On the left side of Registry Editor, browse to the key location below.
HKEY_LOCAL_MACHINESYSTEMCurrentControlSetServicesiaStorV4. On the right of the iaStorV key , double-click DWORD Start to modify it.
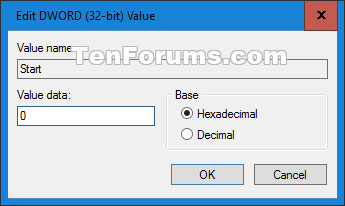
5. Enter 0 for AHCI and click OK.
 Enter 0 for AHCI and click OK
 6. On the left side of Registry Editor, browse to the key location below.
HKEY_LOCAL_MACHINESYSTEMCurrentControlSetServicesiaStorAVCStartOverride7. To the right of the StartOverride key , double click DWORD 0 to modify it.
8. Enter 0 and click OK.
This value will return 3 after you restart the computer.
9. On the left side of Registry Editor, browse to the key location below.
HKEY_LOCAL_MACHINESYSTEMCurrentControlSetServicesstorahci10. On the right of key storahci , double click DWORD Start to modify it.
11. Enter 0 for AHCI and click OK.
12. On the left side of Registry Editor, browse to the key location below to see if you have StartOverride here. If you don't, then go to step 15 below.
HKEY_LOCAL_MACHINESYSTEMCurrentControlSetServicesstorahciStartOverride13. If this key exists, to the right of the StartOverride key , double-click DWORD 0 to modify it.
14. Enter 0 and click OK.
15. When done, close the Registry Editor.
16. Boot the computer to install the BIOS or UEFI firmware.
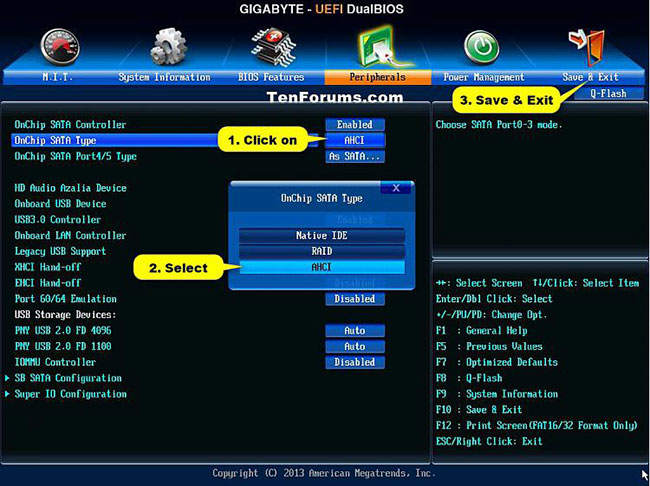
17. In BIOS or UEFI firmware settings, enable AHCI, save and exit to apply and restart the computer.
Note: These settings will vary by brand and motherboard model number. Please read the motherboard manual for more specific details on how to change the SATA settings for it.
 In BIOS or UEFI firmware installation, enable AHCI
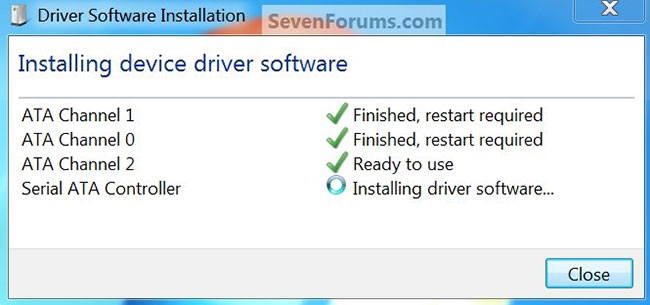
 18. When Windows starts, it automatically installs the AHCI driver.
 Drivers are automatically installed
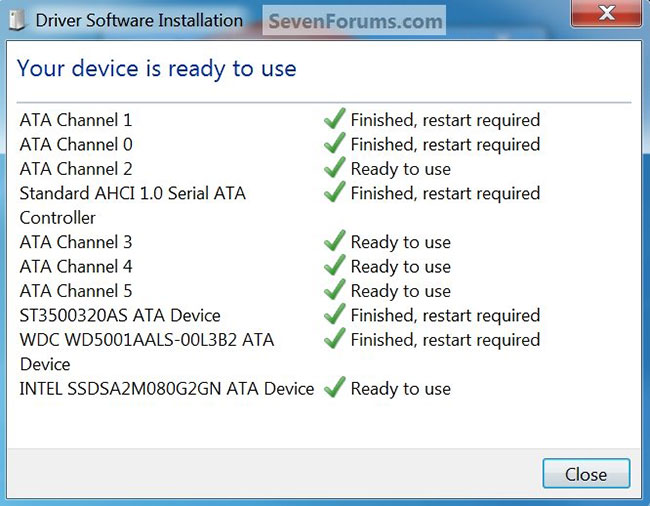
  Device ready to use
 19. When done, you will need to click Restart Now to restart the computer.
 Click Restart Now to restart the computer
You should read it
- ★ How to add or delete AHCI Link Power Management - HIPM / DIPM from Power Options on Windows
- ★ 3 ways to turn off the Windows 11 firewall, steps to turn off the firewall on windows 11
- ★ Steps to turn off Windows 11 Update, How to stop updating Windows 11
- ★ 3 ways to turn off the Windows 10 firewall, steps to turn off the firewall on Windows 10
- ★ How to turn on / off volume in Windows 10