Change the default browser in Windows 10
The following article shows you how to Change the default browser in Windows 10 .. Method 1: Change the default browser in Windows 10 via Control Panel. Step 1: Access the Start Menu - Control panel: Step 2: The Control Panel dialog box appears.
The following article shares with you how to Change the default browser in Windows 10.

Method 1: Change the default browser in Windows 10 via Control Panel.
Step 1: Go to Start Menu -> Control panel:
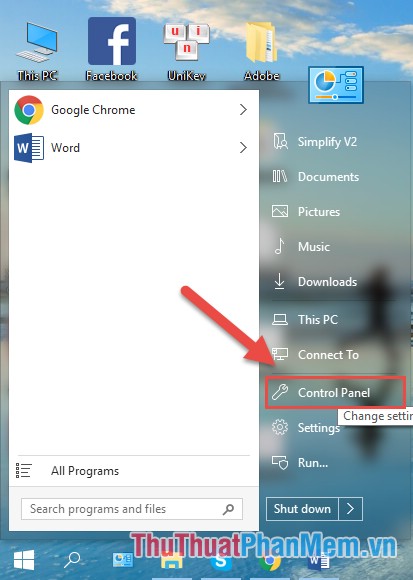
Step 2: The Control Panel dialog box appears, click Programs:
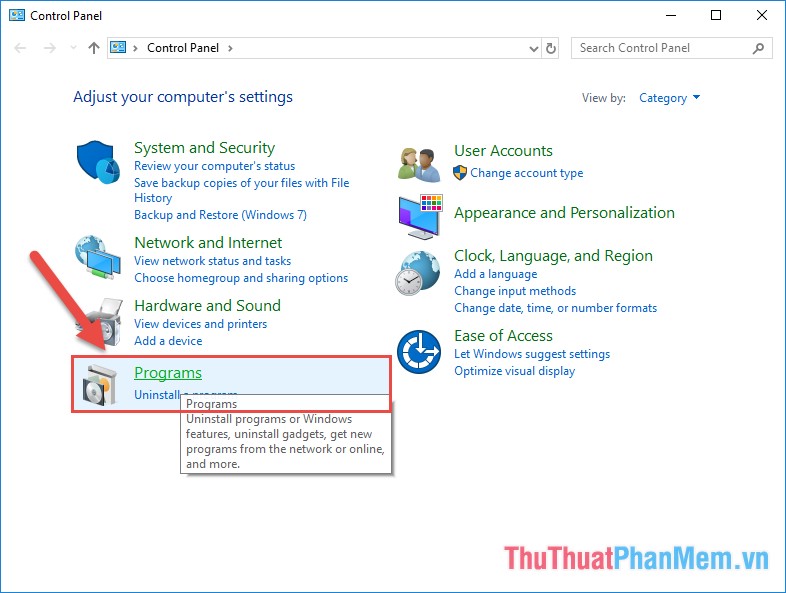
Step 3: Click Default Programs:

Step 4: Next, click Set your default programs:

Step 5: The Default Apps dialog box appears scroll down in the Web browser section, select the browser you want to set as the default browser to access the web. The example here selects Google Chorme as the default browser:

Method 2: Change the default browser in Window from the Setting application
Step 1: Access the Start menu -> Setting:

Step 2: The Settings dialog box appears, click Apps:
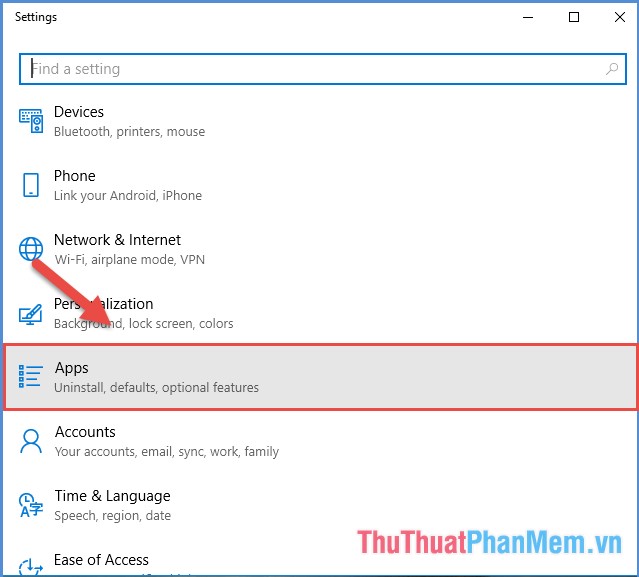
Step 3: Click Default apps to select the default browser for Windows 10:

Step 4: Similar to accessing via Control Panel, select the browser to set as the default for Windows:

After making your selection, close the dialog box and now when an application needs to access the web, the default browser you have installed will help the application access the web.
So with a few taps, you can set the default web browser for your Windows. Good luck!