Table of Contents
Learning how to schedule sending messages, email, posting Facebook, twitter is easier when the steps are completed in the correct order. Use this guide to prepare, make the changes, and verify the result.
To automatically send messages or emails at the time you have scheduled it, the reader needs to use a 3rd application for his Android device, specifically in this article. com will introduce support The most useful and useful player is the Schemes application - Scheduled Networking.
- How to schedule music off on Zing MP3
- How to automatically open a website at a specific time
- How to timer off Windows 10, Windows 8/7 / XP automatically
1. Timer sending Android messages with Textra SMS
You can do that with third-party applications. Follow these steps to schedule SMS messages.
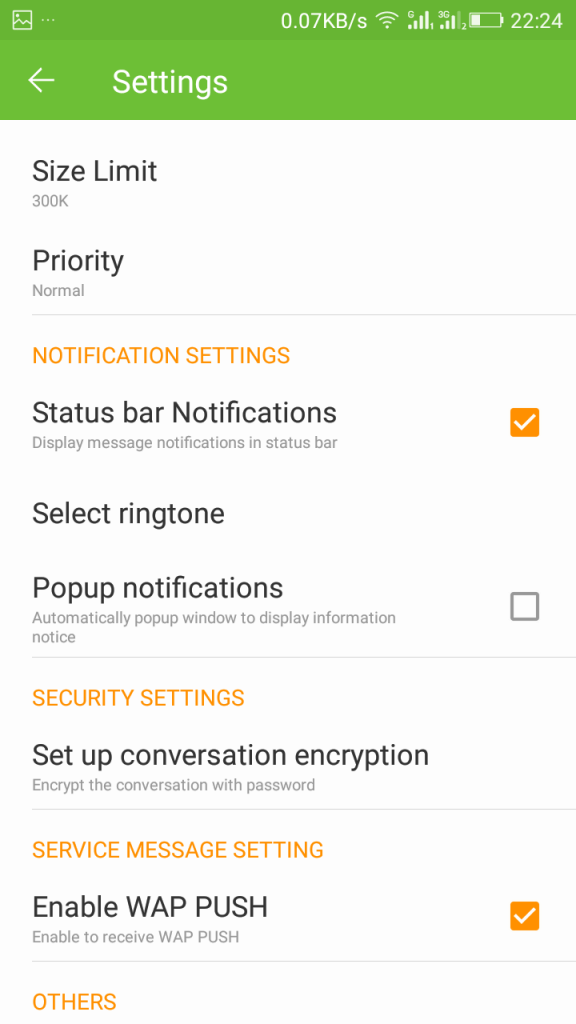
First of all, you need to disable Android's default messaging app notification or you'll get two notifications for new messages. Access Settings -> Sounds & Notification -> App Notification -> Turn off message application notifications
Download and install Textra SMS application.
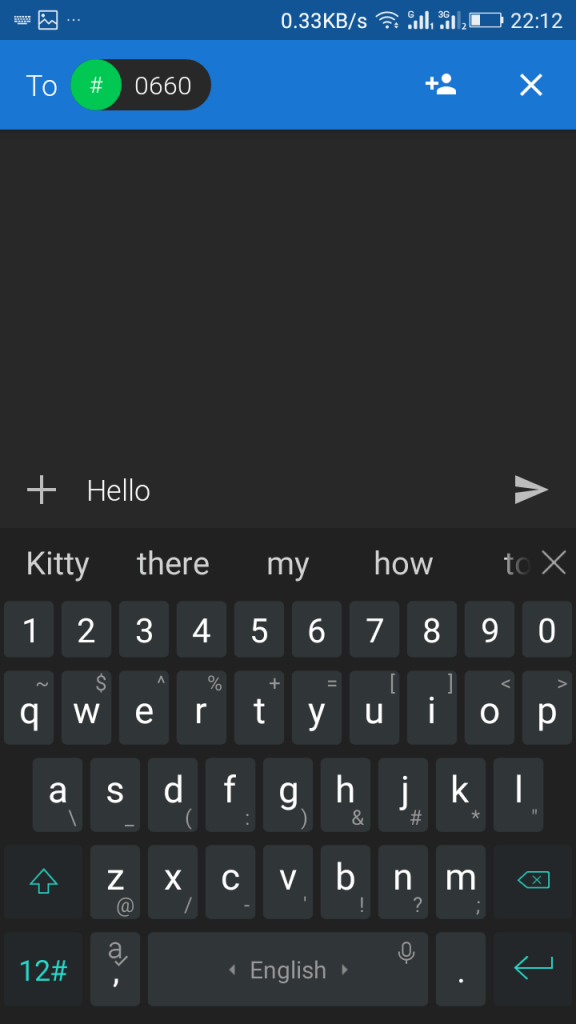
Now open the app, write the message and select the recipient.
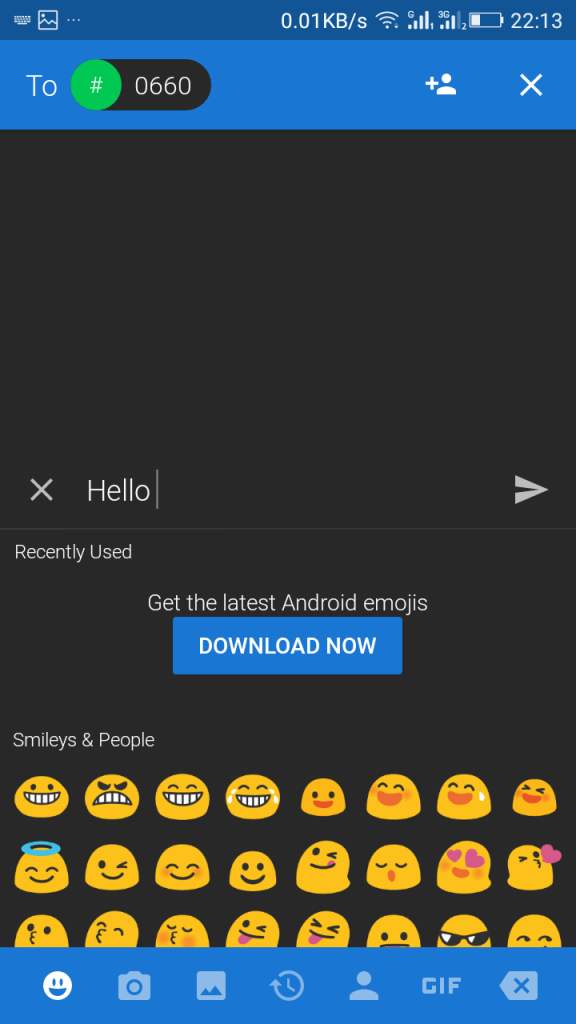
Click the plus sign below the keyboard, then click the clock icon.
Set the time to send the message, then click the send button or arrow.
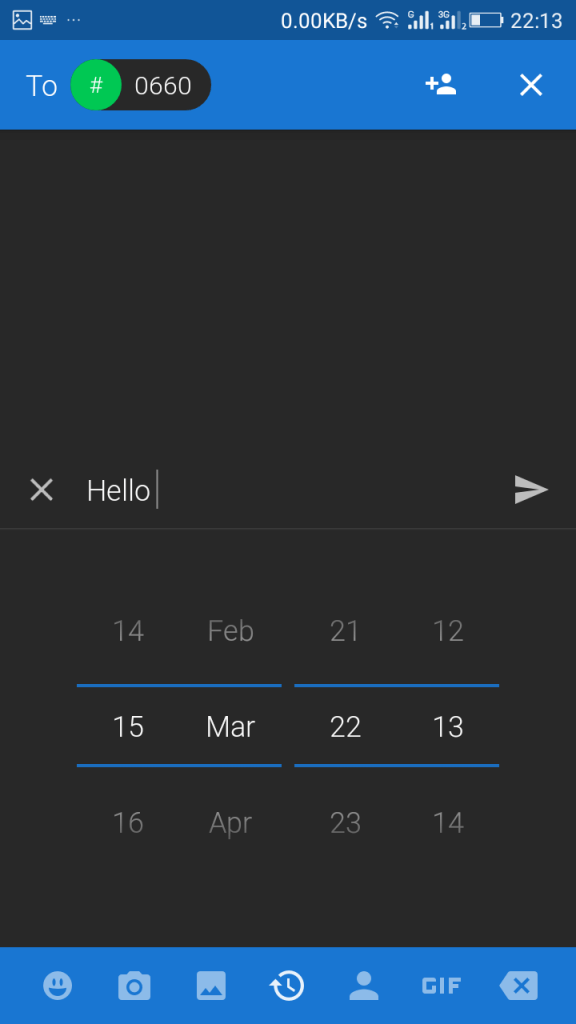
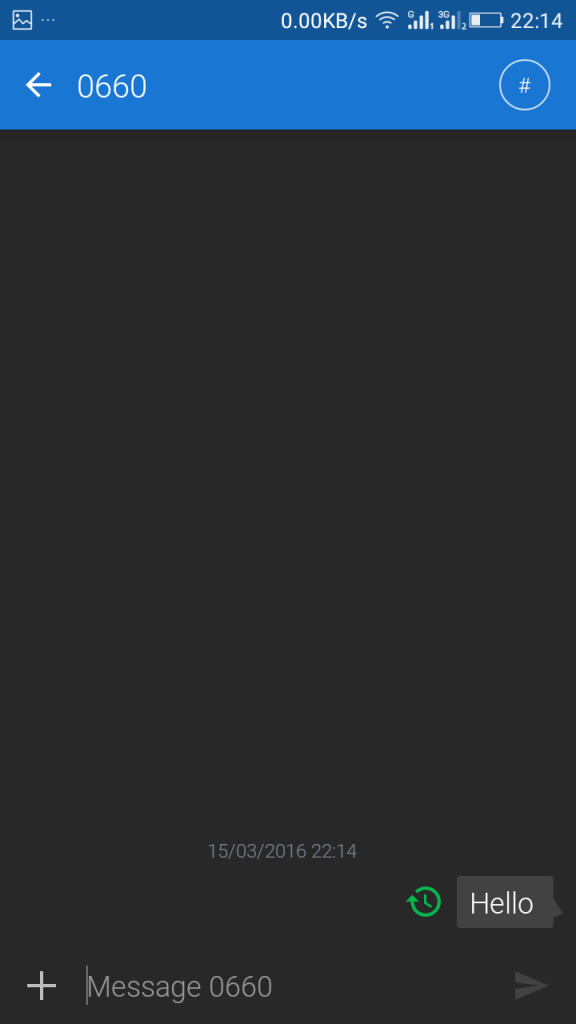
Once completed, your message will automatically be sent to the recipient after the scheduled time.
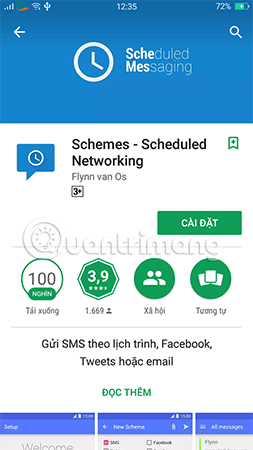
2. Download Schemes application - Scheduled Networking for Android phones
- Download the Schemes app for Android.
3. Guide to sending messages, Email, post Facebook and Twitter posts for Android phones
Step 1: Access the app.
After you have downloaded and installed successfully, the app will require users to log into their Facebook, Twitter or Gmail account during the first use to be able to post on an appointment. As for SMS, you will not need to sign in to your account. You can click the 'sign in' button to sign in to the corresponding account, or press the 'Skip' button to skip and sign in later to these accounts when needed.
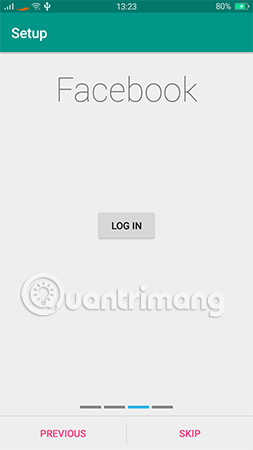
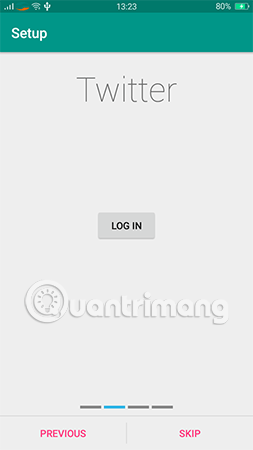
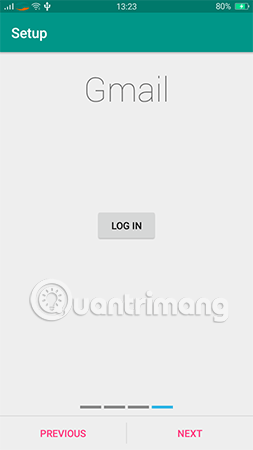
When logging in the app will require access to certain rights on your smartphone, you need to grant permission for the app to work. This still ensures the safety and security of the account, so don't worry, please allow access.
Step 2: Select the tab you want to schedule.
Next on the main screen interface you will see a new creation icon at the bottom right of the screen. Now click it and select the tab you want to schedule. You can choose SMS to send a simple text message, Facebook to upload content to Facebook, Twitter to update content to Twitter or bookmark Gmail to send email.
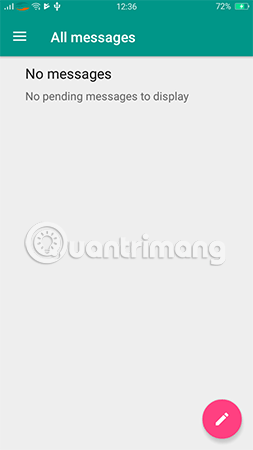
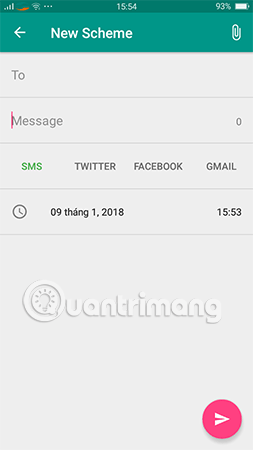
- In the "To" section, enter the phone number or enter the recipient's name stored in the directory for SMS (can be sent to one or more people) to send the message. For the Gmail section, you must enter the recipient address in the 'To (Gmail)' and 'Subject' fields to enter the title for the email.
- The "Message" section compiles the content to be sent (SMS or Email content). This is the same website that will be posted on the Facebook page if you check the Facebook option.
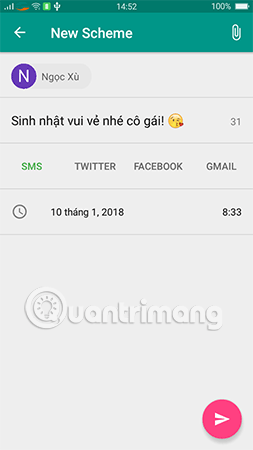
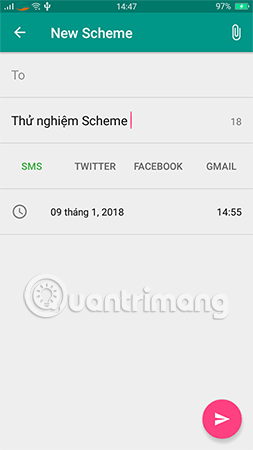
- Set the calendar date and time to send messages (SMS), email or update content to Facebook and Twitter.
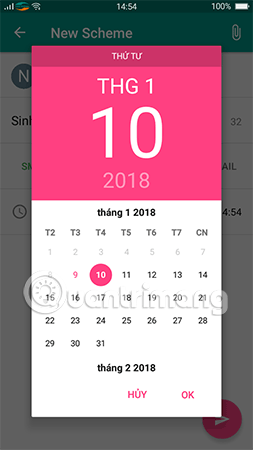
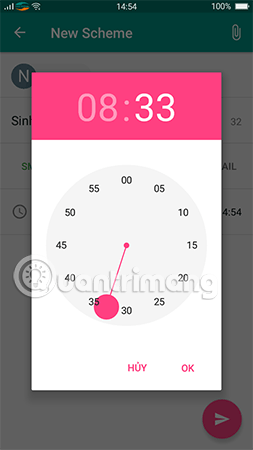
Step 4: Confirm and send.
After completing the setup steps, click the arrow icon in the lower right corner of the screen to confirm and schedule messages and posts. You can review the message content, email, or Facebook post waiting to be sent on the main interface of the app.
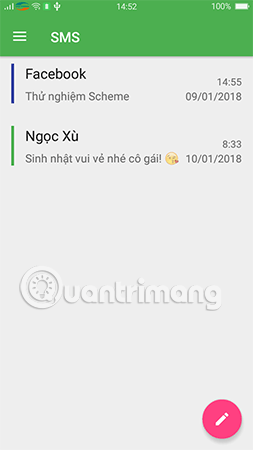
Step 5: Enjoy the results.
Automatically up to the scheduled time frame, the app will perform the task you have scheduled. For example, the image below shows that posting for Facebook that we have just worked on has been scheduled on time.

Note: In order for Facebook, Twitter, or message and email posts to be sent successfully at the scheduled time, your phone needs a stable internet connection at that time.
In addition, you can also use the Do it Later app, Schedule SMS or SMS Planning to schedule sending messages on Android.
The above is a simple way to help you schedule sending messages, emails, posting on Facebook, Twitter quite interesting and convenient. In this way, you can now compose the content you want immediately and schedule it to automatically send the message to the right address, exactly the time without losing notes. Please experience immediately and share with friends and relatives together.
Having fun!
Maybe you are interested:
- Chat with 5 unique chat robots for Android
- Guide to unlock smart screen like iPhone for Android device
- 5 tips to improve sound quality on Android phones without Root
FAQ
What should I prepare before I schedule sending messages, email, posting Facebook, twitter?
Review the requirements in the guide, confirm that your device or software is compatible, and save important work before changing settings related to schedule sending messages, email, posting Facebook, twitter.
Why might schedule sending messages, email, posting Facebook, twitter not work as expected?
The most common causes are incompatible versions, missing permissions, incorrect settings, or an interrupted internet connection. Recheck each step and restart the app or device when appropriate.
Can beginners follow these schedule sending messages, email, posting Facebook, twitter steps?
Yes. Follow the steps in order, avoid skipping confirmation screens, and compare your interface with the screenshots because labels may differ slightly between versions.
Related Articles
 Schedule Android Messages: How to Schedule Sending Sms on Android9 minutes read
 How to Schedule Sending Messages on iPhone with Scheduled7 minutes read
 How to Schedule Email Sending in Outlook3 minutes read
 How to Send Audio Messages on Twitter3 minutes read
 Tips Schedule Text Messages on Android Smartphone6 minutes read
 How to Schedule Posting on Facebook Group5 minutes read
Reader Comments 0
Sign in with email or Google to join the discussion.