How to Remove Windows 8.1
Method 1 of 2:
Downgrading to a Lower Windows Version
-
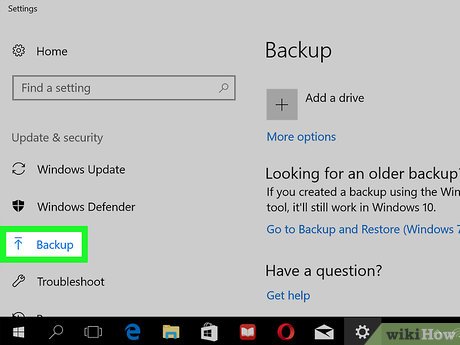
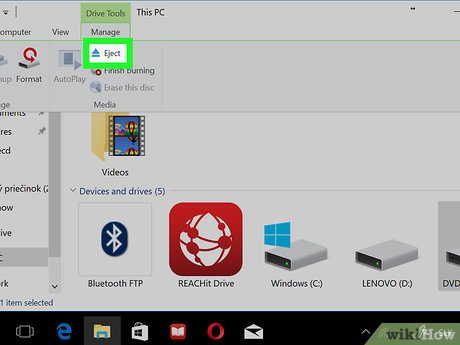
 Backup of your files. You will need to obtain an external hard drive. Once you connect it to your computer, search "save backup copies" in your computers search, then click on the result. Follow the instructions to back up your files onto the hard drive. Eject the hard drive once you have done so.
 -
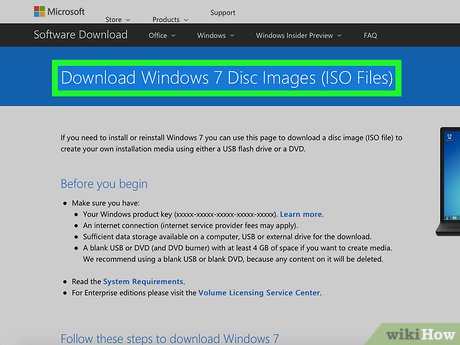
 Get an older Windows OS CD/DVD installer. You can revert back to the original Windows 8 or install a lower OS version, like Windows 7 or XP.
 -
 Locate your computer's CD drive. Insert the CD/DVD into your PC's CD/DVD drive.
 -
 Restart your computer. Find the power button, and press down to turn it off. Once it is off, press the button to turn it back on. You can also restart your computer by locating that option your desktop menu and clicking on it.
 -
 Access the computer's BIOS. Press F1, F2, or the Delete button (depending on what BIOS version you have).
 -
 Set the BIOS to boot from the CD/DVD drive first.
 -
 Save the changes once you're done. Wait for the computer to reboot.
 -
 Tap any buttons on the keyboard. Do so when the screen prompts you to 'press any key to boot from CD or DVD.'
 -
 Re-install Windows. Choose to install a fresh copy of the Windows OS you want. Follow the installation procedure on the setup screen to install the new operating system.
Method 2 of 2:
Installing Linux or Other OS
-
 Create a backup of all your files. You can backup your files on an external hard drive.
 -
 Get a Linux installer. There are other OS that you can use aside from Windows. One of which is Linux. Linux is a free open-source OS can download from the Internet to a bootable CD.
 -
 Insert the CD into your computer's CD/DVD drive. You'll need to locate your computer's CD drive.
 -
 Restart your computer. Either locate this option by clicking on it on your computer's main menu, or press the power button.
 -
 Access the computer's BIOS. Do this by pressing F1, F2 or the Delete button (depending on what BIOS version you have).
 -
 Set the BIOS to boot from the CD/DVD drive first.
 -
 Save the changes once you're done. Wait for the computer to restart.
 -
 Tap any buttons on the keyboard. Do so when the screen prompts you to 'press any key to boot from CD or DVD.'
 -
 Follow the setup instruction of the new OS you're going to use.
Share by
Kareem Winters
Update 04 March 2020


