How to Record Voice on Computer
This is an article showing how to use a Windows computer to record sound from devices and external sounds. You can use a free app like Audacity to capture sounds coming from your computer, such as those from your favorite music and video apps. If you want to record audio using your computer's microphone, you can use the Voice Recorder application available on all versions of Windows. If you want to do advanced recording with multiple songs (such as for your band or music project), learn how to record songs with Audacity..
Record audio from your computer using Audacity
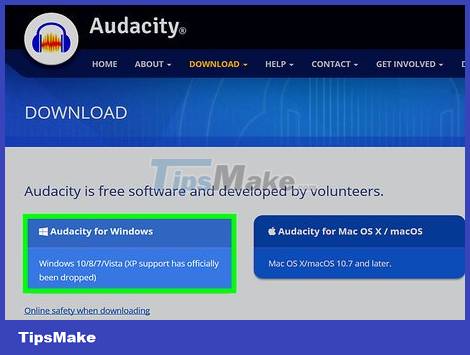
Download and install Audacity. This is a free program that helps you record and edit audio on your computer, including music from your favorite movie and video players. To download Audacity, you will visit https://www.audacityteam.org/download/ using your computer's web browser and do the following:
Click Audacity for Windows (Audacity for Windows)
Click on the Audacity 2.3.2 installer link to download the installation file.
Double click the installation file.
Follow the on-screen instructions to install Audacity.

Open Audacity. If Audacity doesn't open automatically, open Start, type audacity, and click Audacity in the search results.

Click on the main audio selection box. This is the section in the upper left corner of Audacity and usually has the default option MME. A list of options will appear here.

Select Windows WASAPI . With this option, Audacity will capture audio from other applications, such as music or video applications.
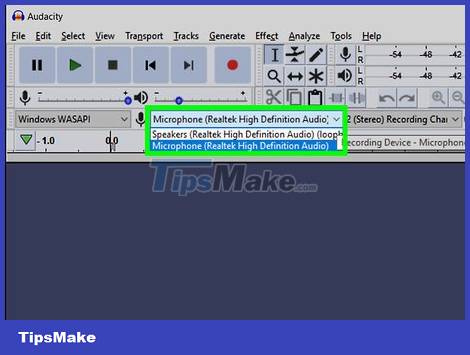
Click on the input audio selection box. This option is next to the microphone icon, just to the right of the "Windows WASAPI" box.
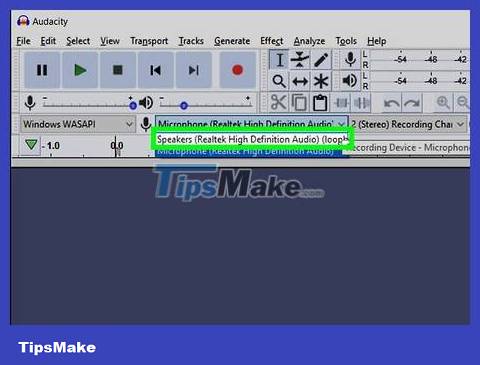
Click Speakers (loopback) . This option ensures Audacity will capture the sound coming from the computer speakers without capturing outside sounds (such as the sound of keyboard typing).
If the audio you're hearing is played through headphones, click Headphones (loopback) .
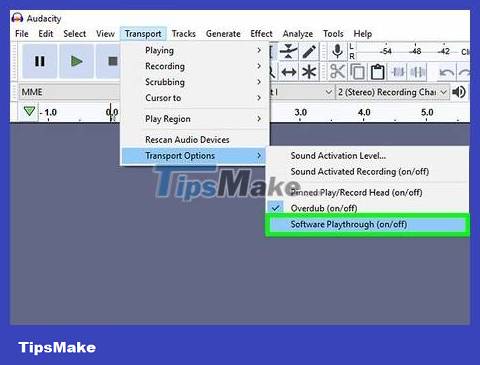
Disable Software Playthrough. To ensure the recording is not distorted or has howling sounds, you need to take the following steps:
Click the Transport menu.
Click Transport Options.
Uncheck "Software Playthrough" (if any). If you do not see a check mark here, you do not need to take any further action.
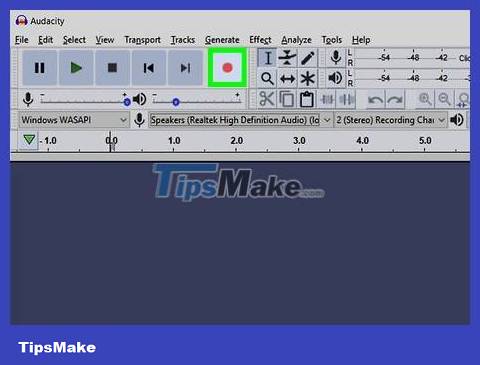
Click on the red circle to start recording. This circle appears in the upper left corner of the Audacity window. From now on, the Audacity program will start recording sounds coming from the application on your computer.
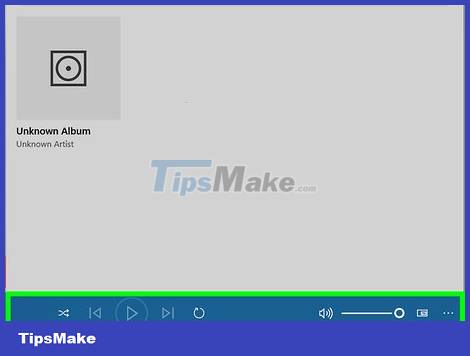
Play the audio you want to record. It's best to start after pressing the record button, because you can always cut off the beginning of the recording so that there are no unnecessary parts left.
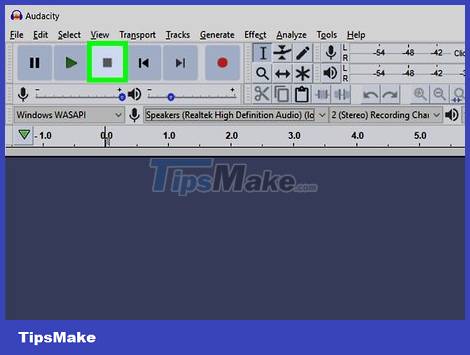
Click the Stop button to stop recording. This is the button near the top left corner of the Audacity window.
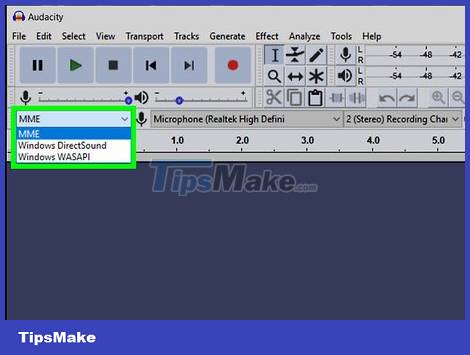
Switch the "main audio" selection to MME . This drop-down box is near the top left corner of the app and shows "Windows WASAPI". After you perform the operation, the program will change the output and input audio selections so that you can play the recorded audio.
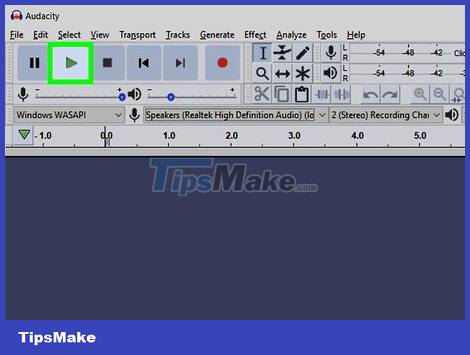
Click Play to listen to the recording. A green button appears at the top of the Audacity window. The recording will play through your computer's speakers or computer headphones.

Save the recording. Save the file in the following way:
Click the File menu . It's in the top-left corner of the window.
Select Export .
Click Export as MP3 or another format in the menu.
Select the save folder.
Enter a file name in the "File name" field.
Click Save .
Click OK when asked.
Record external audio with Windows Voice Recorder
Try the microphone. This method only guides you through a simple recording using a microphone and Windows Voice Recorder. If you want to do advanced recording with multiple takes (such as for your band or music project), learn how to record songs with Audacity. Because most laptops have built-in microphones, you don't need to attach an additional microphone to perform simple recording. Desktop users will need to use an external microphone. Here are the steps to test the microphone to ensure it is ready to record:
Click the Start menu and select Settings.
Click System.
Click Sound (sound).
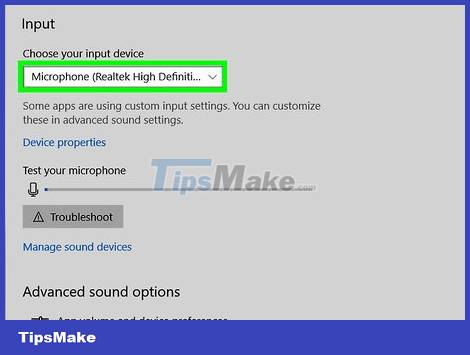
Select your microphone in the "Choose your input device" menu in the right pane.
Find the rhythm bar below "Test your microphone" in the right pane.
Speak into the microphone. If the rhythm bar moves while you speak, sound is being detected through the microphone.
If the rhythm bar stays still, you'll click Device properties and try increasing the volume. If you're still having trouble, see how to connect a microphone to your computer.
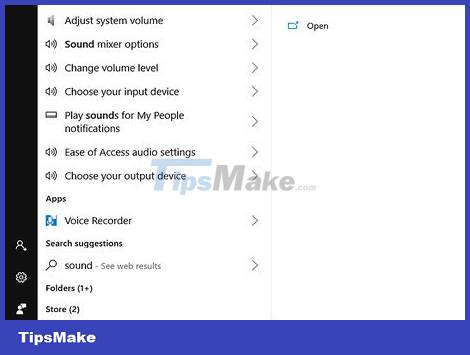
Click the Start menu in the lower left corner of the screen.
Enter voice recorder. This will find Voice Recorder on your computer. This is a free application available on Windows 10.
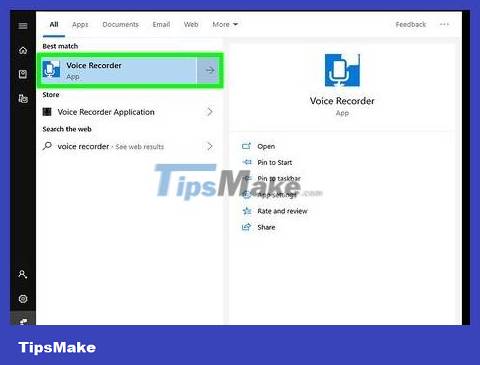
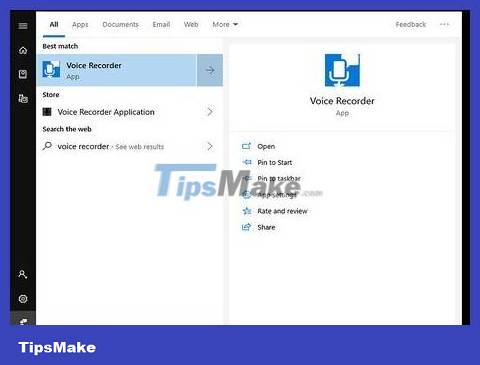
Click Voice Recorder in the search results. The application's microphone icon is usually displayed above the results section. The Voice Recorder application will appear on the screen immediately after clicking.
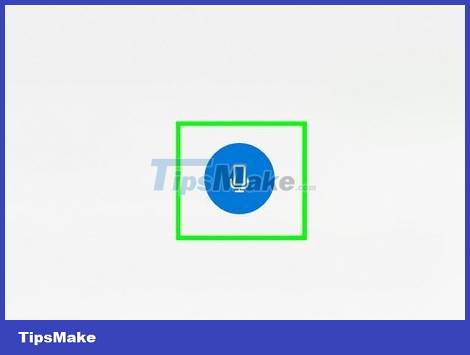
Click the blue and white microphone icon to start recording. This option is in the bottom left corner of the application screen. The Voice Recorder program will start recording audio from the microphone.
If you want to record your voice, speak into the microphone.
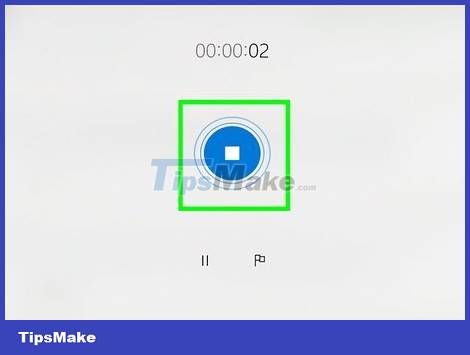
Click the blue and white squares to stop recording. This is the button in the middle of the window. This will save the recording and return you to the main Voice Recorder screen.
Recordings will be saved to the Sound Recordings folder in Documents by default.
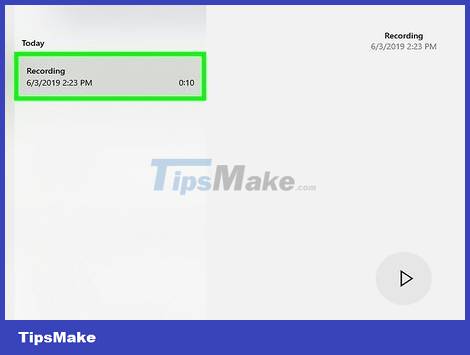
Click on the recording date to listen to the recording. Your recordings appear in the left pane with the newest recordings above.
To change a file's name, you'll right-click on the name in the left pane and select Rename.
To share the recording with others, simply right-click the file and select Share. This lets you choose apps to share with.