How to Rebuild the Icon Cache in Windows
Sometimes, the icons on your Windows computer get messed up. For example, they may be blurry or broken. One of the causes can be that a file named IconCache got corrupted (glitched). Luckily, you can reset it so that you get all of your....
Method 1 of 2:
Manually Deleting the File
-
 Press the Start button at the bottom-right corner of your screen.
 -
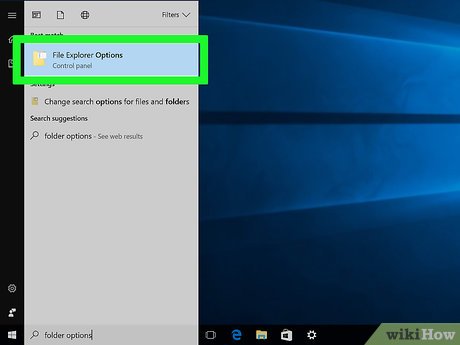 Type folder options and select the result that matches your search. This will allow you to change file viewing settings so that you can see hidden files like IconCache.
 -
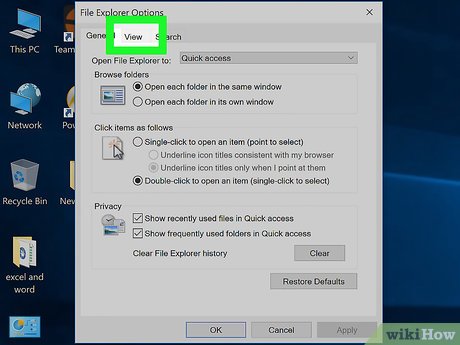 Go to the View tab.
 -
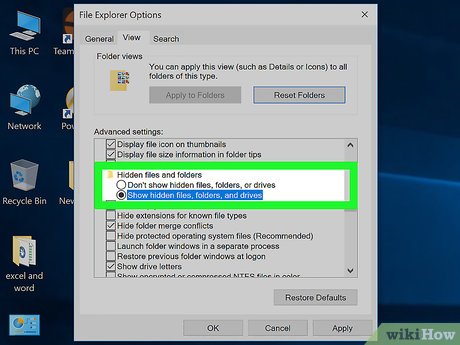 Scroll down under Advanced settings: and click the circle next to Show hidden files, folders, and drives.
 -
 Click or tap the OK box to save your changes and close folder options.
 -
 Open File Explorer. File Explorer lets you see all the files on your computer, including system files like IconCache.
- Note: In Windows 7 and earlier, it is called Windows Explorer.
-
 In the address bar of File Explorer, type %userprofile%/AppDataLocal.
 -
 Scroll through all of the files until you find a file named IconCache or IconCache.db.
 -
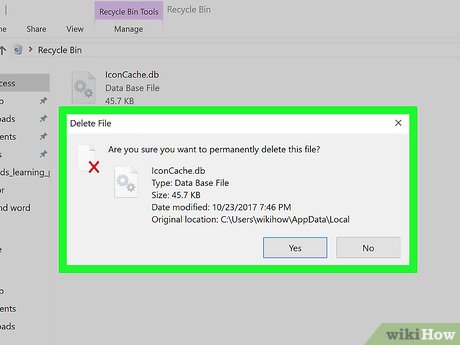
 Right-click or hold (for touchscreen devices) and select Delete from the menu that appears.
 -
 Confirm deletion if prompted by pressing Yes.
 -
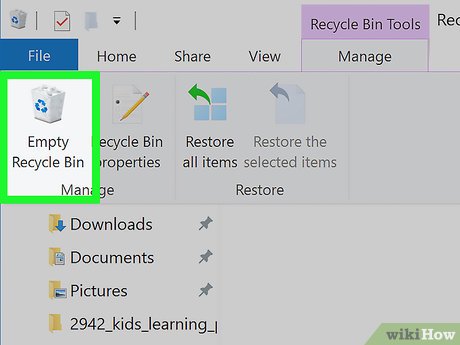 Open the Recycle Bin and empty it. We have a guide on how to do that (just click on the green sentence before this). You can quickly open it by launching the Start menu/screen and searching for Recycle Bin.
 -
 If the Recycle Bin is already empty, there's nothing you need to do. Proceed to the next step.
 -
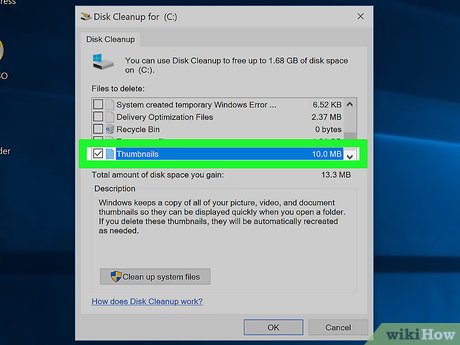 Clear the thumbnail cache if you're seeing problems with thumbnails (previews of files).
 -
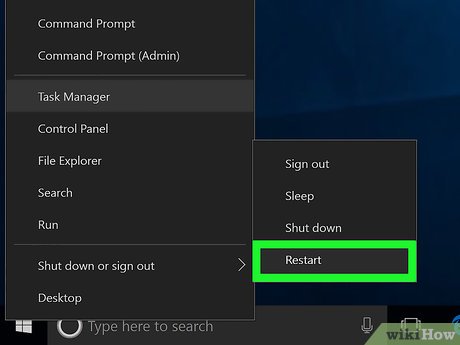
 Restart your PC. The icons should now be fixed.
Method 2 of 2:
Using Command Prompt
-
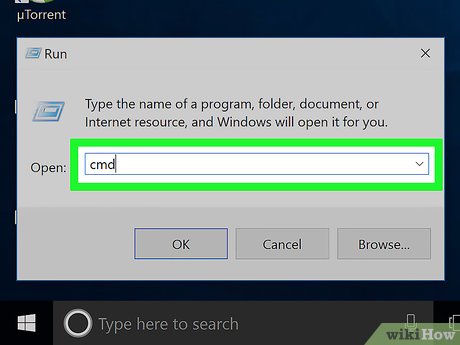 Open the Command Prompt. The quickest way to open the Command Prompt in any version of Windows is to:
- Press the ⊞ Win+R at the same time.
- Type cmd.
- Click/tap OK or hit ↵ Enter.
-
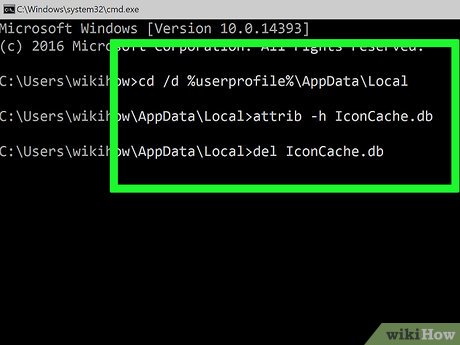 Type the commands in. Type the commands below into the Command Prompt, hitting enter after each line of code is entered. You can also highlight and copy them (either by right-clicking and pressing Copy or by pressing Ctrl+C. Right-click in the Command Prompt and select Paste. Ctrl+V won't work.
- cd /d %userprofile%AppDataLocal
- attrib –h IconCache.db
- del IconCache.db
- start explorer
-
 Restart your PC. The icons should now be fixed.