Table of Contents
This updated guide explains how to Delete Read Only Files through clear steps, practical examples, and important checks that help prevent common errors.
Method 1 of 4:
Use the Properties Menu to Eliminate the Read Only Attribute
-
 Right-click the file in Windows Explorer.
 -
 Choose "Properties" from the drop-down menu.
 -
 Uncheck the box next to the "Read Only" option in the "Properties" menu.
- If the box is checked and grayed out, either the file is in use or you don't have permission to change it.
- Quit any programs that are using the file. If needed, login as an administrator to gain permission to alter the file.
-
 Delete the file.
Method 2 of 4:
Use the Attrib Command to Turn Off the Read Only Attribute
-
 Click Start and select Run. If you don't see the Run command, then click All Programs > Accessories > Run.
 -
 Remove the Read Only attribute and set the System attribute. Type the following command:
- attrib -r +s drive:
- For the test folder, for example, type attrib -r +s c:test
-
 Delete the file.
Method 3 of 4:
Delete Read Only Files in Mac OS X Using Finder
-
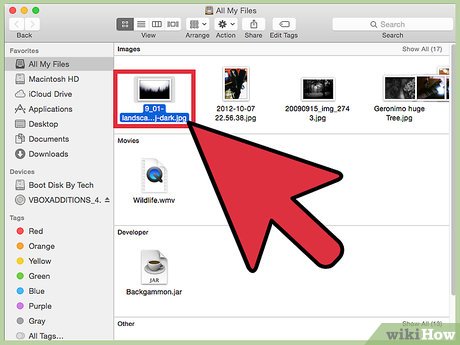 Open Finder. Find the file that you may need to delete and click to highlight it.
 -
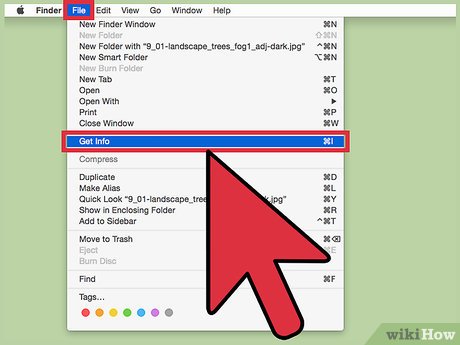 Click File at the top of the Finder menu, then select Get Info.
 -
 Select the "Privilege" option in the Sharing & Permissions section.
 -
 click the box next to "Owner. "
 -
 Set the file to Read & Write status.
 -
 Delete the file
Method 4 of 4:
Delete Read Only Files in Mac OS X Using Terminal
-
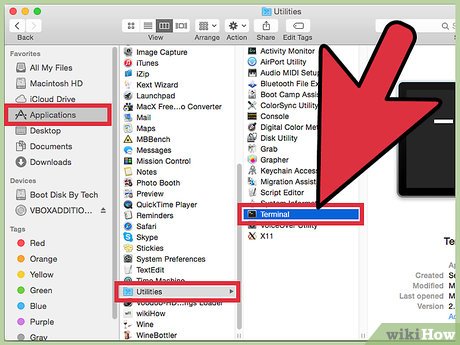 Select Applications > Utilities > Terminal.
 -
 Type cd . For example, if you may need to adjust permissions for a file in your documents folder, then type cd Documents .
 -
 Input the command ls -l to view the directory contents in long form. Permissions are displayed on the far left column.
 -
 Type chmod u+rwx "filename" to grant read, write and execute permissions. Close Terminal.
 -
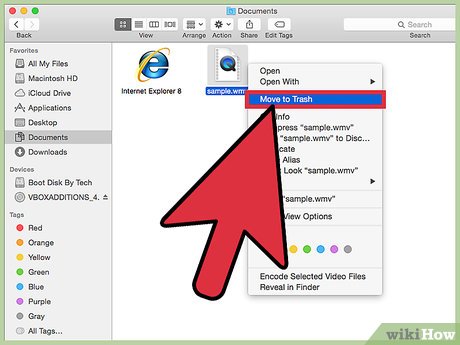 Find and delete the file.
FAQ
What is the easiest way to Delete Read Only Files?
Start with the requirements in this guide, then follow each step in order. Check the result after every major change so problems are easier to identify.
Can beginners follow these instructions?
Yes. The process is organized into practical steps, and you can repeat any step before moving forward.
What should I check if the method does not work?
Confirm your software or device version, permissions, settings, file format, and internet connection when the task depends on online services.
Related Articles
 How to Delete Read-Only Files on Linux9 minutes read
 Delete the Most 'Stubborn' Files on Windows10 minutes read
 How to Delete Files on Mac Directly Without the Trash4 minutes read
 How to Delete Dll Files5 minutes read
 How to Delete Files That Cannot Be Deleted13 minutes read
 How to Automatically Delete Zip Files After Extracting on Mac4 minutes read
Reader Comments 0
Sign in with email or Google to join the discussion.