How to install new fonts in Windows, Mac and Linux
Tired of outdated fonts? Why don't you try downloading new, more beautiful fonts. Easy installation whether on Windows, Mac os or Linux..
Tired of outdated fonts ? Why not try downloading more vivid fonts - they not only bring a breath of fresh air every time you use text typing utilities but also meet the diverse needs of users.
The installation process will make the font present in all programs on computer operating systems. Most applications will provide you with a long list of fonts for you to choose and install to your liking.

Note: Too many fonts can slow down the computer.
Containing too many fonts will affect the speed of the computer. You should only install the fonts you really want to use. And of course you can delete them at any time except for the fonts that come with the operating system.
Having too many fonts will make your operating system work harder, not to mention programs that use fonts each time they will have to load such a large number of fonts, both time-consuming and time-consuming. capacity, resulting in a lot slower computer operation. This problem occurs equally in all operating systems: Windows, Mac OS X and Linux.
Install Font on Windows
Fonts with OpenType (.otf ), PostScript Type 1 (. Pfb + .pfm ), True Type (.ttf ) or True Type Collection (.ttc ) formats are all suitable for use in Windows operating systems. After downloading the font you like, please extract the file first if the downloaded file is in .zip format, then right-click the font and select Install.

How to install other fonts: Copy Font and Paste into the folder containing all Fonts.
You can find a list of installed fonts in the Font folder. To get there, open Control Panel , click on Appearance and Personalization, and choose Fonts .
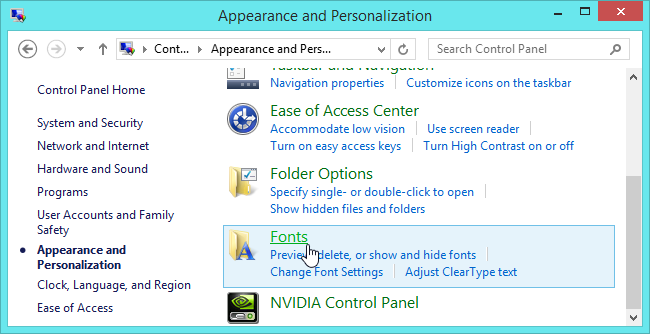
Alternatively, you can press the Windows button, type ' Fonts ' and then click on the search results displayed on the left side of the screen.
Manage, delete, add Font easily
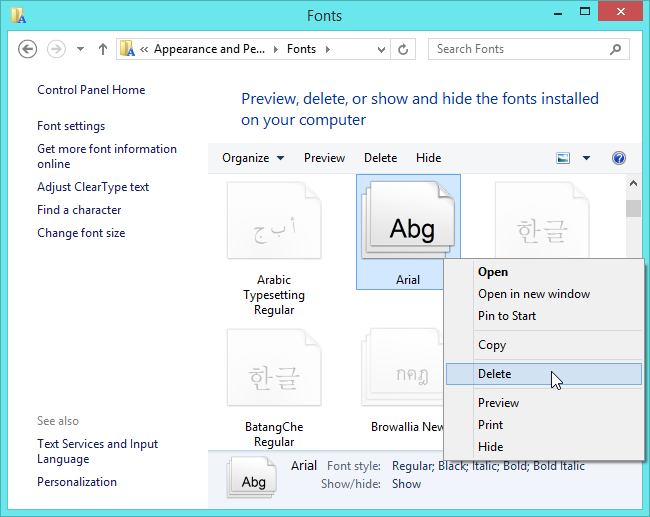
In the Fonts folder , you can not only find installed fonts, but also remove them easily, simply right-click on the font you want to delete and select Delete . Also, you can install multiple fonts at once by directly dragging them into the Fonts window - this will save you a lot of time compared to installing each font individually.
Install Fonts on Mac OS X
Mac OS X supports fonts in OpenType (.otf ), TrueType (.ttf), Datafork TrueType Suitcase (.dfont ), or PostScript Type
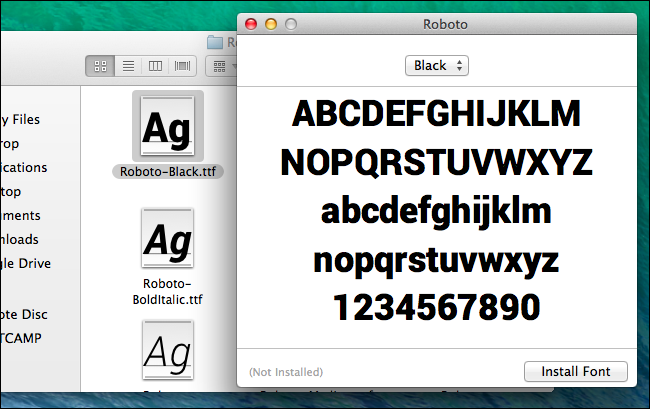
Method 1 . You can double click on the font to preview its shape, if you like it please install it by clicking the ' Install Font ' button in the right corner of the preview window.

You will find a list of installed fonts in Font Book . To open this application, first open Finder , click on Applications and double-click Font Book .
The second way is to enable Lauchpad and then click on the ' Font Book ' shortcut. One more faster way is to press Ctrl + Space to display the Spotlight search box , type ' Font Book ' into the box and press Enter , that's it.

To preview a certain font, just click on it. If you want to remove unused fonts, right-click on it and choose Remove 'Font Name' Family . Alternatively, to disable the installed font, right-click it and select Disable 'Ten font' Family , of course you can re-enable it in the same way. Just like Windows, you are allowed to drag and drop fonts into the Font Book window to install multiple files at once.
With Linux
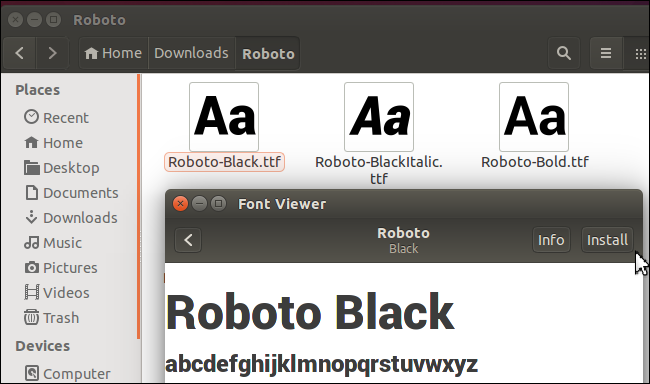
For Linux, download TrueType (.ttf ), PostScript Type 1 (.pfb + .pfm ) or OpenType (. Otf ) formats . You can preview the font shape by double - clicking on it. Next, open Ubuntu or any Linux distribution with GNOME utility, GNOME Font Viewer will appear and you just need to click on Install to start the installation.
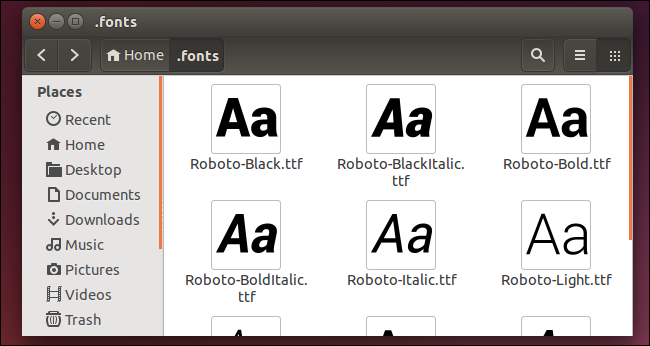
You can install several fonts in turn at once. First, open the Home folder in the file manager. In Nautilus , click View à Show Hidden Files to display hidden folders. You then locate the folder . fonts and double click it. If you do not have this directory, you can create it by right-clicking in the Home window, selecting Create new folder and naming it as .fonts . Next, you just need to put all the fonts in the newly created folder to install them.
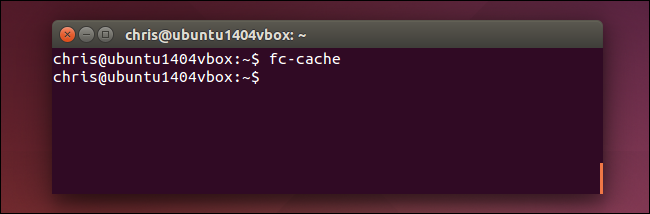
But before putting the font in the above directory, you must upgrade the font cache memory by opening the terminal and running the fc-cache command to ensure the system accepts new fonts.
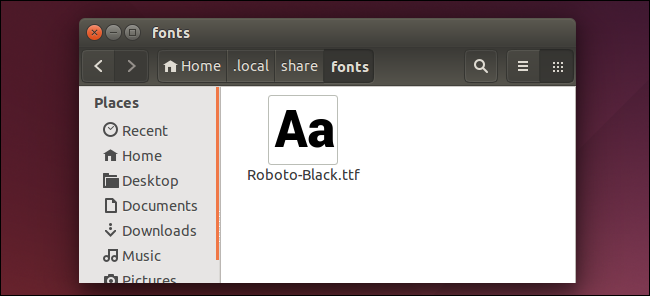
To delete the font, you also open the previous .fonts folder to directly delete unnecessary files. If you add fonts using GNOME Font Viewer , browse to the following .local / share / fonts . After the delete is complete, run the fc-cache command again to let the system remember this change.
For any reason that you want to use a large number of fonts, you should have a font management program of its own so that installing, managing and removing them is easier and more convenient without images. affect computer speed.