How to Install TrueType Fonts on Ubuntu
Ubuntu users often need TrueType fonts for Open Office, Gimp, and other programs. Using this guide, you can either install one font at a time automatically or install multiple fonts manually. Note: If you are using KDE, double-clicking on...
Table of Contents
Method 1 of 3:
Getting Font Viewer Root Privileges to Install a Font
-
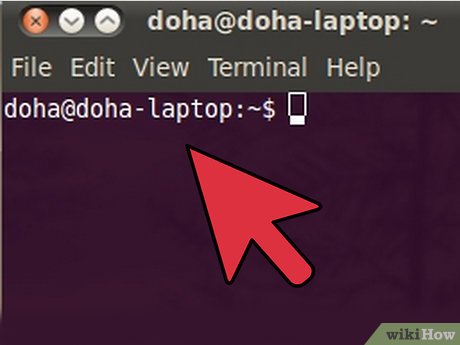 Open a terminal window
 -
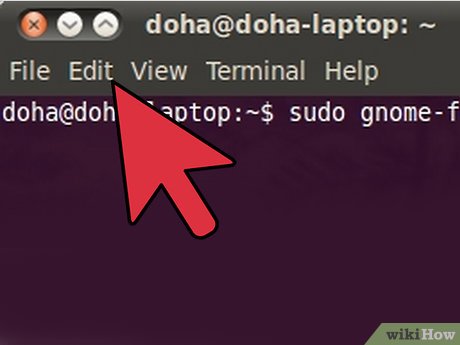 Type "sudo gnome-font-viewer and hit enter (replace with the path to the font file you want to install!)
 -
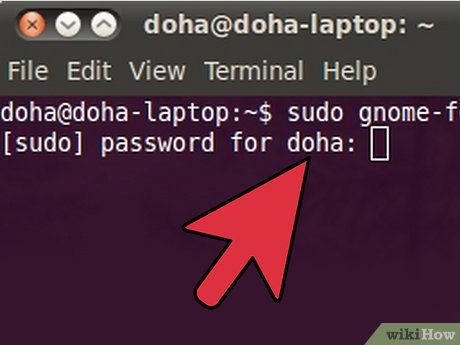 Enter your user password when prompted
 -
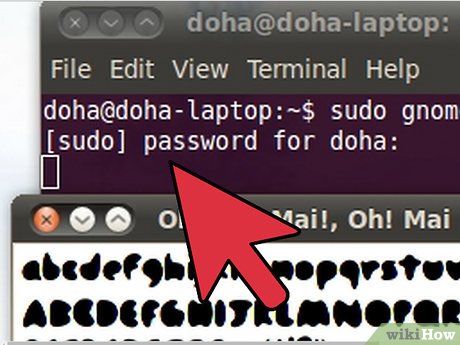 Click "Install". Job done!
Method 2 of 3:
Automatically Install a Single Font
-
 Download a TrueType font. (The file extension will be .ttf.) Unzip your file if necessary.
 -
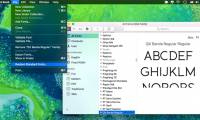
 Double click on the downloaded file. This should open a font-viewer window.
 -
 Click Install Font in the lower right-hand corner. Congratulations! Your font has been installed.
Method 3 of 3:
Manually Install Multiple Fonts
-
 Download TrueType fonts. (The file extension will be .ttf or .otf) Unzip your files if necessary.
 -
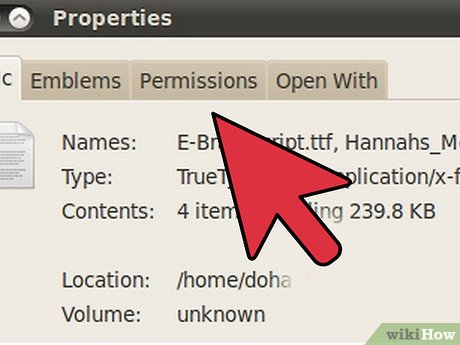
 Move your files to the ~/ Directory. The ~/ Directory is your home folder. This means that if you were logged in as cruddpuppet, the directory would be /home/cruddpuppet/ .
 -
 Go to Applications > Accessories > Terminal. This will take you to the terminal.
 -
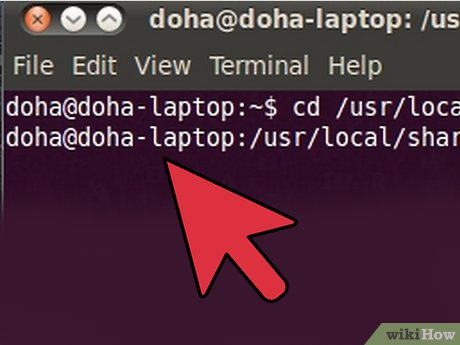
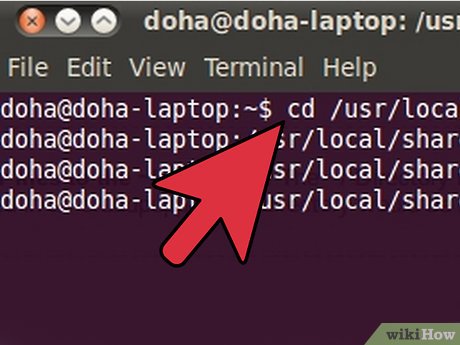
 Type 'cd /usr/local/share/fonts/truetype' without quotes into the command line. This is a directory for user-added fonts in linux.
 -
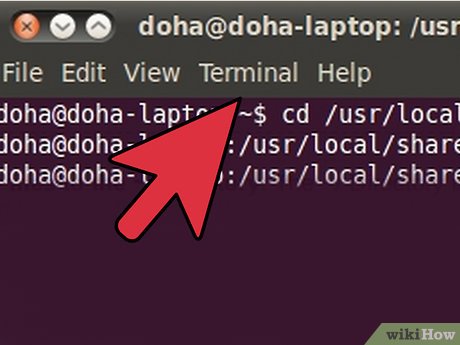 Type 'sudo mkdir myfonts' without quotes. This will make a directory called 'myfonts' in which to store your fonts. If you're not logged in as root, you will be prompted to provide your password.
 -
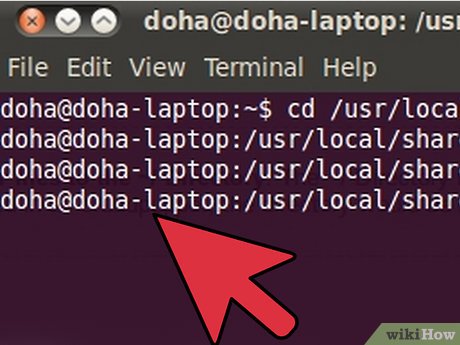 Type 'cd myfonts' without quotes. This moves you into the new directory.
 -
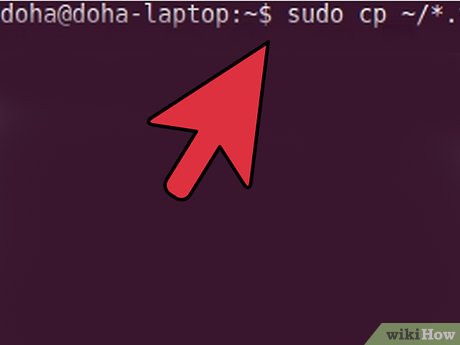
 Type 'sudo cp ~/fontname.ttf .' without quotes. This moves the TrueType fonts into your new directory. (Alternatively, type 'sudo cp ~/*.ttf .'; the * acts as a wildcard, allowing you to move all your fonts from the ~/ Directory at once.)
 -
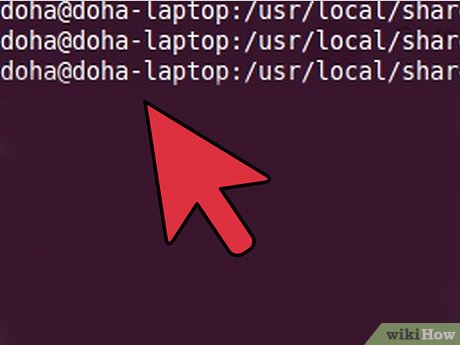
 Type 'sudo chown root fontname.ttf'(or *.ttf) to change file owner to the root.
 -
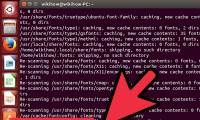
 Type 'cd ..' and then 'fc-cache' without quotes to add newly-added fonts to system-wide font index, so all applications can see them.
Was this article helpful?
Your feedback helps us improve.
Related Articles
 How to Download, Install and Use Google Fonts on Ubuntu4 minutes read
 How to install and remove fonts on Linux7 minutes read
 How to Install Custom Fonts in Ubuntu2 minutes read
 How to install fonts on iPhone, iPad6 minutes read
 How to install and remove fonts on Mac10 minutes read
 Instructions for installing Windows Fonts on Ubuntu2 minutes read
Reader Comments 0
Sign in with email or Google to join the discussion.