How to install macOS Mojave on Windows 10
To install macOS Mojave on Windows 10, we can install it on VirtualBox to experience the new features of this operating system.
Table of Contents
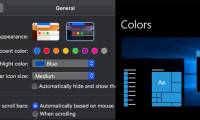
macOS 10.14 Mojave is the latest operating system announced by Apple in June last. There are many new features provided in this version, especially the Dark Mode, which converts dark backgrounds on applications, dock bars or background images. If you want to experience this operating system right on your Windows 10 computer, you can use VirtualBox, the virtual machine creation software.
To install macOS Mojave on Windows 10, the computer must be 64-bit and have about 6GB of RAM or more, equipped with an SSD.
- Instructions on how to install Ubuntu on VirtualBox virtual machine
- How to install VirtualBox Guest Additions on Kali Linux
- Instructions for increasing virtual hard drive capacity on Virtualbox
1. MacOS Mojave installation guide on Windows 10
Step 1:
First, click on the link below to download macOS 10.14 Mojave installation file and VirtualBox software if not already available.
- Download the macOS Mojave file
- MacOS Mojave download link (broken down into 6 files)
- Download VirtualBox software
Step 2:
After downloading the file on right-click and proceed to extract the file.

Step 3:
Launch the VirtualBox download file and install it on the computer. Then in the interface of the program click on the New button on the menu bar.
The Create Virtual Machine interface appears. Here the Name enter the name of the virtual machine is macOS 10.4 Mojave or another name depending on the user, but easy to remember. Type will enter Mac OS X. The Version select macOS 10.13 High Sierra (64-bit), click Next to continue.

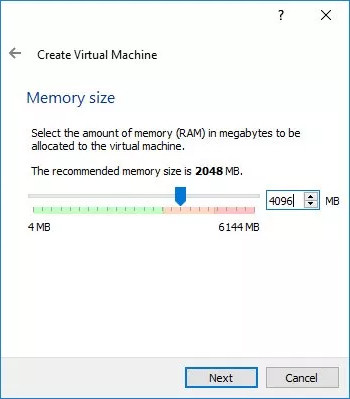
Step 4:
Next, the Memory size interface selects the RAM for the virtual machine at least 2048MB of RAM. If 8GB of computer RAM or more, select 4096MB RAM. Also click Next to continue.
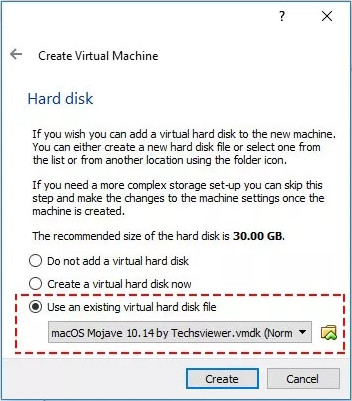
Step 5:
In the Hard disk interface, select Use an existing virtual hard disk file , then click on the folder icon to select the macOS Mojave file that has been extracted. Click on the Create button.
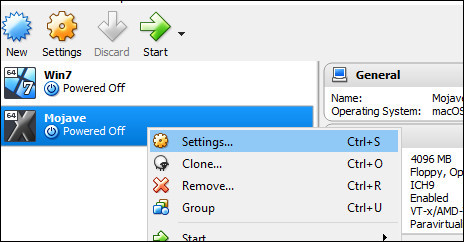
Step 6:
Go back to the interface on VirtualBox and right-click on the newly created virtual machine and select Settings in the display list.
Step 7:
In the Settings interface click on System in the left menu. Look at the content on the right and choose the Motherboard tab . Next, select Enable EFI (special OSes only) , Chipset selects ICH9 or PIIX3.

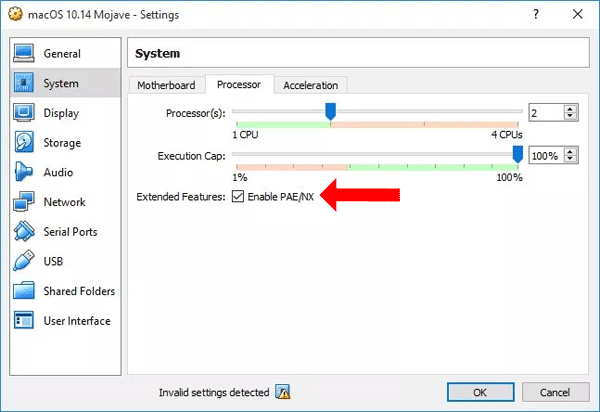
Step 8:
Click on the Processor tab , check Enable PAE / NX and increase Processor (s) to 2 if using 4 CPUs.
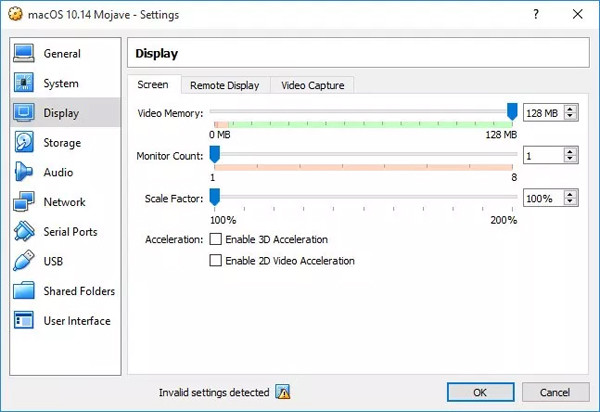
Step 9:
Go to the Display management section and click the Screen tab in the content next to it. At Video Memory can increase to 128MB.
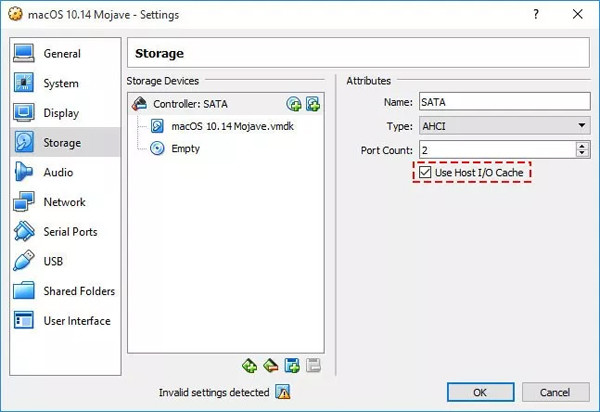
Step 10:
Click on the Storage item on the left menu, and to the right, select Use Host I / O Cache .
So we have finished configuring macOS Mojave virtual machine running on Windows. Turn off the VirtualBox virtual machine to take the next step.
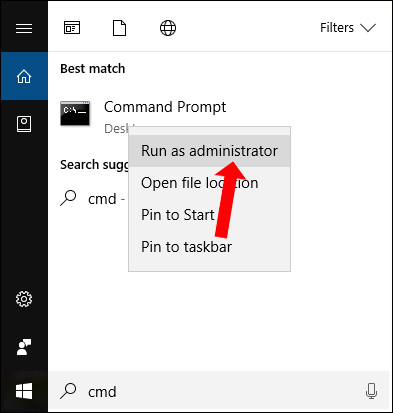
Step 11:
At the interface of the computer enter the cmd keyword into the search bar and right-click the Command Prompt , select Run as Administrator to launch under Admin.
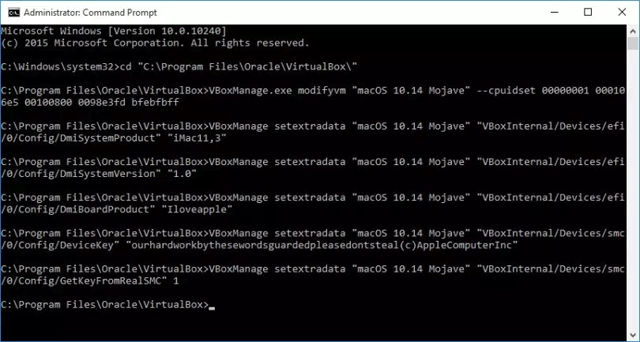
Appear interface to enter command. Enter the command below and press Enter. The Your Name section will be replaced by the virtual machine name we have set. You can copy this code into Notepad to replace the virtual machine name easily, then copy the command to the Command Prompt interface.
  cd "C: Program FilesOracleVirtualBox"
  VBoxManage.exe modify vm "Your VM Name" --cpuidset 00000001 000106e5 00100800 0098e3fd bfebfbff

  VBoxManage setextradata "Your VM" Name "VBoxInternal / Devices / efi / 0 / Config / DmiSystemProduct" "iMac11,3"

  VBoxManage setextradata "Your VM" Name "VBoxInternal / Devices / efi / 0 / Config / DmiSystemVersion" "1.0"

  VBoxManage setextradata "Your VM" Name "VBoxInternal / Devices / efi / 0 / Config / DmiBoardProduct" "Iloveapple"

  VBoxManage setextradata "Your VM" Name "VBoxInternal / Devices / smc / 0 / Config / DeviceKey" "ourhardworkbythesewordsguardedpleasedontsteal (c) AppleComputerInc"

  VBoxManage setextradata "Your VM" Name "VBoxInternal / Devices / smc / 0 / Config / GetKeyFromRealSMC" 1
2. How to set up macOS Mojave on a virtual machine
Step 1:
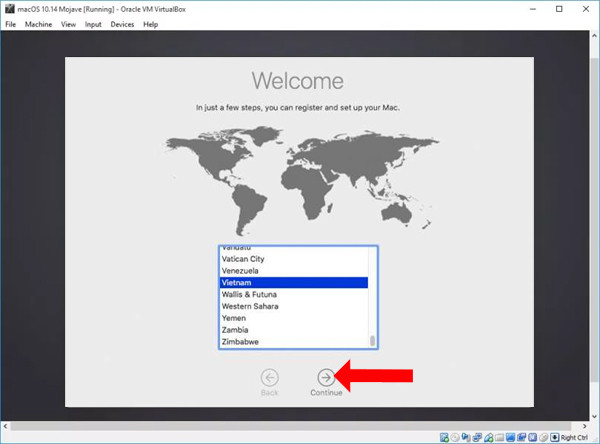
Restart the VirtualBox interface and will see the macOS Mojave operating system installation interface. First click on the country location and then click on Continue arrow below.
Step 2:
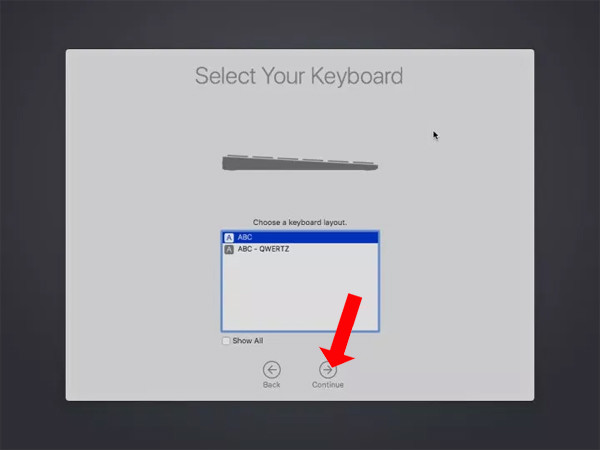
Select the keyboard layout type at keyboard layout. If not, click on Show all.
Step 3:
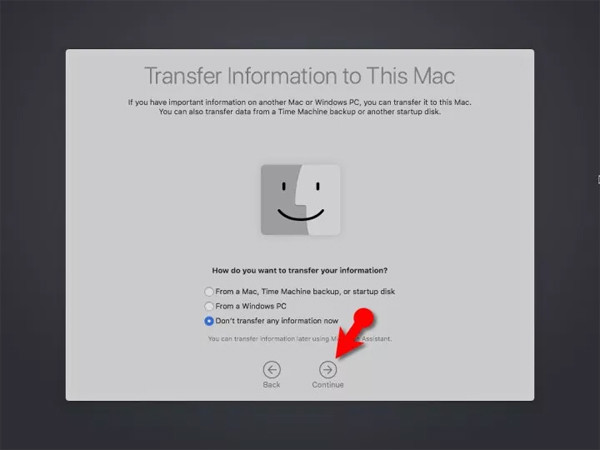
Select the data transfer method, so choose Don't transfer any information now and click Continue below.
Step 4:
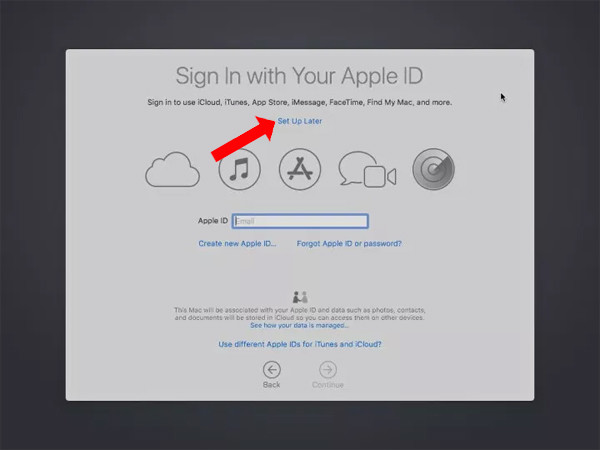
In this new interface click Set Up Later also because you can log in to Apple ID or iCloud account later.
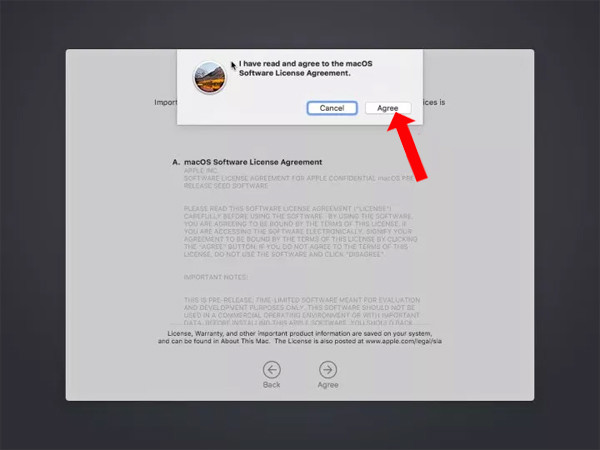
Step 5:
Click Agree to agree to the terms and then click Continue below to continue.
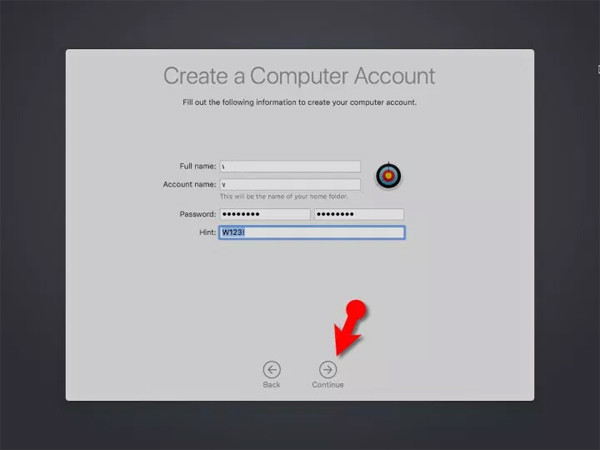
Next, create an account on your computer and click the Continue button below.
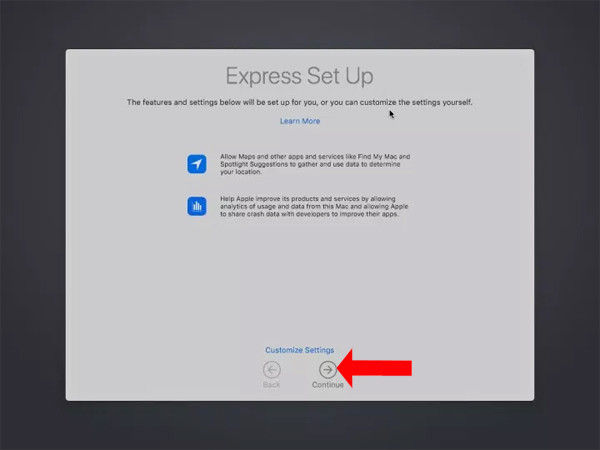
Step 6:
Switch to the Express Set Up interface and click the Continue button.
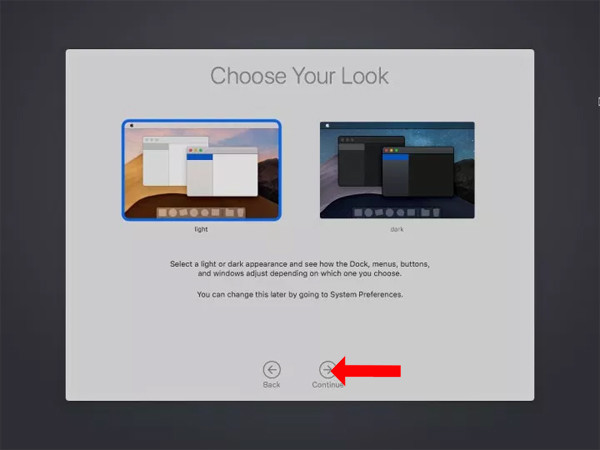
Select the interface for the computer and click the Continue button below.
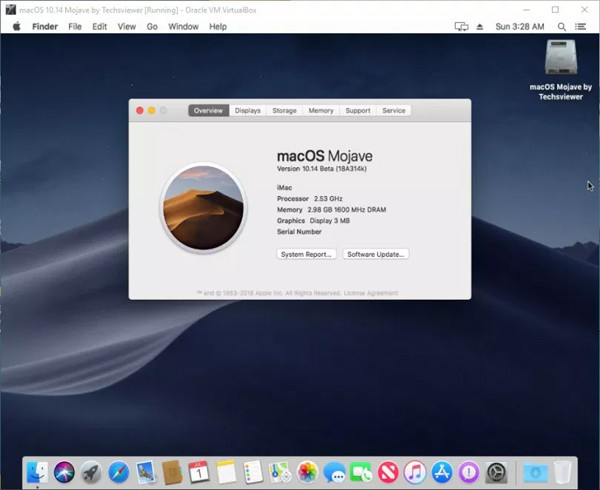
Finally you wait for the macOS Mojave operating system setup process to complete.
See more:
- Set up and install Windows 8 on VirtualBox
- Share Virtualbox with multiple operating systems
- Use VirtualBox to install Windows 7 on Ubuntu
I wish you all success!
Was this article helpful?
Your feedback helps us improve.
Related Articles
 How to fix problems when upgrading to macOS 10.14 Mojave11 minutes read
 10 latest features of macOS Mojave13 minutes read
 Apple officially released MacOS 10.14 Mojave, invite you to update2 minutes read
 How to change the default location for saving screenshots in macOS Mojave3 minutes read
 MacOS Mojave's Dark Mode makes Windows 10 embarrassed6 minutes read
 Microsoft Office supports dark background mode on macOS Mojave2 minutes read
Reader Comments 0
Sign in with email or Google to join the discussion.