How to indent the line in Excel
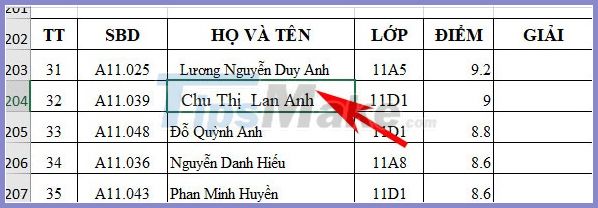
When you enter data into a spreadsheet, Excel automatically aligns with cells containing numbers to the right of the cell, and text input cells are automatically located to the left of the cell..
In addition to aligning Excel with a ruler, you can also simply indent it by indenting the line so that the content is not close to the table line in the Excel cell. The following article will guide you to read some indentation methods in Excel.
1. How to indent Excel with keyboard shortcuts
To indent data to the right of a cell , we will use the keyboard shortcut Alt + H + 6 . You click on the cell you want to indent and then press the above shortcut.
To indent data to the left of the cell , you can press Alt + H + 5 .
2. Indent Excel using Ribbon tools
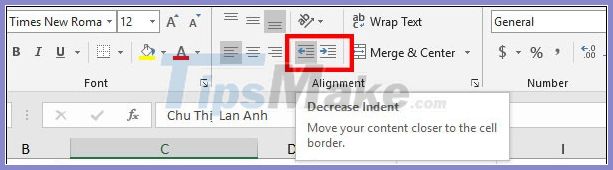
If you don't remember the shortcut to do when you want to indent, you can immediately use the indent tool on the Ribbon toolbar.
We also click on the cell containing the data and then look up the Home tab, in the Paragraph group we click the right or left indent icon as shown below. Then all cell contents will be indented, including different lines in a cell.
3. Indent rows in an Excel table cell
If we have many Excel lines in a cell, but only want to indent one line in the cell , you will use the Space key .
First of all, you double click on a cell with many lines and need to adjust the indent. Then place the mouse pointer at the position where the line you want to indent and press the Space key to indent. This way of doing this is relatively manual.