Table of Contents
This updated guide examines Click: How to Format a Cd and organizes the essential facts, background, and practical takeaways in clear American English.
Method 1of 2:
On Windows
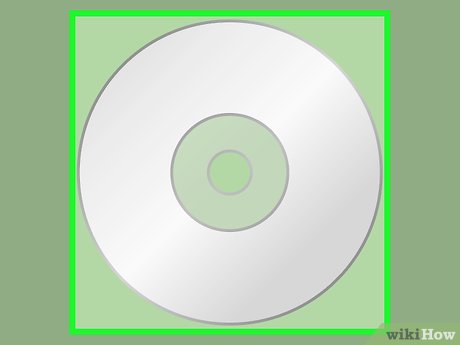 Insert the CD-RW or DVD-RW into your computer. The CD goes into your computer's CD tray with the label facing up.
- If your computer doesn't have a CD drive, you'll have to buy an external one.
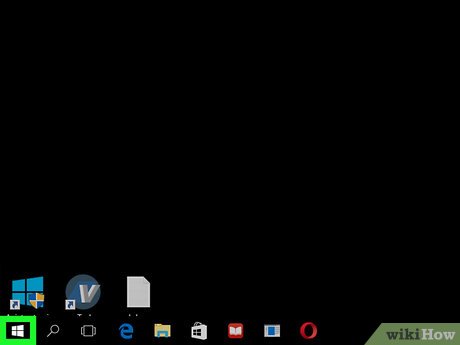 Open Start
 . Click the Windows logo in the bottom-left corner of the screen.
 Open File Explorer
 . Click the folder-shaped icon in the lower-left side of the Start window.
 ClickThis PC. It's a computer-shaped tab on the left side of the File Explorer window.
 Click your disk drive's icon. You'll find this grey drive icon below the "Devices and drives" heading that's in the middle of the page.
 ClickManage. It's a tab in the upper-left side of the File Explorer window. Clicking it prompts a toolbar to appear below the Manage tab.
 ClickFormat. This icon is on the far-left side of the toolbar. It resembles a grey drive with a red, circling arrow on top of it. The Format window will open.
 Select a file system. Click the "File system" drop-down box, then click one of the following file systems. UDF stands for "Universal Disk Format", which means any of the following file systems can be used for media (such as music or movies) or for files:
- UDF 1.50 - For use on XP and older.
- UDF 2.00 - For use on XP and older.
- UDF 2.01 (default) - Usable with most current operating systems.
- UDF 2.50 - Usable with most current operating systems. Supports Blu-ray.
- UDF 2.60 (Recommended) - Usable with most current operating systems. Supports Blu-ray.
 ClickStart, then clickOK. Doing so will begin formatting your CD for your selected file system.
 ClickOKwhen prompted. This will complete the formatting process.
Method 2of 2:
On Mac
 Insert the CD-RW or DVD-RW into your computer. The CD goes into your computer's CD tray with the label facing up.
- Most modern Macs don't come with CD drives attached, meaning you'll need to buy an external CD drive for your Mac.
- You can't format your disc on a Mac the same way you would on a Windows computer, but you can erase and re-format it to resolve errors.
 ClickGo. This menu item is on the left side of the menu bar, which is at the top of your Mac's screen. A drop-down menu will appear.
- If you don't see this menu item, click the desktop or open Finder to force it to appear.
 ClickUtilities. It's at the bottom of the Go drop-down menu.
 Double-clickDisk Utility. You'll find this app, which resembles a drive with a stethoscope on it, in the Utilities folder.
 Select the disc. Click the disc's name in the "External" section that's on the left side of the Disk Utility window.
 Click theErasetab. It's at the top of the Disk Utility window. Doing so will open the disc's properties window.
 ClickCompletely. This option will allow you to completely erase and re-format the disc.
- You can also click Quickly here to erase the disc faster than the Completely option, though any errors you're encountering may not be resolved.
 ClickErase. Doing so will begin erasing and reformatting your disc. Once the process is complete, you'll be able to burn music or video to your disc.
FAQ
What is Click: How to Format a Cd about?
It provides a structured overview of click, explains the main context, and highlights practical takeaways for readers.
Why does this topic matter?
Understanding the main concepts helps readers evaluate the issue, avoid common mistakes, and make better-informed decisions.
How should readers use this information?
Use the guidance as a practical starting point, confirm details that may have changed, and follow current product, safety, or security recommendations.
Related Articles
 Instructions to Format USB Pendrives with Command Prompt4 minutes read
 Why Need to Format the USB? USB Format Like?7 minutes read
 How to Format USB with CMD Simply and Quickly: Complete Guide9 minutes read
 How to Format the USB Simple and Safest: Step-by-Step Guide7 minutes read
 How to Format USB on Macbook5 minutes read
 Quick Formatting of Words Appears Many Times on Word4 minutes read
Reader Comments 0
Sign in with email or Google to join the discussion.