How to Create a Font
Download templates

Go to https://www.calligraphr.com/ using a browser. This is the Calligraphr website. You need to create an account here.

Create a free account. You don't need to pay to use Calligraphr, but you do need to create an account with an email address and password. The operation is as follows:
Click Get started free at the top of the page.
Enter an email address in the "Email" field.
Enter a password in the "Password" field.
Re-enter the password in the "Password confirmation" field.
Check the box "I agree to the Terms and Conditions".
Click SUBMIT (Submit)

Verify email address. Open the inbox of the email address you used to create the account, then open the email from "Calligraphr" and click the link in the email body. This will take you back to the Calligraphr homepage.
If you don't see an email with the subject "Confirm your account" sent from Calligraphr, check the Spam or Junk folder in your mailbox.
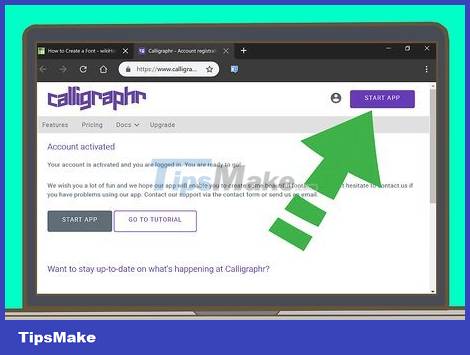
Click START APP . It's the purple button in the top-right corner of the page.
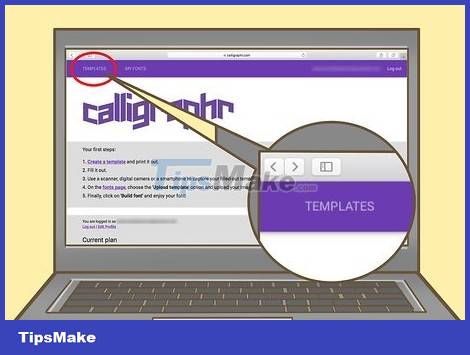
Click TEMPLATES (Template). This is the title in the top left corner of the page.
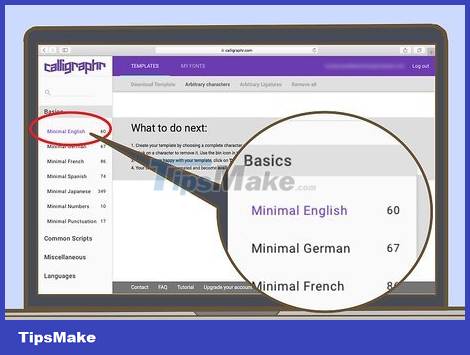
Select a language set. Click one of the options on the left side of the page, and make sure you're happy with the language set by previewing it in the center of the page.
The free version of Calligraphr allows creating up to 75 characters. If you choose Minimal English, you can create both the alphabet and some special characters.
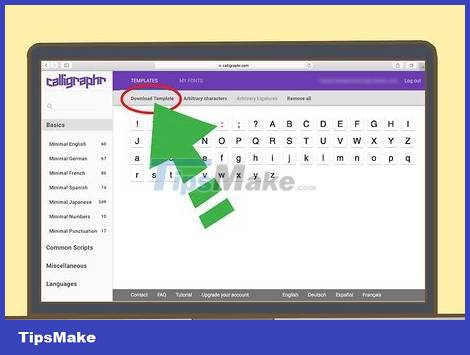
Click Download Template . This is the option in the top right corner of the page.
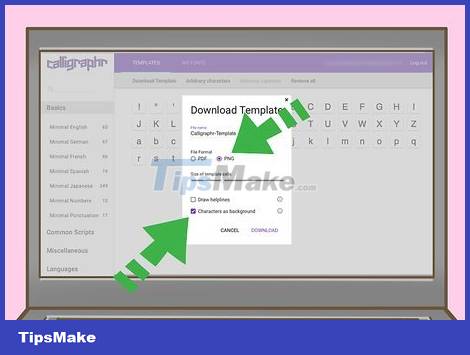
Click the boxes next to "PNG" and "Characters as background". These choices ensure that the template is downloaded in the correct format.
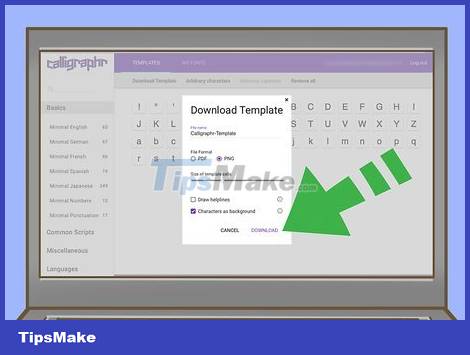
Click DOWNLOAD (Download). You will see it in the lower right corner of the window.
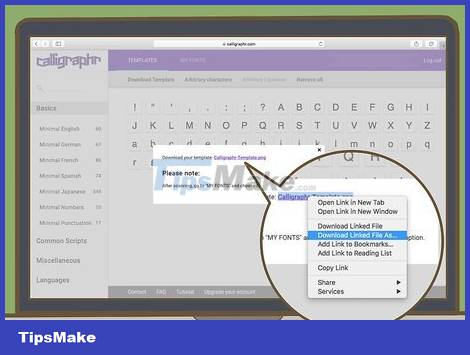
Click the download link. This is the link to the right of the "Download your template" line at the top of the window. Your form will be downloaded to your computer shortly; Once the download is complete, you can continue to edit it.
If clicking the download link shows you the template in a new window or tab, open the window or tab and right-click the template image. Click Save as. Select a folder on your computer and click Save.
If you don't want to edit the font with computer software, you can print the template, draw the font with a brush, and then scan the font to your computer in PNG file format.
Edit Templates on Windows
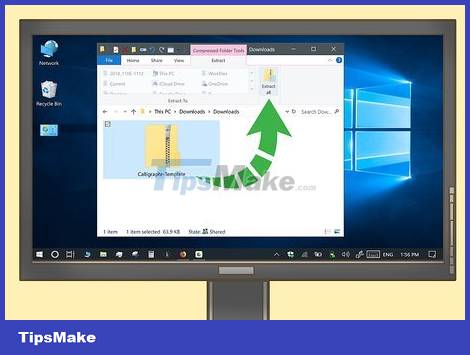
Unlock the templates folder. Skip this step if the template is downloaded as a PNG file. To extract the folder, you need to double-click on it, and then do the following:
Click the Extract tab.
Click Extract all.
Click Extract
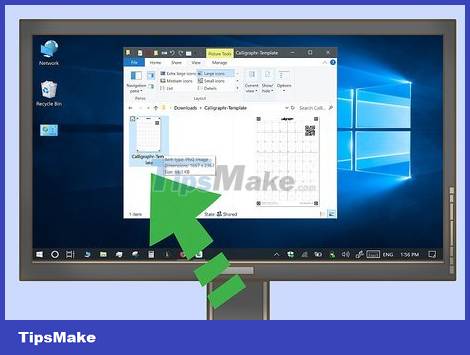
Sampling. Click the template that you want to edit to do this.
If you downloaded a folder with multiple templates, you'll need to open the selected template to make sure it's the right one before continuing.
The "Template 1" selection (Template 1) is usually template AZ and 0-9.
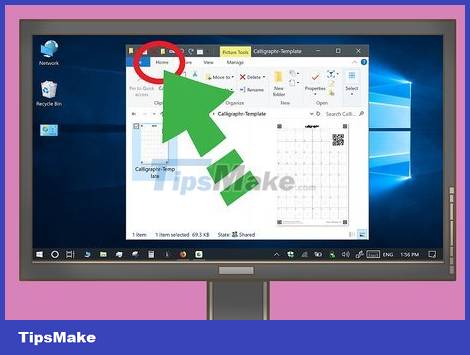
Click the Home tab . This is the tab in the upper left corner of the window. The toolbar will appear at the top of the window.
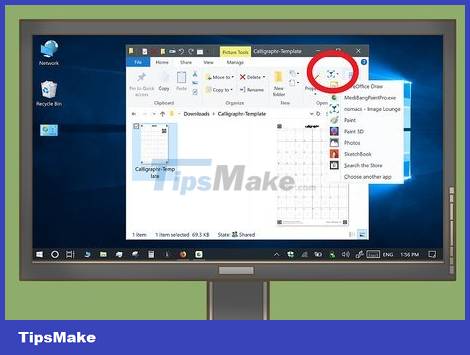
Click the Open option with the arrow pointing down. Down arrow to the right of the Open button in the "Open" section of the toolbar. A selection list will appear here.
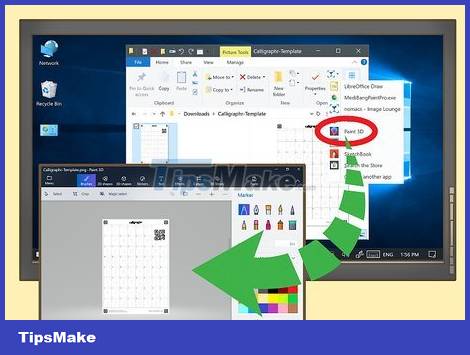
Click on the image editing program and click Ok . Select any image editing program you have installed on your computer and click Ok to open the template in the optional image editing program. You can use Ms Paint, Paint 3D, Photoshop, GIMP, Adobe Illustrator, Inkscape, Coral Draw or another program.
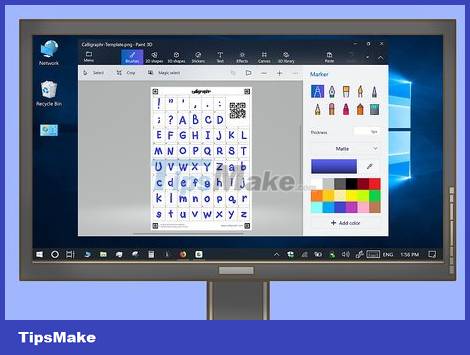
Draw each character in the labeled cells. Use the pen, pencil, or brush tool of your image editing software to draw your own characters over the characters in the template. Try to make the character the same size as the character in the pattern.
If you have a pen and electronic tablet, use that instead of a mouse. You may have to open the template in another program to do this.
In most image editing programs, you can undo by pressing Ctrl+Z.
If you're using a program that supports multiple layers (layers), you're better off drawing the characters on a separate layer from the pattern.
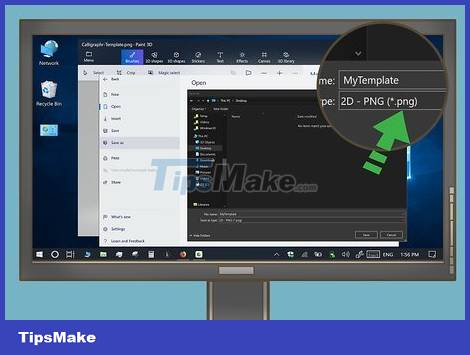
Save the character page in PNG image format. Follow these steps to save the character page in PNG format:
Click File.
Click Save As (or Export in some photo editing programs).
Select PNG next to "Format" or "Save as type".
Enter a filename for the character page next to "File name".
Click Save.
Edit Templates on Mac
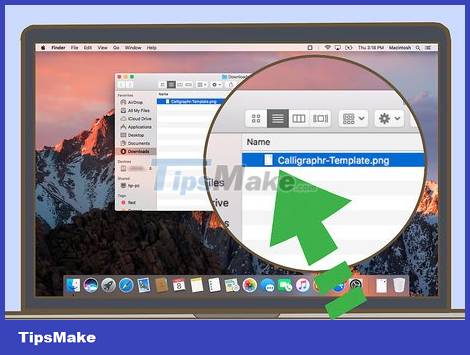
Select the template file. Open the download folder of the template file, and then click on the template file you want to edit to select it.
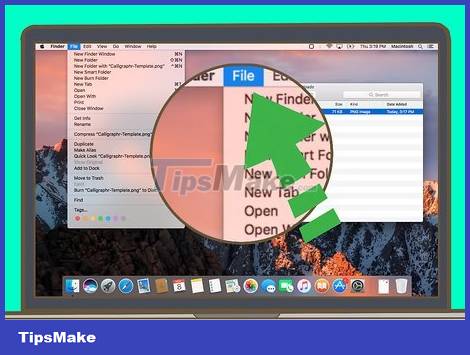
Click File . This is the menu at the top of the screen. The screen immediately appears a selection list.
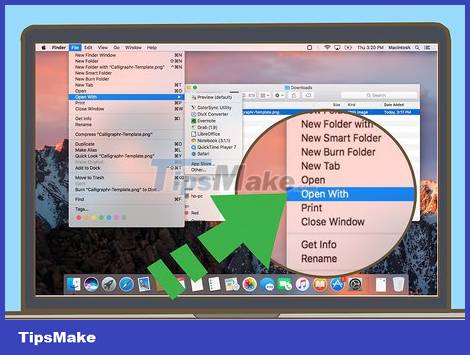
Select Open With . This option is near the top of the drop-down list. You will see another selection list displayed next to the cursor.
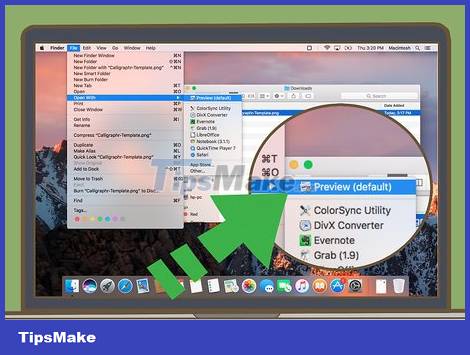
Click on an image editing program. You can use an image editing program installed on your Mac. Some options include Preview, Photoshop, GIMP, Adobe Illustrator, Inkscape, Coral Draw, or any other program.
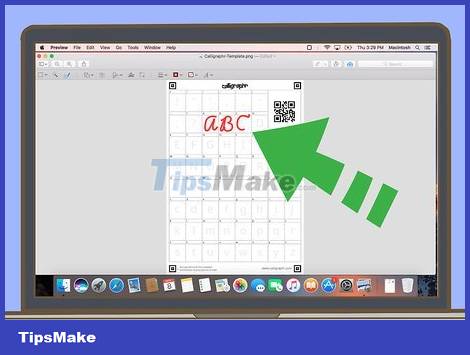
Draw each character in the labeled cells. Use the pen, pencil, or brush tool of your image editing software to draw your own characters over the characters in the template. Try to make the character the same size as the character in the pattern.
If you're using Preview, click the brush-like icon above the image and click the pencil-and-stroke-like icon. This allows you to draw on the image.
If you have a pen and electronic tablet, use that instead of a mouse. You may have to open the template in another program to do this.
If you're using a program that supports multiple layers (layers), you're better off drawing the characters on a separate layer from the pattern.
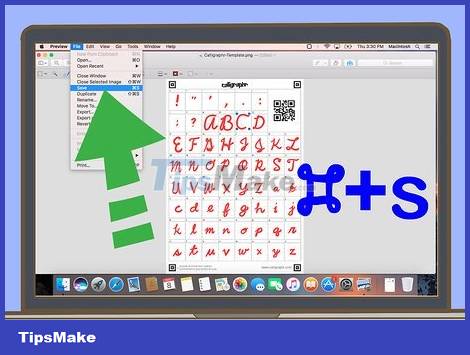
Save the character page in PNG image format. Follow these steps to save the character page in PNG format:
Click File.
Click Save As (or Export in some photo editing programs).
Select PNG from the drop-down list next to "Format" or "Save as type".
Enter a filename for the character page next to "Name".
Click Save.
Create fonts
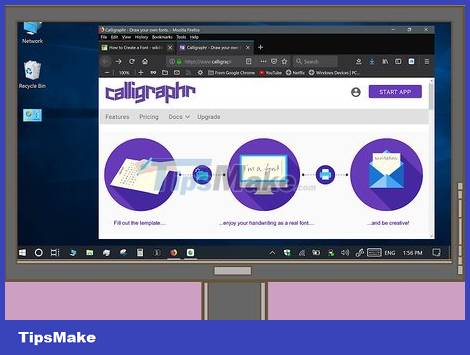
Go to https://www.calligraphr.com/ using a browser. This is the page where you loaded the template.
If your account is not automatically logged into the program, you need to log in with the same username and password used to create the account in method 1.
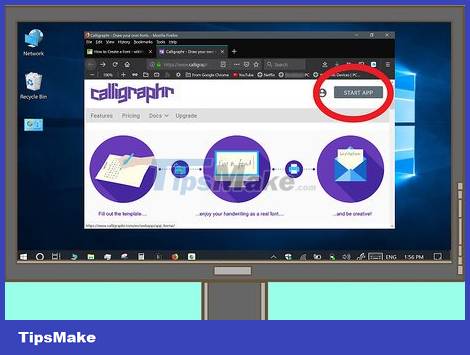
Click START APP . This is the option in the top right corner of the page.
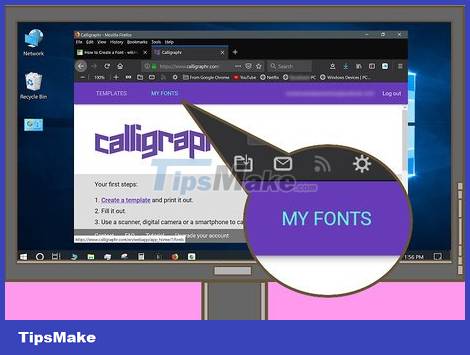
Click on MY FONTS (My Font). You'll find this option in the top left corner of the page.
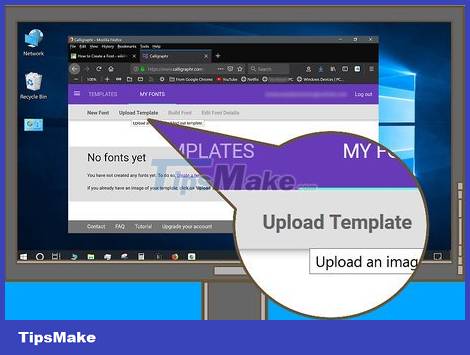
Click Upload Template at the top of the page. A new window immediately displays.
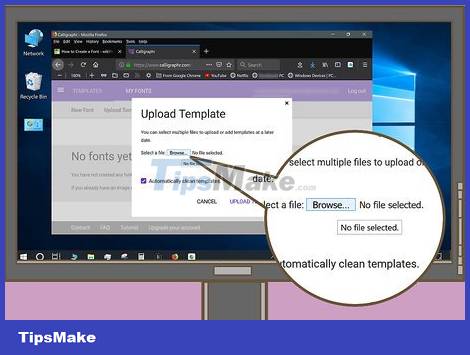
Click Choose File . This is the selection in the middle of the window.
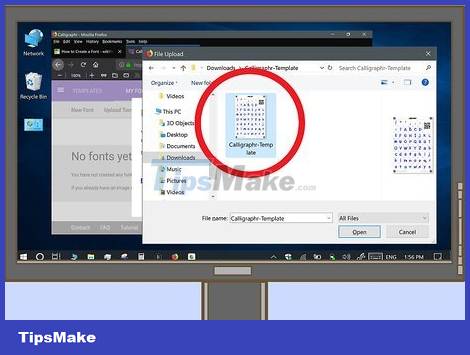
Select the character page generated from the template. Find the character page file that contains your font's characters.
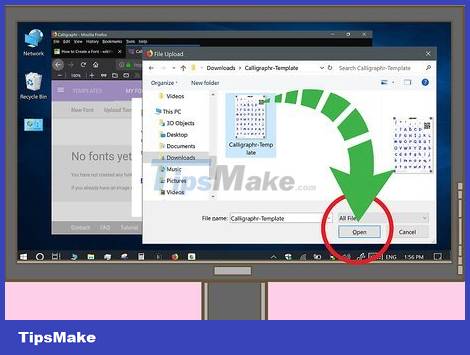
Click Open . This option is in the lower right corner of the window. The file is instantly uploaded.
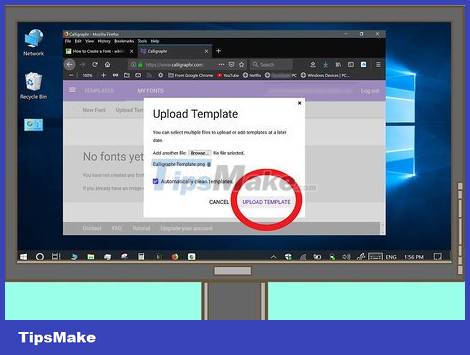
Click UPLOAD TEMPLATE (Upload Template). This is the option at the bottom of the window. Your file will be added to the Calligraphr page.
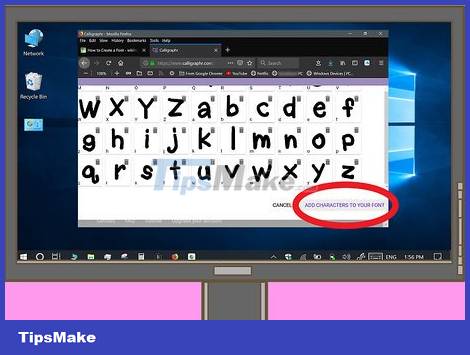
Scroll down and click ADD CHARACTERS TO YOUR FONT . You'll see that option in the bottom-right corner of the page. The preview of the font is immediately displayed.
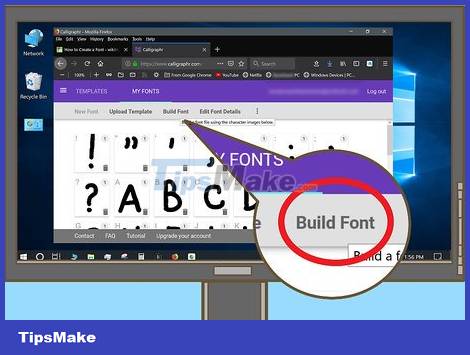
Click Build Font at the top of the page. Another window will appear shortly.
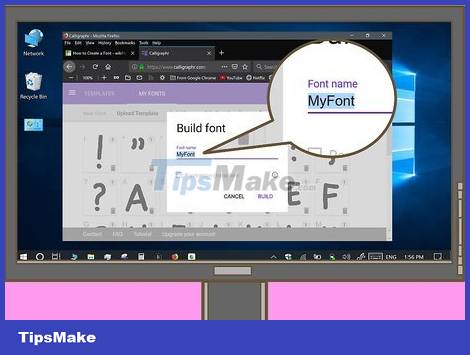
Enter a name for the font. In the "Font name" field, replace "MyFont" with whatever you like.
The name you choose here will be the name that displays when you use the font in programs like Microsoft Word.
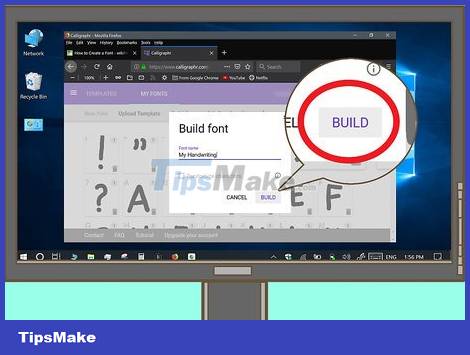
Click BUILD (Create). This option is in the lower right corner of the window. Instant fonts are created with the click of a button.
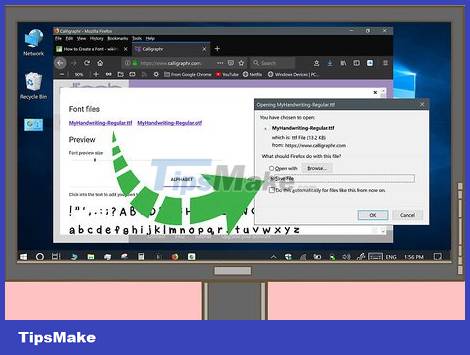
Click one of the "Font files" download links. You should see a path ending in ".ttf" and a path ending in ".otf" below the "Font files" heading; if you don't know the difference, click the .ttf file. The font file is immediately downloaded to your computer and you can install the font on your computer by doing the following:
Windows - Double-click the font file, and then click Install at the top of the displayed window.
Mac - Double-click the font file, then click Install at the bottom of the window.