How to Recover Deleted Photos
Restore photos on Windows
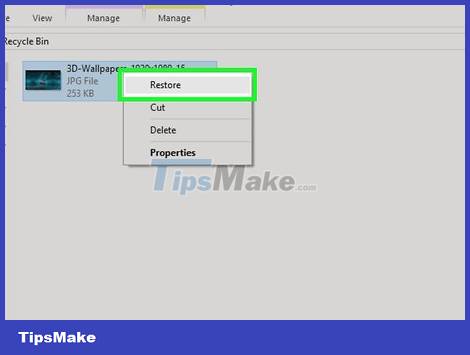
Check the Recycle Bin (trash can). Before downloading and using data recovery software, you should double-click the Recycle Bin icon to open the recycle bin and find the deleted photos.
If you find a deleted photo, you can restore it by selecting, right-clicking the selected photo and clicking Restore in the menu that appears.

Download Recuva on another computer. You should avoid downloading data to your computer until the photos are recovered; so use another computer for this step. Download Recuva in the following way:
Go to https://www.ccleaner.com/recuva/ using a browser.
Scroll to the bottom of the page and click Free Download.
Click the CCleaner.com link on the left side of the page.
Click Start Download
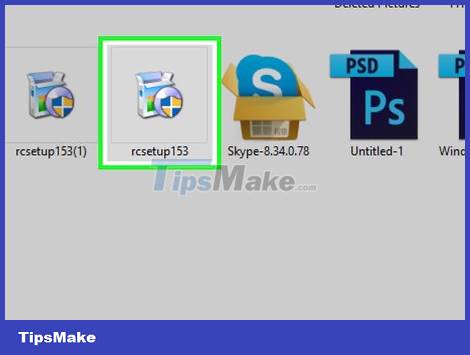
Install Recuva to USB. Attach the USB to the computer where you downloaded Recuva, and then do the following:
Double-click the Recuva installation file.
Click Yes when prompted.
Check the box "No thanks, I don't need CCleaner" (No thanks. I don't need CCleaner).
Click the Customize link.
Uncheck the boxes on this page.
Click the More link at the bottom of the page.
Click Browse.
Drag the slider down and select the name of the USB.
Click OK
Click Install.
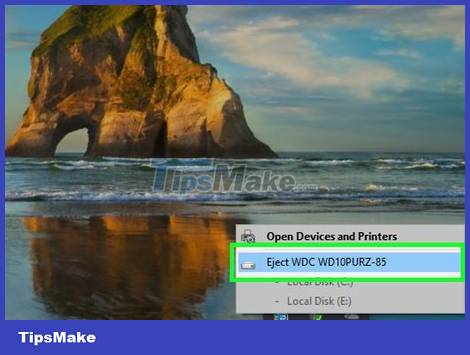
Remove the USB when the Recuva installation is complete. You can now boot Recuva from USB, allowing you to scan your computer without adding and overwriting data on deleted photos.
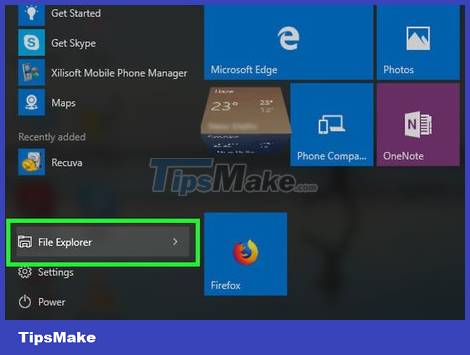
Attach the USB to the Windows computer. You will easily attach the device to one of the USB ports; When the USB is recognized, the screen will display a window.
If the window doesn't show up, click Start, click File Explorer, and click the USB's name on the left side of the window.

Open Recuva. Double-click the recuva64 program in the USB window to do this.
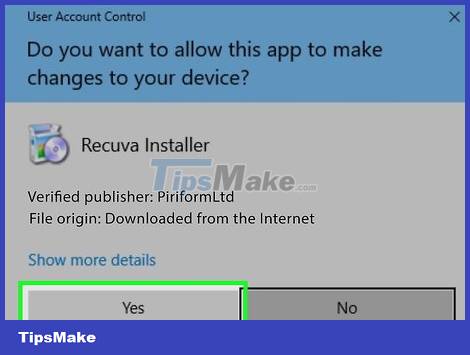
Click Yes when asked to open the Recuva window.
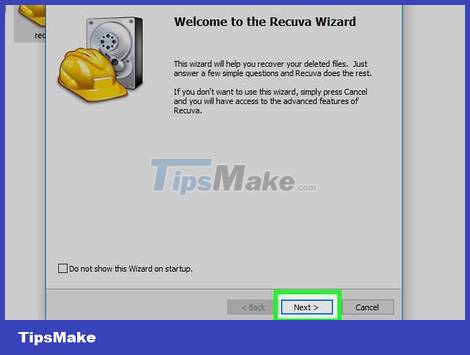
Click Next in the lower-right corner of the window.
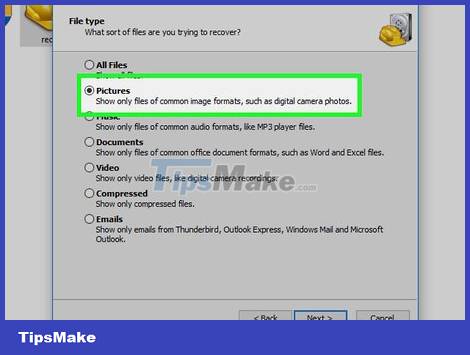
Check the "Pictures" box, then click Next . You'll see a "Pictures" box near the top of the window.
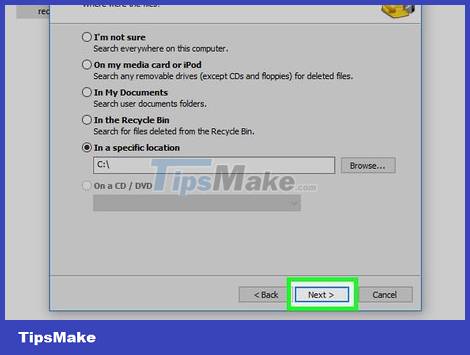
Click Next . This allows Recuva to scan your entire computer for deleted photos.
If you know what folder the deleted photos are stored in, check the box "In a specific location", then click Browse. and select a folder.
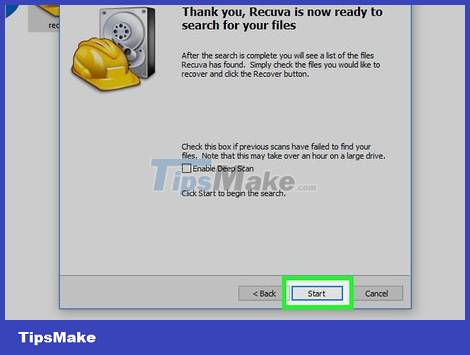
Click Start at the bottom of the window to let Recuva start scanning for deleted photos on your computer.
The scan will take a few minutes to complete.
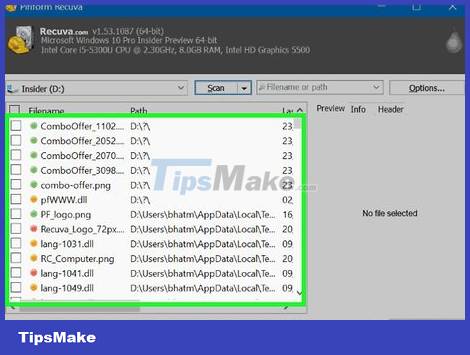
See results. Any file with a green circle next to it is an image that is considered "good", which means you can recover the image without losing any data.
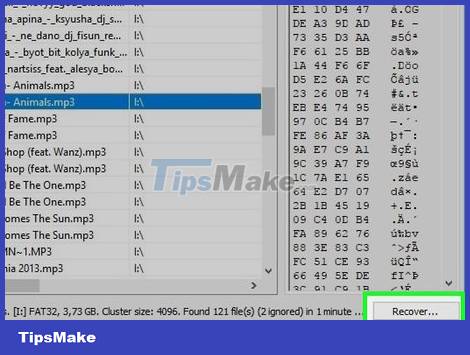
Restore recoverable photos. Click to check the box to the left of each photo you want to restore (or click the box in the upper left corner to select everything), then do the following:
Click Recover. (Recover)
Click on Desktop
Click Make new folder
Click OK
Wait until the image completes the process of restoring data to the new folder.

Try restoring the backup. If you created a File History backup, you can restore photos from the backup. Connect File History, and then do the following:
Open Start
Type restore your files
Click Restore your files with File History
Find the folder where the photos are saved.
Select the version of the folder that contains the pictures.
Click Restore.
Recover photos on Mac
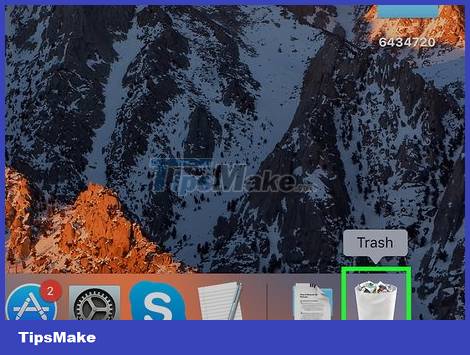
Check Trash (trash). Before recovering deleted photos with Time Machine, the first thing you need to do is open Trash and search for the files in it.
If you see a photo in the Trash, you can select it, right-click the selected photo, and click Put Back to restore the photo to its original folder.

Open Spotlight. Click the magnifying glass icon in the upper right corner of the screen to open the search tool.
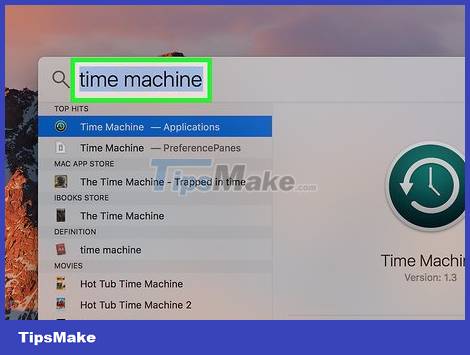
Type time machine to search for the Time Machine application on your computer.
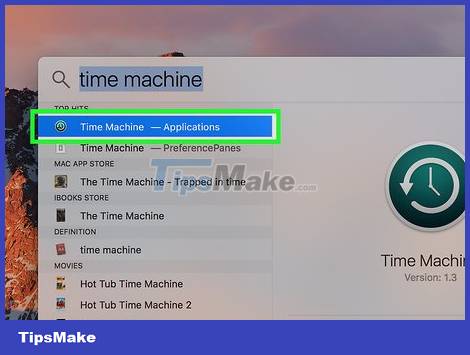
Click on the Time Machine app with the teal blue box icon with a white clock above it. This is the operation to open Time Machine.
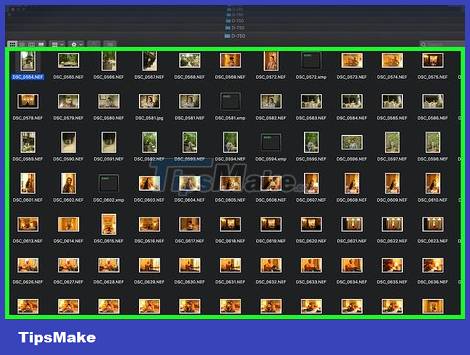
Access the folder where the images are saved by clicking on the folder that used to contain the currently displayed photos on the left side of the window.
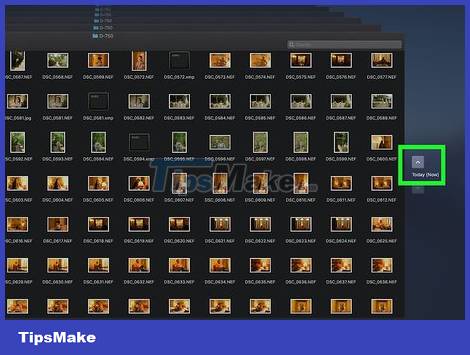
Access backup data while photos are still on your Mac. Click the up arrow on the right side of the Time Machine window to scroll through the backups until you see the deleted photos displayed in the main window.
If you drag past the photo creation date and still don't see the photo, it means you can't use Time Machine to restore the photo.
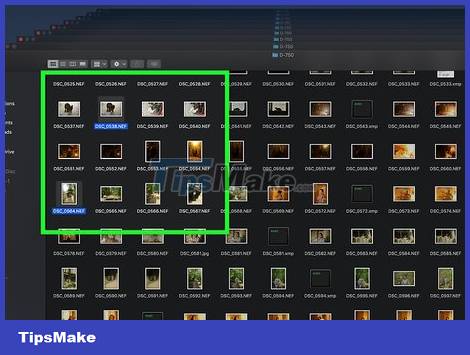
Select the file you want to recover. Click and drag around a group of files to select them all, or hold down the ⌘ Command key and click each file to select them individually.

Click the gray Restore button at the bottom of the Time Machine window. This will restore the selected image to the original folder.
You may have to repeat this operation for each separate folder in Time Machine.
Recover iPhone photos with iTunes
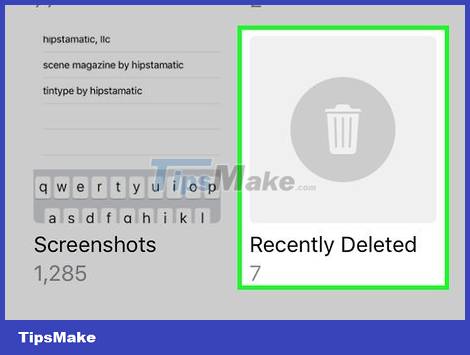
Check the "Recently Deleted" folder on your iPhone. If your iPhone is updated to iOS 10 or later, your "deleted" photos are moved to the "Recently Deleted" folder and kept on your iPhone for up to 30 days. Check the directory in the following way:
Open the Photos app on your iPhone.
Tap Albums in the lower right corner.
Scroll down to the bottom of the screen and tap Recently Deleted
Find your photo.
Restore photos by tapping Select, then tapping the photos you want to recover and selecting Recover in the bottom-right corner of the screen.
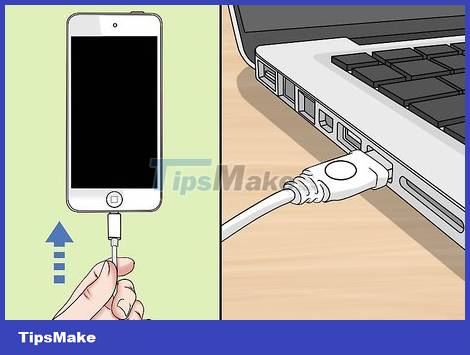
Attach iPhone to the computer. Plug the USB end of the iPhone charging cord into one of your computer's USB ports, then plug the other end of the charging cord into the iPhone's charging port.
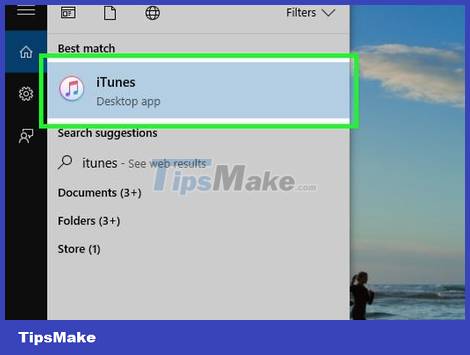
Open iTunes with a multicolored musical note icon on a white background.
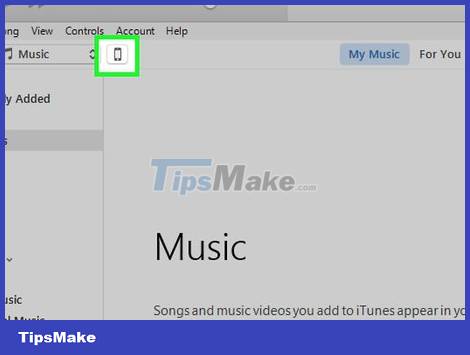
Click "Device" with the iPhone icon in the upper-left corner of the iTunes window to open your iPhone page.
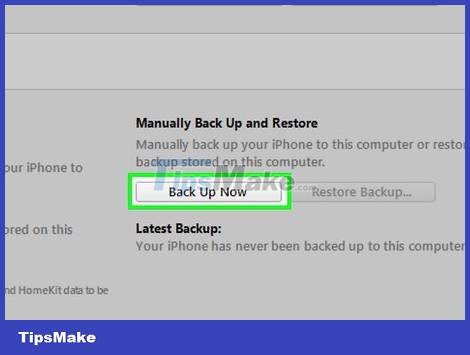
Backup iPhone. Click Back Up Now in the "Backups" section, then click Transfer Purchases when asked. This will make a copy of your existing files and settings on your iPhone.
Backups can take anywhere from a few minutes to half an hour to complete.
After restoring your photo backup, you can save the photos and return to the latest version of your iPhone.
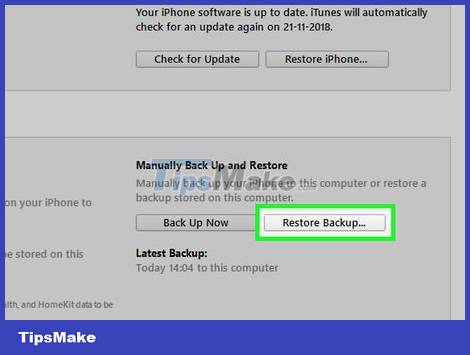
Click Restore Backup… to the right of the "Backups" section. The screen will display a new window.
You may have to disable the Find My iPhone app before continuing.
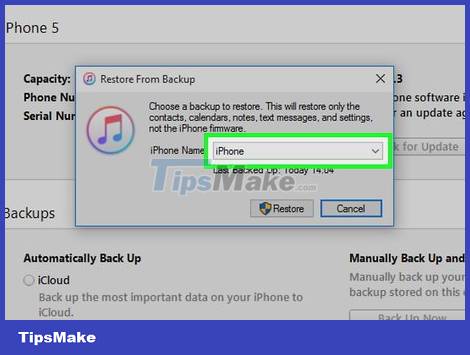
Select backup data. Click on the selection box in the window that appears, then select a date from the list that is displayed.
Choose the date the photos are still saved on your iPhone.
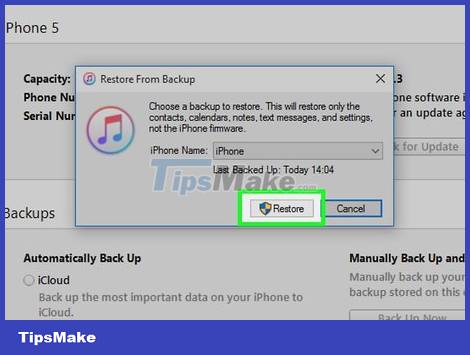
Click Restore at the bottom of the window to request a backup restore.
You will be asked to enter your password before continuing.
Wait for the restore to complete in a few minutes. Once the restore is complete, you can open your iPhone to view the photos.
If you want to restore to the latest version of your iPhone, you'll need to upload your deleted photos to Google Drive or iCloud before you can do this. Otherwise, the photos will be removed from iPhone when the backup is restored.
Recover Android Device Photos on Windows
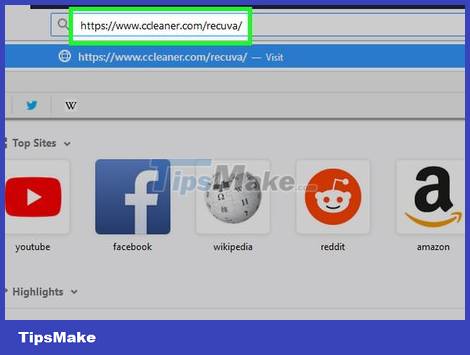
Download the Recuva installation file. Recuva is a freeware recovery program that you can use to recover deleted files of your Android device on your computer. Download the program in the following way:
Go to https://www.ccleaner.com/recuva/ with a browser
Scroll to the bottom of the page and click Free Download.
Click the CCleaner.com link on the left side of the page.
Click Start Download
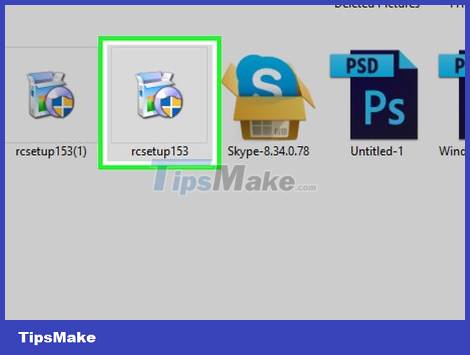
Install Recuva in the following way:
Double-click the rcsetup153 installation file.
Click Yes when asked.
Check the box "No thanks, I don't need CCleaner" (No thanks. I don't need CCleaner).
Click Install
Tick the "Reboot now" box.
Click Finish.
Wait for the computer to finish restarting.
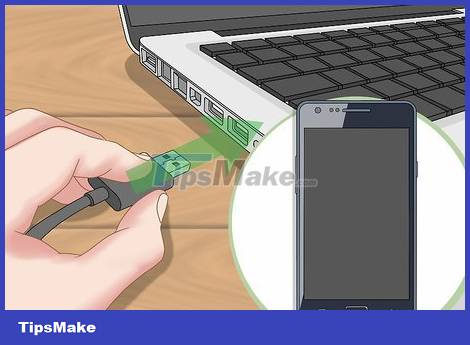
Attach the Android device to the computer. Plug the USB end of the Android device charging cord into one of your computer's USB ports, then plug the other end into the Android device's charging port. You will see a notification displayed on your Android device.
After a few seconds, if you still don't see the notification on your Android device and computer, try another USB port.
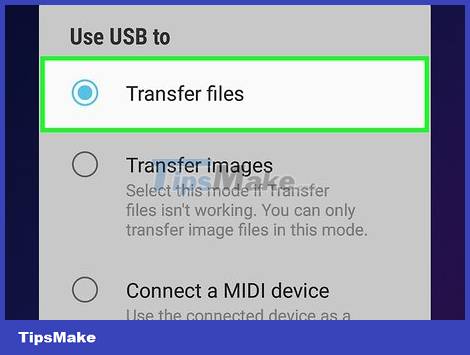
Put Android device in MTP mode. Tap the message "Connected as a media device" or something similar, then you tap the MTP selection.
On some Android devices, you may need to open the Notifications section first by swiping down the screen.

Open Recuva. Double-click the Recuva app to do this.
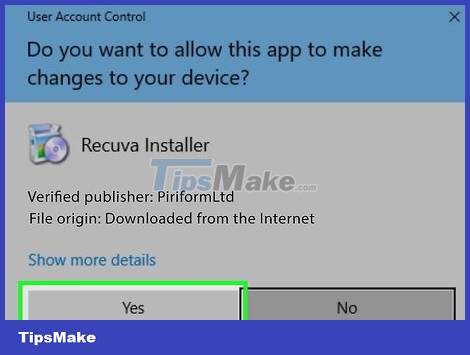
Click Yes when asked to open the Recuva window.
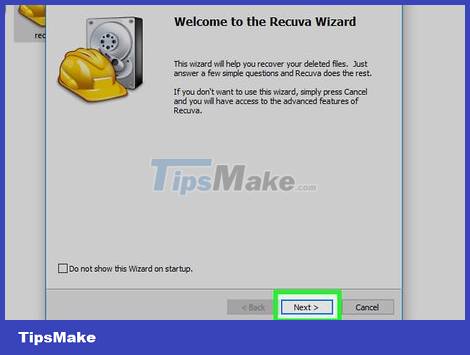
Click Next in the lower-right corner of the window.
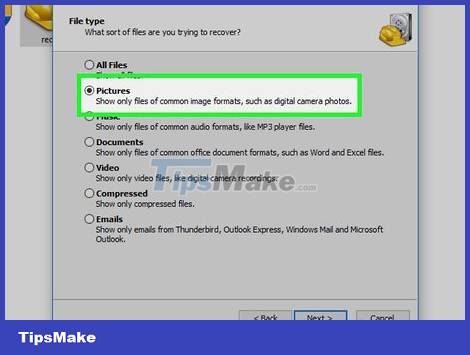
Check the "Pictures" box, then click Next . You'll see a "Pictures" box near the top of the window.
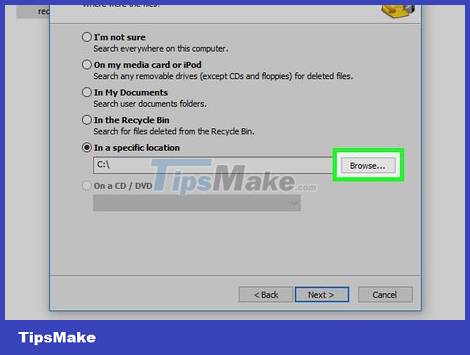
Choose your Android device where to save the file. Tick the "In a specific location" box, then click Browse., find and click the name of your Android device and select OK.
If you don't see the name of your Android device, you can't scan it directly. To recover deleted files, you need to remove the SD memory card from your Android device, attach it to a USB card reader, and attach the reader to one of your computer's USB ports; then you can choose to scan the SD card.
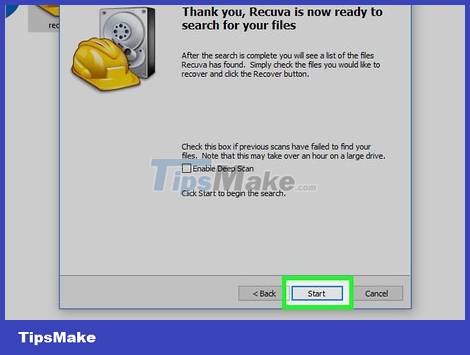
Click Start at the bottom of the window. Recuva will start scanning your computer for deleted photos.
Wait for the scan to complete. This will take anywhere from a few minutes to an hour, depending on the size of your Android device and the number of photos to recover.
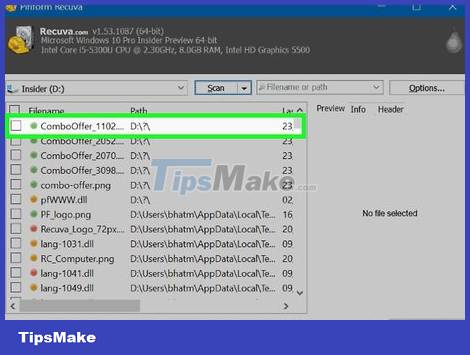
Check the "Filename" box. When the scan is complete, you'll see this option in the upper-left corner of the Recuva window. Here's how to select all recovered photos.
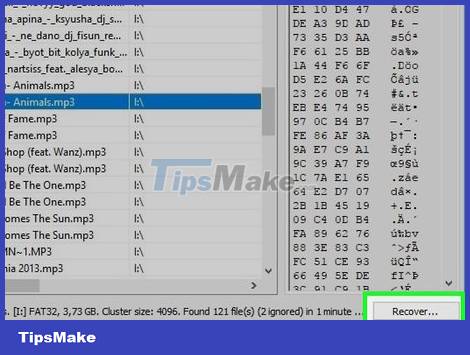
Restore photos to your computer in the following ways:
Click Recover. (Recover)
Click on Desktop
Click Make new folder
Click OK
Wait until your photos complete the folder restore process.
You may have to click Yes or OK when asked before starting the restore process.
Recover Android device photos on Mac
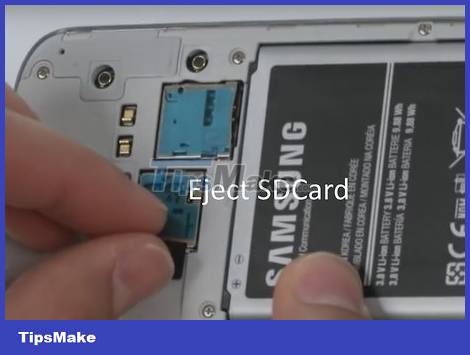
Remove the SD card from the Android device. Most Android phones or tablets come with a removable SD memory card to store the device's photos and other files.
Where to insert the SD memory card may vary from device to device, so you'll need to check your manual or online documentation for the exact location.
You cannot recover files that have been deleted on the internal memory of your Android device, without performing a direct search on the device.
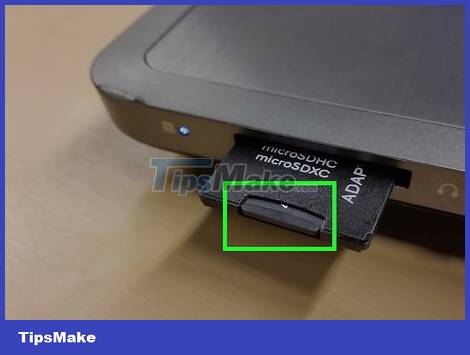
Insert the SD memory card into the computer. You need a USB card reader to do this.
You can buy a USB card reader online or at an electronic parts store for less than 200,000 VND.
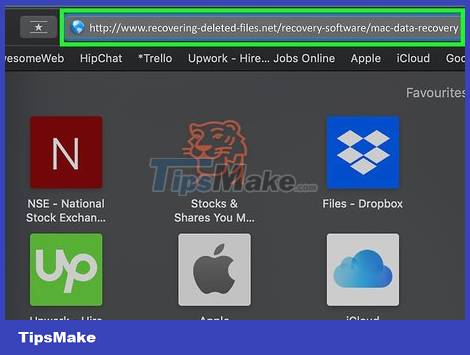
Download and install Mac Data Recovery. Go to http://www.recovering-deleted-files.net/recovery-software/mac-data-recovery/, drag the slider down and click Download, double-click the downloaded file, and then click Download. Follow the instructions on the screen.
You will need to verify the download when asked.
Mac Data Recovery is a paid program, but you can use the free version to determine if your files are recoverable.
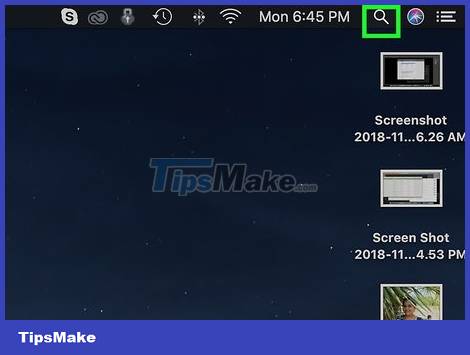
Open Mac Data Recovery. Click Spotlight, type data recovery into Spotlight, and click Mac Data Recovery at the top of the list of search results.
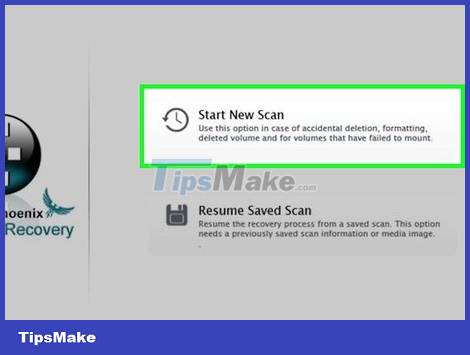
Click Start New Scan at the top of the Mac Data Recovery window.
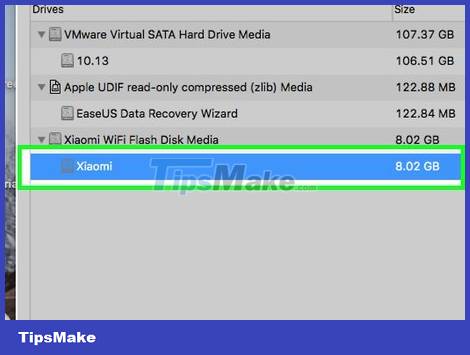
Select your Android device's SD card by clicking the SD card's name in the upper-left corner of the window.
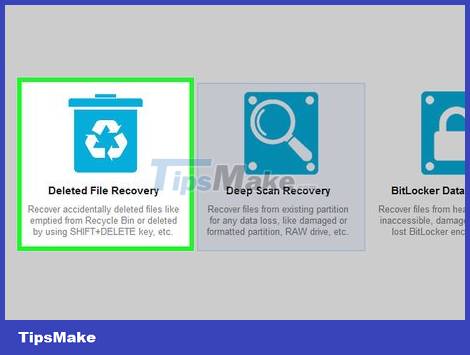
Click Deleted Recovery in the middle of the page.
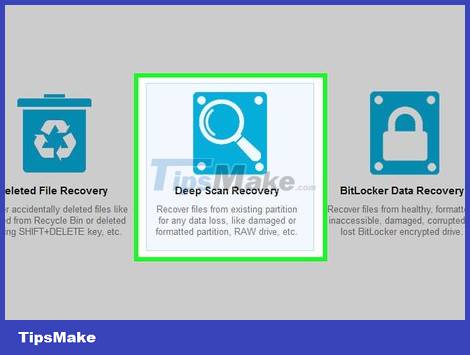
Tick the "Deep Scan" option in the lower right corner of the window. This will enable a full scan, giving you more chances of recovering deleted files than using the "Quick Scan" option.
A full scan may take several hours.
You can use "Quick Scan" if you are in a hurry, or when you have just deleted a file.
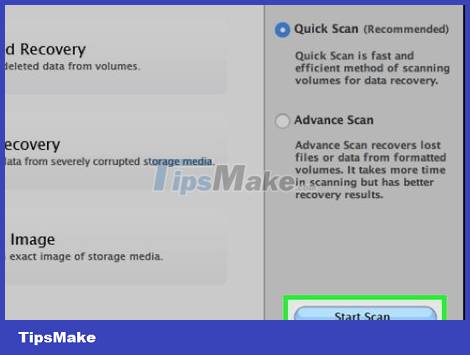
Click Start Scan in the lower-right corner of the window.
Wait for the scan to complete. This can take anywhere from a few minutes to a few hours, so make sure your computer is connected to a power source.
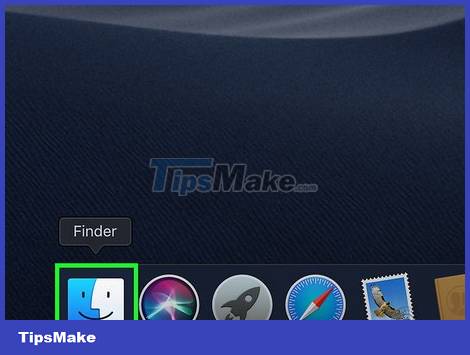
Find deleted photos. You can now view the recovered files as you normally would in the Finder. If the deleted files are still in the same folder as before they were deleted, you can restore them.
If you can't find deleted photos, recovery cannot be done.
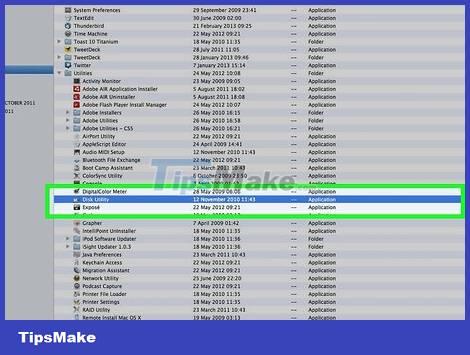
Select files to restore. Click and drag your mouse over the pictures you want to save, or hold down the ⌘ Command key while clicking each image.
Click Recover in the lower-right corner of the window.
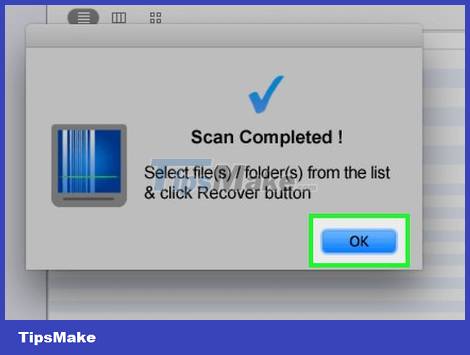
Follow the registration requirements on the screen. If it's an important photo and you need to buy software to restore it, do it right here on this page. After purchasing the software, you can recover deleted files. Mac Data Recovery Professional Edition for US$99