How to Change How Long Until a Mac Asks for Your Password
To change how long until your Mac asks for a password, click the Apple menu → click System Preferences → click Security & Privacy → click the Require Password menu to select a new time. Click the Apple menu. This is in the upper-left corne...
Table of Contents
Part 1 of 2:
Setting Your Password Time Limit
-
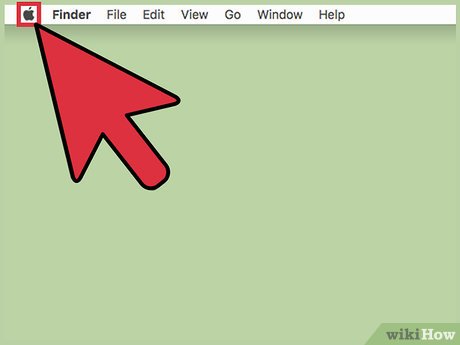 Click the Apple menu. This is in the upper-left corner of the screen.
 -
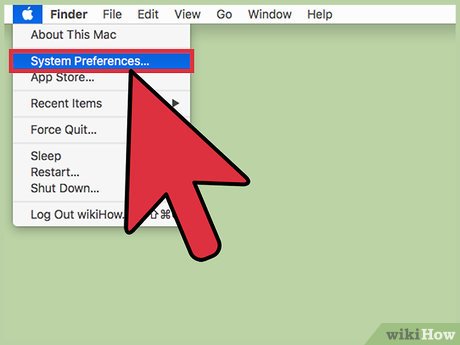 Click "System Preferences." If the main System Preferences menu does not appear, click "Show All" at the top of the window. This looks like a grid with 12 dots.
 -
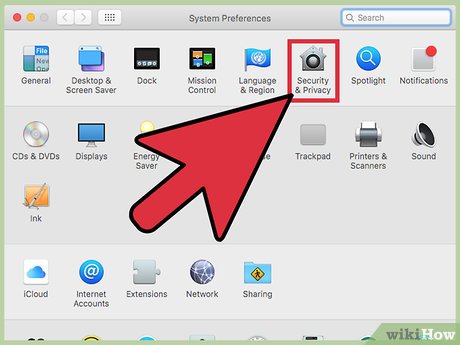 Click "Security & Privacy." This is in the top row of options.
 -
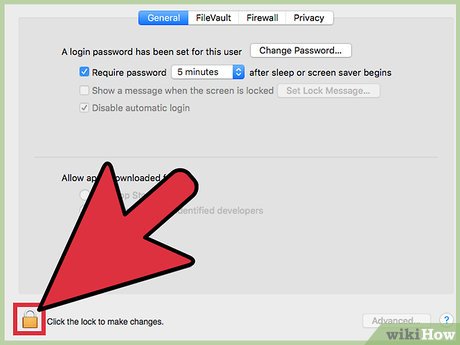 Click the padlock button in the lower-left corner.
 -
 Type your user password.
 -
 Check the box next to "Require password." When this is enabled, you can set the time until your password is required after your computer goes to sleep or turns on the screen saver. If you don't want to be prompted for your password ever when your computer goes to sleep or into screen saver, uncheck this box.
 -
 Click the drop-down menu after "Require password."
 -
 Click the amount of time you want to use. Your computer will wait this amount of time after sleeping or enabling the screen saver until it asks for your password again.
Part 2 of 2:
Adjusting Your Screen Saver and Sleep Times
-
 Click the "Show All" button at the top of the window. This will return you to the System Preferences menu so that you can change the time until your computer goes to sleep or enables the screen saver.
 -
 Click the "Desktop & Screen Saver" option.
 -
 Click the "Screen Saver" tab.
 -
 Click the "Start after" menu.
 -
 Click the time that your screen saver should start. If you don't want a screen saver, select "Never." Your computer will prompt you for a password once the allotted time has passed after the screen saver activates.
 -
 Click the "Show All" button. You'll now be changing the time until your computer puts itself to sleep.
 -
 Click the "Energy Saver" option.
 -
 Click and drag the "Computer sleep" slider. Your computer will put itself to sleep after this amount of inactivity. You'll then be prompted for your password however long after that, depending on what you set earlier in the Security & Privacy menu.
Was this article helpful?
Your feedback helps us improve.
Related Articles
 How to change your computer password for the most popular operating systems.5 minutes read
 How to change your Windows user account password on a computer.5 minutes read
 2 steps to change Linksys wifi password1 minutes read
 How to change your computer, phone and Mac passwords5 minutes read
 How to change VNPT WiFi password5 minutes read
 Instructions on how to change your Spotify password2 minutes read
Reader Comments 0
Sign in with email or Google to join the discussion.