Table of Contents
This practical guide walks through how to convert powershell script file (.ps1) to .EXE by, explains the main requirements, and highlights common issues that may appear along the way.
IExpress is an extremely useful tool for coverting Visual Basic and PowerShell scripts as well as other directly non-executable file types. It turns these files into files that can be run with just one click.
Before you get into details, you need to have yourself a PowerShell script file. How to create a PowerShell script file Review In this guide:

Create .ps1 file with VS Code
Once we have a .ps1 file as shown in the image above, we will continue with the following steps:
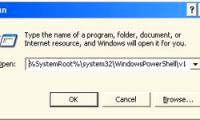
Press the Windows + R key combination to open the Run dialog box
Enter the command iexpressinto Run and press Enter
In the IExpress Wizard window that appears, select Create new Seft Extration Directive file and click Next
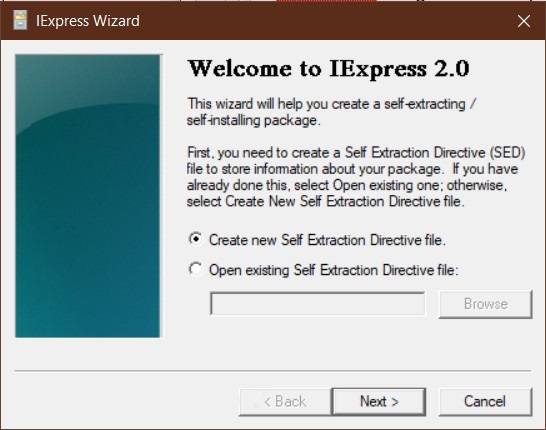
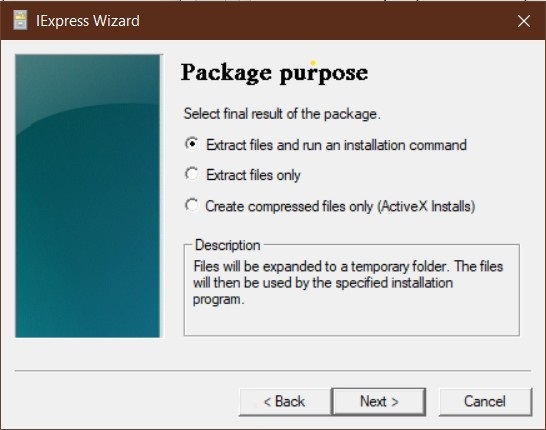
Next, select Extract files and run an installation command and click Next
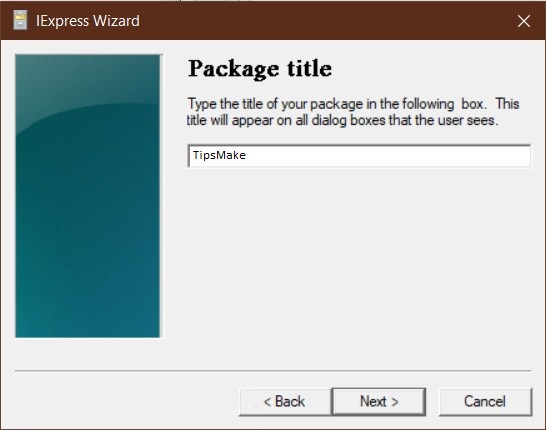
Choose a name for the executable and then click Next
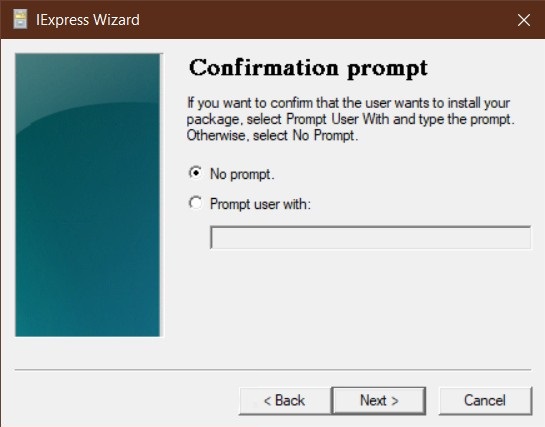
You will be asked To prompt users to confirm their package installation. In the framework of this tutorial, you choose No prompt and click Next . To prompt the user, you can choose Prompt and enter a message in the dialog box below
Likewise, you will be asked whether to display a license agreement prompt. Here we choose Do not display a license and click Next

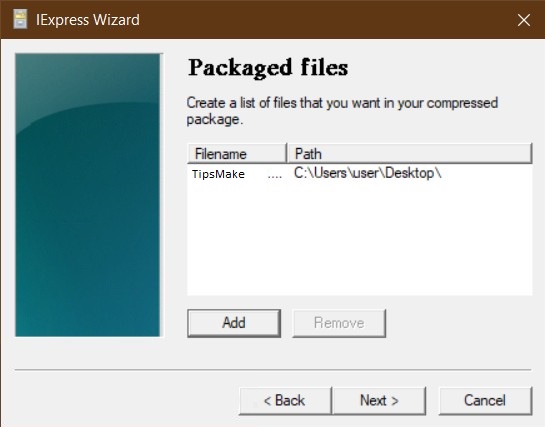
In the Packaged files window, click the Add button and navigate to the PowerShell script file you want to Convert and then click Next
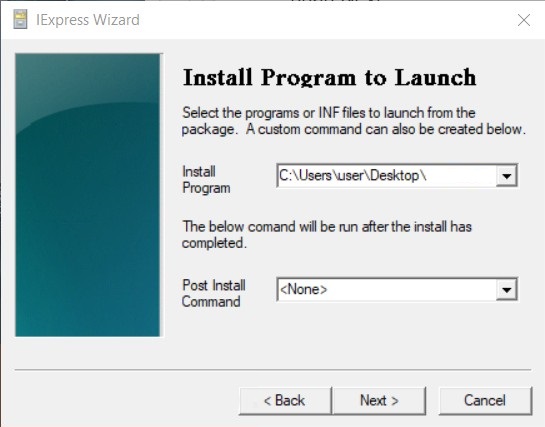
Now, your script file will appear in the Install Program box , if it doesn't appear, fill it in with the full path. Eg C:UsersuserDesktopTipsMake.ps1. In the Post Install Command section, leave the default then click Next
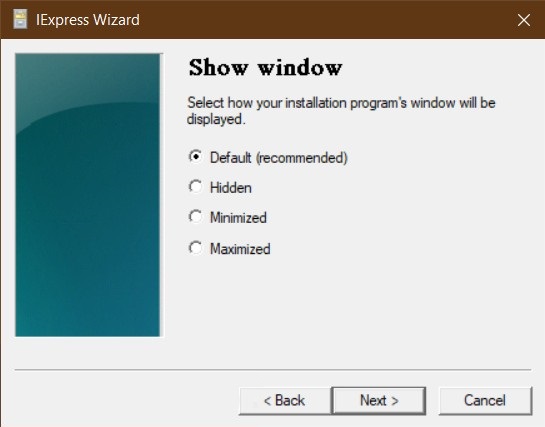
In the Show windows section, leave the default option Default (recommended) and click Next
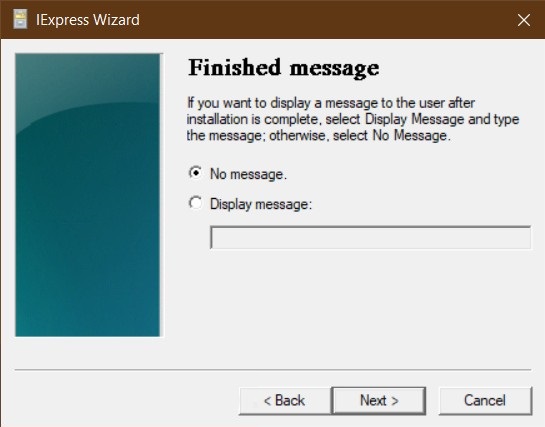
Next is the Finished message you choose to be No message . To display the message to the user after running the script, you can select Display message and enter the message in the dialog box and click Next.
In the Package Name and Options window, click Browse . Select a save location and enter a file name. Click Save . You can deselect or deselect the options if you want as they won't matter much. Click Next after you're done selecting.
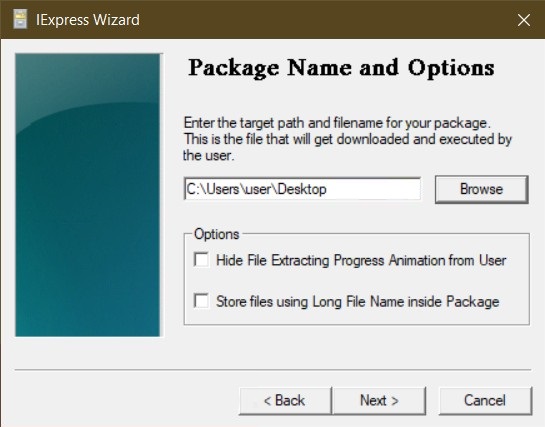
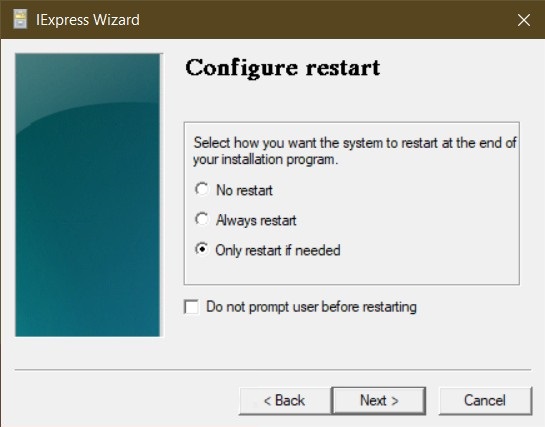
Next in the Configure restart section, select Only restart if needed and click Next
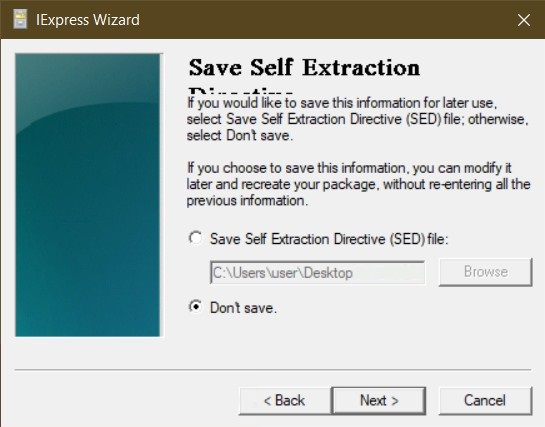
You can save IExpress configuration in case you need to go back for editing. For this tutorial, TipsMake choose Don't save and click Next
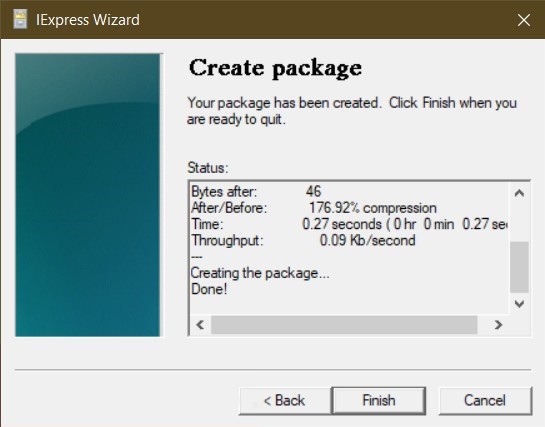
All the configuration is done, now you are ready to create the .exe file. Click Next to begin the process

The converting process will begin and when it is complete click Finish to finish
You can find your .exe file in the save location of your choice.

Good luck.
Key Takeaways
Use the information above as a practical reference for how to convert powershell script file (.ps1) to .EXE by. Review each step carefully, confirm any requirements, and choose the option that best fits your situation.
FAQ
What does this guide explain about Convert Powershell Script File (.Ps1) to .EXE by?
It explains the main concepts, practical considerations, and useful steps related to convert powershell script file (.ps1) to .EXE by without requiring advanced knowledge.
Who can benefit from learning about Convert Powershell Script File (.Ps1) to .EXE by?
This information is useful for readers who want a clear overview, practical guidance, and reliable steps related to convert powershell script file (.ps1) to .EXE by.
What should I check before applying this information?
Review the requirements, confirm that your device, software, or situation matches the instructions, and back up important data before making major changes.
Related Articles
 How to Create and Run a Powershell Script File on Windows 106 minutes read
 How to Enable and Use Script Execution Policy in Windows Powershell6 minutes read
 How to Install Powershell 7.0 in Windows 10/8/73 minutes read
 Microsoft Windows Powershell and SQL Server 2005 SMO - Part 510 minutes read
 How Are Command Prompt (Cmd) and Powershell Different?6 minutes read
 Test SQL Server with Windows Powershell - Part 18 minutes read
Reader Comments 0
Sign in with email or Google to join the discussion.