How to use AppManager to control apps on Windows 10
As we all know, to manage apps on Windows 10, we will use Apps & Features in settings and want to manage resources, we have to use Task Manager. In case you both want to manage resources and manage applications, you will have to open two different windows in parallel, they will not be convenient if used for a long time.
AppManager tool is a combination of Apps & Features and Task Manager of Windows 10, along with that, they have a number of specific features to meet many different needs. In particular, AppManager software is completely free and officially released on the Microsoft Store, so you can easily download it to your computer through the store.
Step 1: You proceed to visit the home page of AppManager here and select Get to start downloading the software to your computer.
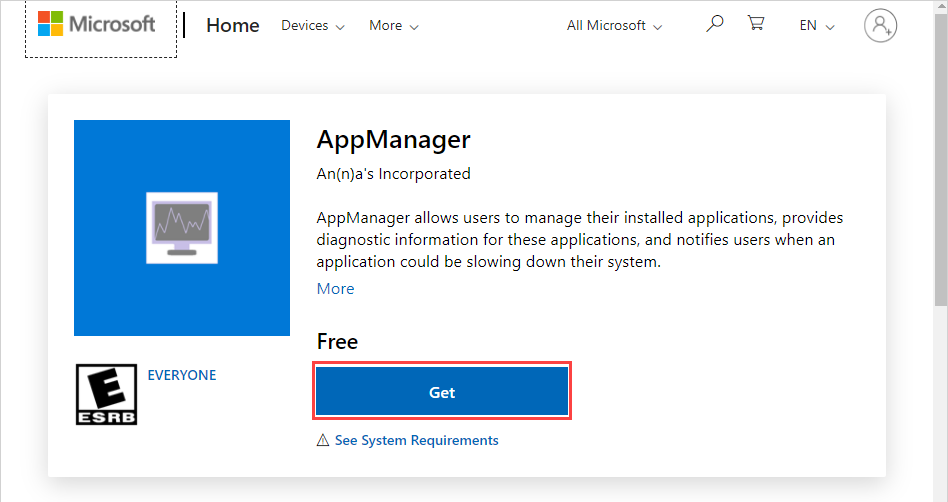
Step 2: The software installation process will take about 1 minute and the size of the software is only about 50Mb so they will not take up too much memory of the computer. When the installation is complete, you choose Launch to start them.

Step 3: At the main interface of AppManager software, you will see that they display exactly the same Apps & Features of Windows with a full range of applications.

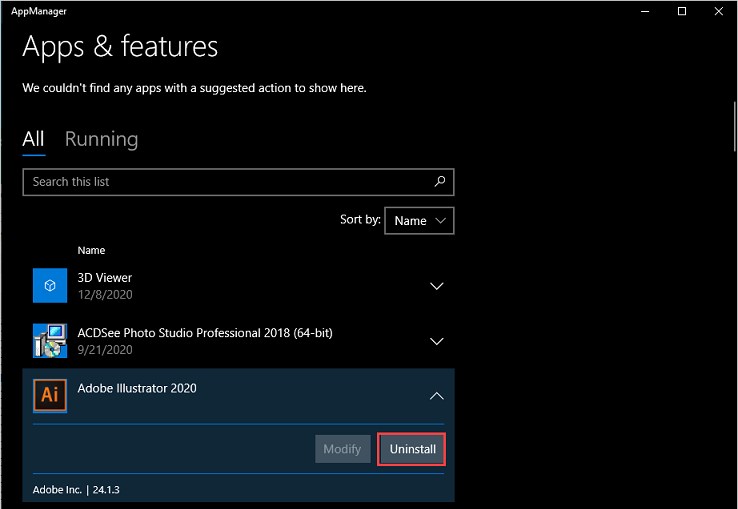
Step 4: In the software, we will have the main card, the All tab with a list of a variety of applications on the computer. The applications shown in the list include both default and additional installed applications.

Step 5: To remove an application on your computer, just select the application and click the Uninstall command.
Step 6: Parallel to the All card, we have the Running card and this card is rated as the 'most profitable' on AppManager software.
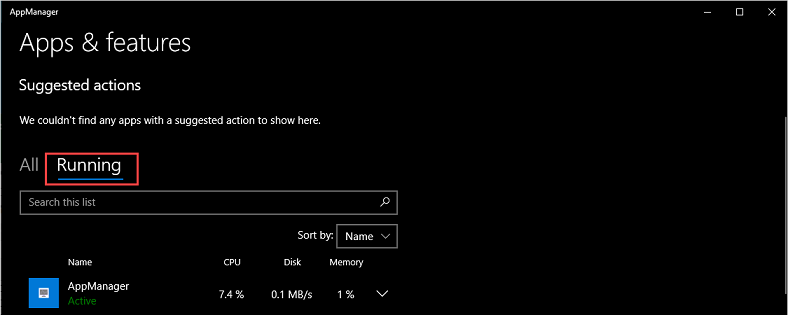
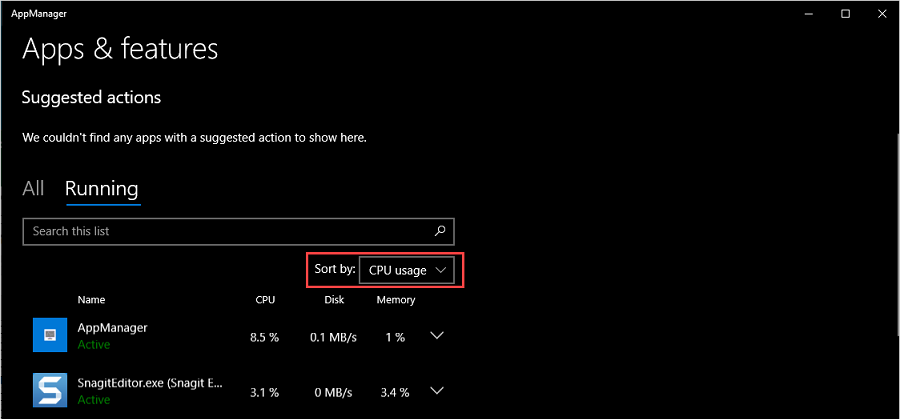
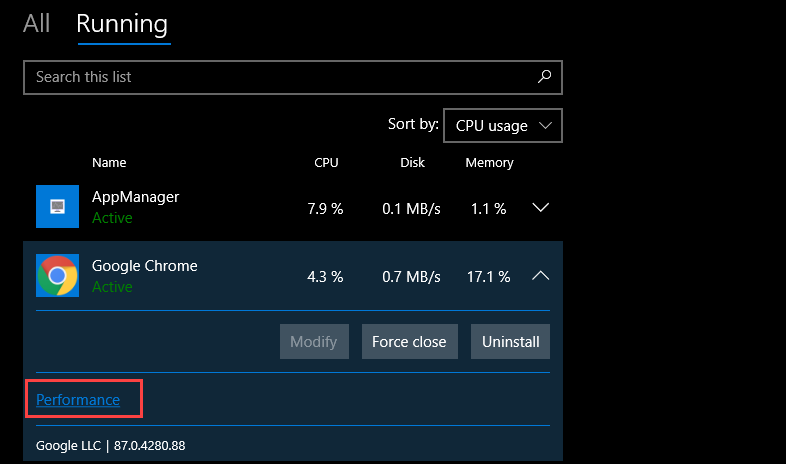
Step 7: The Running Card will give you a list of active applications on Windows and also applications running in the background on the computer. In case you want to know which software is taking up the most resources, please customize it in Sort by:
- Name: Name
- Status: Status
- CPU Usage: Use the most CPU
- Disk Active Time: Time to activate the drive
- Memory Usage: Use the most RAM
Step 8: To check the hardware details of an application in use, select the Performance tab.
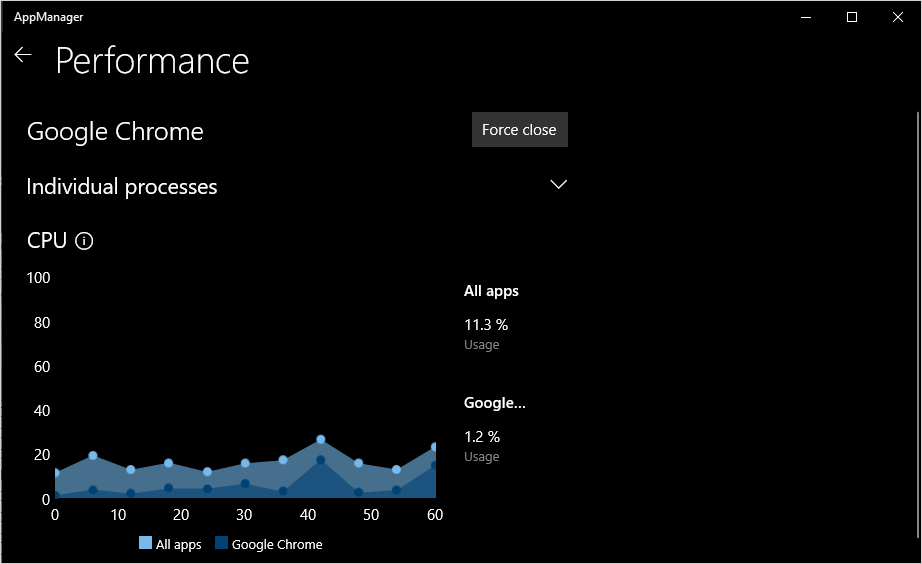
Step 9: Here, you will see the CPU usage graph of the application over time and compare them with the total of other applications on the computer.
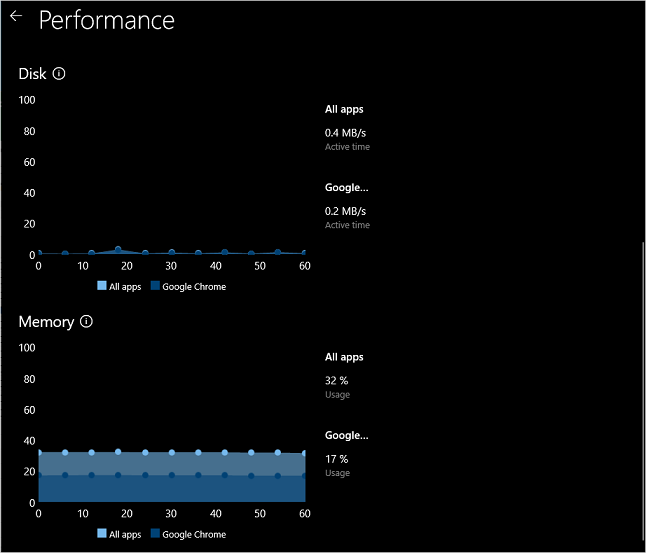
Similar to CPU, hard drive (Disk) and Memory (RAM) can also monitor in real time and compare with the total applications on the computer.
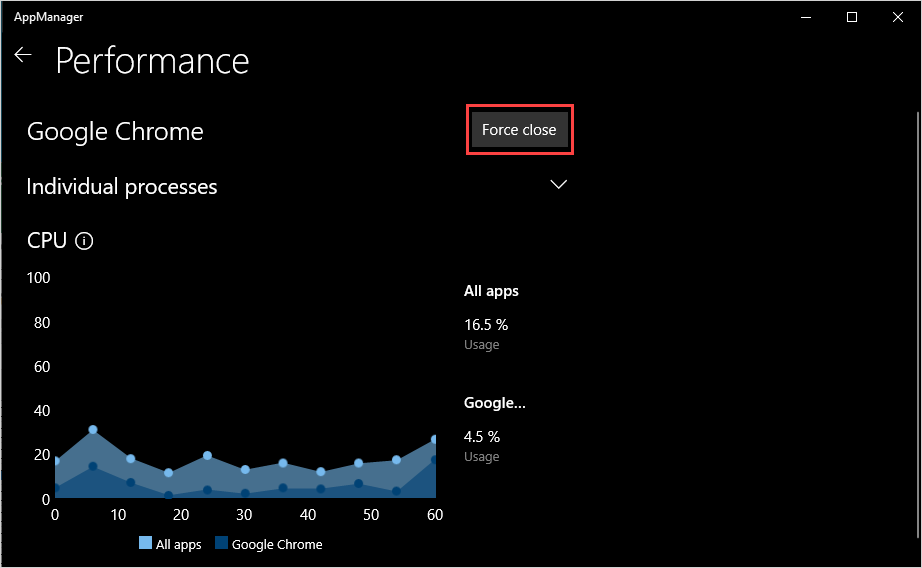
Step 10: To turn off an active application on your computer, select Force Close. The system will automatically shut down the application completely.
On this article are detailed instructions on how to use AppManager software to manage apps and system resources of Windows 10 computer.
Good luck!
You should read it
- How to open Control Panel on Windows 10, 8.1, 7
- Top 3 Apps to help you access, control computers remotely by phone best 2020
- Control Panel will soon disappear on Windows 10
- 8 useful Windows 10 audio control tools
- How to add Services to Control Panel in Windows 7, 8 and 10
- 7 best weather apps for Windows 10/11
 Fixed an issue that could not replace Windows 10 desktop wallpaper with Group Policy
 How to fix Windows Defender taking up too much CPU resources
 How to restore the Microsoft Store on Windows 10
 Turn off automatic downloading of games and apps on Windows 10
 Microsoft releases new Patch Tuesday update for Windows 10
 Instructions to turn off the Reserved Storage feature on Windows 10