Table of Contents
Using Print to PDF on Windows
-
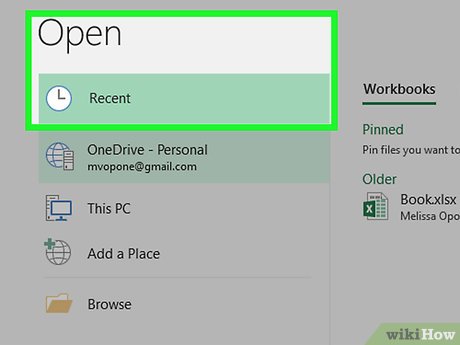 Open the file you want to convert. Go to the location of the file you want to convert into a PDF, then double-click the file to open it.
- If you want to add multiple photos to one PDF, instead do the following: select each photo you want to use by holding down Ctrl while clicking them, right-click one of the selected photos, and click Print in the resulting drop-down menu. You can then skip the next step.
- If you want to create a PDF of an HTML file, open the HTML file in Notepad by right-clicking the HTML file and then clicking Edit in the drop-down menu.
This guide explains how to convert a File into PDF, with clear steps, practical tips, and important checks before you begin.
-
 Open the "Print" menu. The fastest way to do this is usually by pressing Ctrl and P at the same time, but you might need to click File and then click Print in the resulting menu.
- Don't be alarmed if you don't have a printer attached to your computer—you're not actually going to print anything.
-
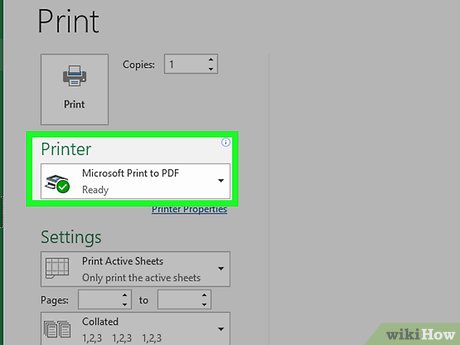 Click the current printer's name. It should be near the top of the menu below the "Printer" or "Printers" heading. A drop-down menu will appear.
- If you're using a text document or an XPS document, skip this step.
-
 Click Microsoft Print to PDF. It's in the drop-down menu. Doing so selects your computer's "Print to PDF" feature as the method with which you'll "print" your document.
- If you're using a text document or an XPS document, you'll just click Microsoft Print to PDF in the "Select Printer" section near the top of the window.
-
 Click Print. It's usually at the bottom of the menu, though you'll click Print at the top of the menu if you're using a Microsoft Office program (e. g., Microsoft Word). A File Explorer window will appear.
 -
 Enter a name for your document. In the "File name" field, type in whatever you want to name the PDF version of your document.
- Since you're creating a PDF version of the document, you can name the PDF the same thing as the original document and store it in the same location if you wish.
-
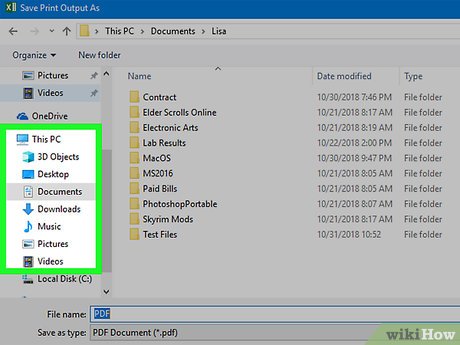 Select a save location. On the left side of the window, click the folder in which you want to store your PDF.
- For example, if you want to save your PDF on the desktop, you'd find and click Desktop in the left-hand sidebar.
-
 Click Save. It's at the bottom of the window. Doing so will save your changes and create a PDF version of your file in your selected save location.
Using Preview on Mac
-
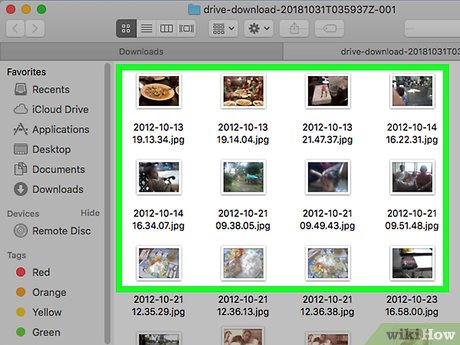 Know which files you can turn into PDFs with Preview. While it isn't an exhaustive list, common file formats that can be converted into PDFs include the following:
- TIFF files
- Photos (. jpg. png. bmp, and so on)
-
 Select the file. Go to the location of the file you want to convert, then click once the file to select it.
- If you want to select multiple photos, click each photo you want to use while holding down ⌘ Command.
-
 Click File. It's in the upper-left corner of the screen. A drop-down menu will appear.
 -
 Select Open With. This is in the File menu. A pop-out menu will appear.
 -
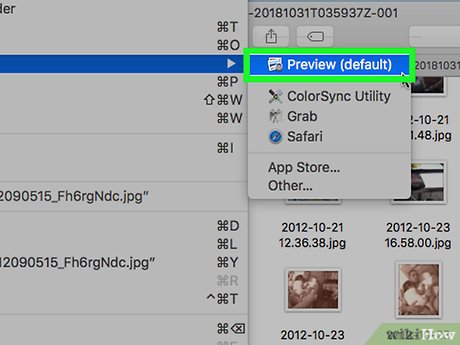 Click Preview. You'll find it in the pop-out menu. Doing so prompts your file to open in Preview.
 -
 Click File again. The drop-down menu will reappear.
 -
 Click Export as PDF... This is in the drop-down menu. A pop-up window will display.
 -
Enter a name. In the "Name" text box, type in the name you want to use for your PDF file.
-
 Select a save location. Click the "Where" box, then click the folder in which you want to save your PDF in the resulting drop-down menu.
 -
 Click Save. It's at the bottom of the window. Doing so will convert your document into a PDF and then store it in your selected save location.
Using the File Menu on Mac
-
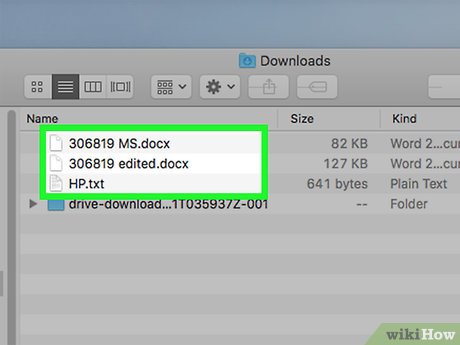 Know which files you can convert into PDFs with the File menu. The File menu can be used to convert the following documents into PDFs:
- Text files (. txt)
- Microsoft Office documents (. docx. xlsx. pptx, and so on)
- Apple documents (e. g., Numbers, Pages, and so on)
-
 Open your document. Double-click the document you want to convert to open it in its program.
 -
 Click File. This is in the upper-left corner of the screen. A drop-down menu will appear.
 -
 Click Print. It's in the File drop-down menu. Doing so opens the Print window.
- Don't be alarmed if you don't have a printer attached to your computer—you're not actually going to print anything.
-
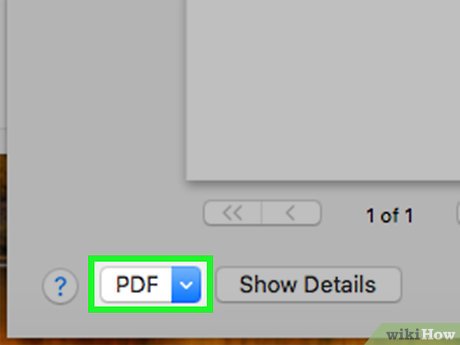 Click the "PDF" menu. This is in the lower-left side of the window. Clicking it prompts a drop-down menu.
 -
 Click Save as PDF. It's in the drop-down menu.
 -
 Enter a name. In the "Name" text box, type in the name you want to use for your PDF file.
 -
 Select a save location. Click the "Where" box, then click the folder in which you want to save your PDF in the resulting drop-down menu.
 -
 Click Save. It's a blue button at the bottom of the window. Doing so will convert your document into a PDF and then store it in your selected save location.
FAQ
What should I know about Convert a File into PDF?
Focus on the key features, requirements, limitations, and practical use cases explained in this guide.
How do I get the best results with Convert a File into PDF?
Follow the recommended steps, use current software or information, confirm compatibility, and review settings before major changes.
Are there any risks or limitations?
Potential limitations depend on compatibility, data quality, cost, privacy, support, and how the product or method is used.
Related Articles
 How to Convert AI Files to PNG, JPG Without Software5 minutes read
 Convert Word File to Csv File: How to Convert Word to a Csv File4 minutes read
 How to Convert Powershell Script File (.Ps1) to .EXE by5 minutes read
 How to Convert Image File to PDF on Windows 105 minutes read
 How to Convert a PDF File to PNG5 minutes read
 How to Convert FBX Files to OBJ for Free7 minutes read
Reader Comments 0
Sign in with email or Google to join the discussion.