Table of Contents
This updated guide examines How to Choose the Print Area on Google Sheets and organizes the essential facts, background, and practical takeaways in clear American English.
Instructions for selecting print areas on Google Sheets
Step 1:
Users open the Google Sheets data sheet they want to print and then select the data that they want to print . Then click the print icon as shown below.

Step 2:
Display the page setup interface. In the Print user, click the drop-down arrow and select the data area that you previously localized . At this time, the preview interface on the side only displays the correct data area that we have chosen.

Step 3:
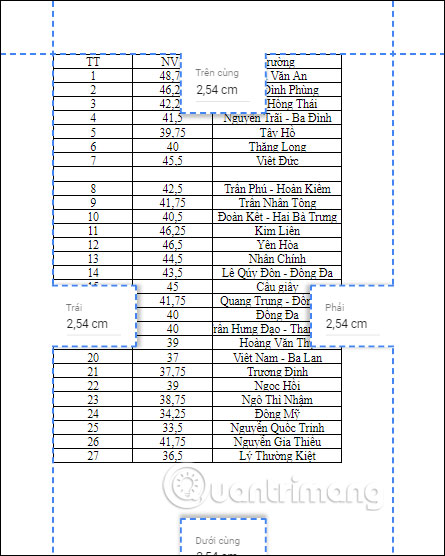
Next to selecting the Portrait or Landscape orientation, depending on the area of the data you want to print, the Margins also need to be adjusted or press Custom numbers to manually enter the size for the printed page margin.

The printed page is then modeled as shown. We enter the margins directly into this interface to adjust accordingly to your intention.
Step 4:
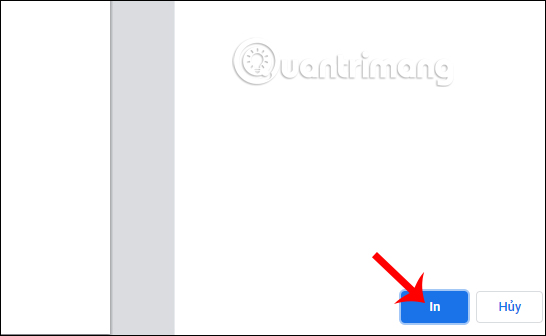
After adjusting the printed pages, click Next . Finally, click Print to complete the Google Sheets document.
FAQ
What is How to Choose the Print Area on Google Sheets about?
It provides a structured overview of how to print on Google Sheets, explains the main context, and highlights practical takeaways for readers.
Why does this topic matter?
Understanding the main concepts helps readers evaluate the issue, avoid common mistakes, and make better-informed decisions.
How should readers use this information?
Use the guidance as a practical starting point, confirm details that may have changed, and follow current product, safety, or security recommendations.
Related Articles
 Instructions on How to Choose the Print Area in Excel3 minutes read
 How to Print Part of an Excel Spreadsheet6 minutes read
 How to Align Spreadsheets Before Printing on Google Sheets3 minutes read
 How to Fix Unable to Print Google Sheets File6 minutes read
 Excel File Printing: How to Print Multiple Sheets in Excel4 minutes read
 How to Print Multiple Sheets at Once in Excel Spreadsheets4 minutes read
Reader Comments 0
Sign in with email or Google to join the discussion.