How to Automatically Have Wallpaper Change on Ubuntu
Do you like the idea of a wallpaper that changes automatically? If you're looking for that kind of variety, you can set your desktop wallpaper to change automatically at certain intervals in Ubuntu using Wallch. Open the Terminal. First...
Table of Contents
Part 1 of 3:
Updating Your System
-
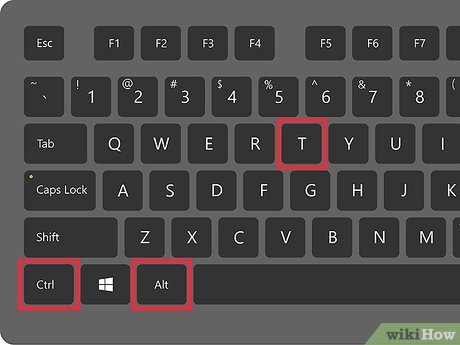 Open the Terminal. First press Ctrl+Alt+T on your keyboard to enter the Terminal.
 -
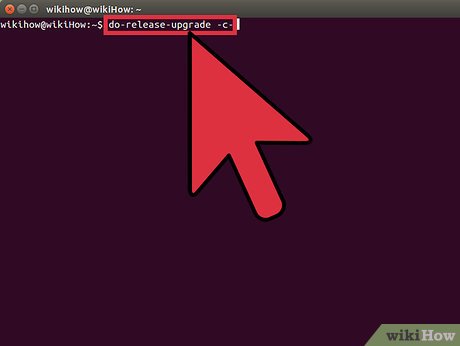 Type in the update command. Type in: do-release-upgrade -c- If you get a message that says, "No new release found", skip to the next section.
 -
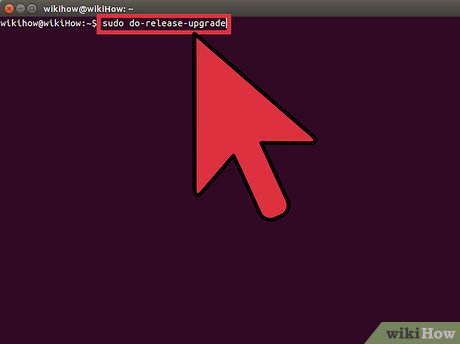 Update. If you have a new version to install, close all windows except from Terminal and type in: sudo do-release-upgrade.
 -
 Let your computer update. Leave your computer be; it will reboot a couple of times but don't press or do anything while it updates. Also remember to plug in your charger if you are on a laptop!
Part 2 of 3:
Downloading Wallch
-
 Go to the dash. Press your Windows key on your keyboard or go to your dash.
 -
 Open the software centre. Type in Ubuntu and click on Ubuntu Software Centre.
 -
 Find Wallch. When the market has finished loading, click on the top right corner and type in wallch.
 -
 Installing Wallch. Click on the first option (the only one) and click on install. You may need to enter your password to verify.
Part 3 of 3:
Adjusting Your Settings
-
 Opening Wallch. Open up Wallch from your left hand side panel.
 -
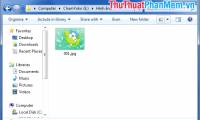
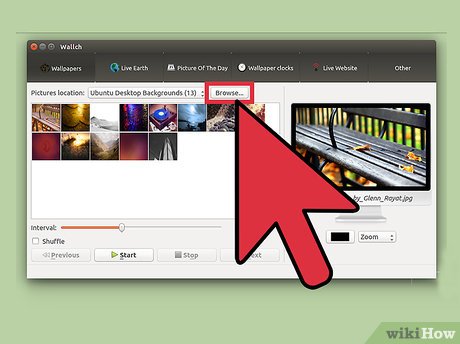 Finding your wallpapers. Click on browse and find your picture folder where you are storing your wallpapers.
 -
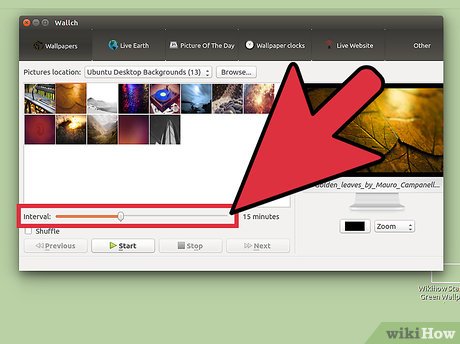 Customize your preferences. You can adjust the intervals between each wallpaper change.
 -
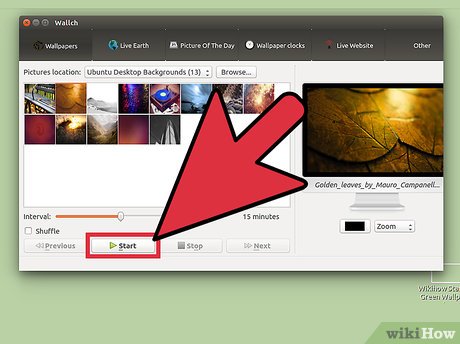 Start Wallch. Press start and your wallpaper should start changing.
Was this article helpful?
Your feedback helps us improve.
Related Articles
 Change wallpaper, set Wallpaper wallpaper for computer3 minutes read
 Instructions for changing Windows 10 wallpaper timer3 minutes read
 How to change iPhone wallpaper automatically when rotating the screen3 minutes read
 How to manually change the wallpaper with Wallpaper Slideshow LT5 minutes read
 Instructions for changing Windows desktop wallpaper3 minutes read
 How to use WallPaper 10 to change desktop wallpaper automatically5 minutes read
Reader Comments 0
Sign in with email or Google to join the discussion.