How to Set Up an Independent IDS/IPS Lab Enviroment (Using Snort, Pytbull, Eclipse and Tomcat)
This page is meant to help new software developers to set up an independent lab environment to run the IDS/IPS Snort as well as the testing framework Pytbull. Advanced users can also install Eclipse and Apache Tomcat, so as to be able to...
Table of Contents
Part 1 of 5:
Prerequisites To Compiling Snort
-
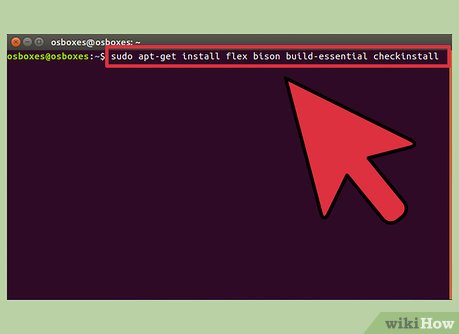 Install the required packets using:
- Sudo apt-get install flex bison build-essential checkinstall
- Sudo apt-get install libpcap-dev libnet1-dev libpcre3-dev
- Sudo apt-get install libmysqlclient15-dev libnetfilter-queue-dev iptables-dev
Part 2 of 5:
Install Libdnet
-
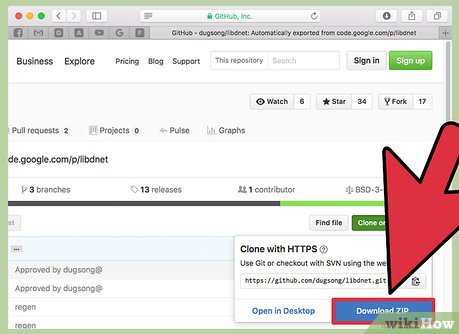 Download libdnet-1.12.tgz. Download from: https://code.google.com/p/libdnet/downloads/detail?name=libdnet-1.12.tgz&can=2&q=. Alternatively, you can search for it online.
 -
 Switch to the directory where the file was saved (this should be Downloads):
- cd Downloads
-
 Untar the file
- tar xvfz libdnet-1.12.tgz
-
 Change into libdnet-1.12 directory:
- cd libdnet-1.12
-
 Compile libdnet
- ./configure "CFLAGS=-fPIC"
- make
- sudo checkinstall
- Type "y" and Enter when it reads "Should I create a default set of package docs? [y]: "
- Then when it reads ">>". Press Enter again
- Enter when it reads "Enter a number to change any of them or press ENTER to continue"
- Type "n" and Enter when it reads "Do you want me to list them? [n] "
- Type "y" and Enter when it reads "Should I exclude them from the package? (Saying yes is a good idea) [n]: "
- Install the package:
- sudo dpkg -i libdnet_1.12-1_amd64.deb
-
 Create the required symbolic link
- sudo ln -s /usr/local/lib/libdnet.1.0.1 /usr/lib/libdnet.1
Part 3 of 5:
Install DAQ (Data Acquisition Library)
-
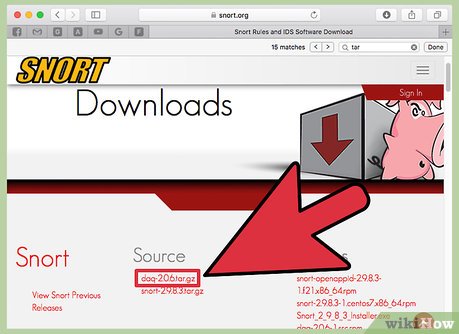 Download daq-2.0.4.tar.gz. Download it from: https://www.snort.org/downloads, or the https://www.snort.org, or search online for it.
 -
 Switch to the directory where the file was saved (this should be Downloads):
- If still inside libdnet-1.12 then type
- cd ..
- If in main directory then type
- cd Downloads
- If still inside libdnet-1.12 then type
-
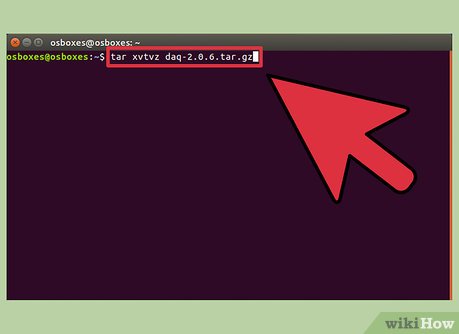 Untar the file:
- tar xvfvz daq-2.0.4.tar.gz
-
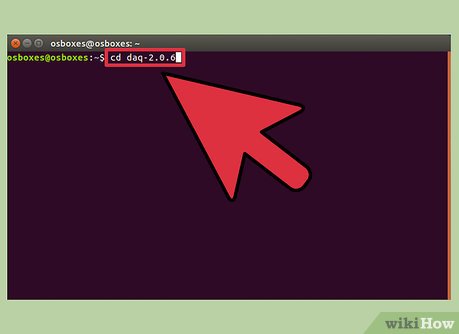 Change into daq-2.0.4 directory:
- cd daq-2.0.4
-
 Compile daq (Similar to how we compiled libdnet):
- ./configure
- make
- sudo checkinstall
- Type "y" and Enter when it reads "Should I create a default set of package docs? [y]: "
- Then when it reads ">>". Press Enter again
- Enter when it reads "Enter a number to change any of them or press ENTER to continue"
- Type "n" and Enter when it reads "Do you want me to list them? [n] "
- Type "y" and Enter when it reads "Should I exclude them from the package? (Saying yes is a good idea) [n]: "
-
 Install the package:
- sudo dpkg -i daq_2.0.4-1_amd64.deb
Part 4 of 5:
Install and Configure Snort
-
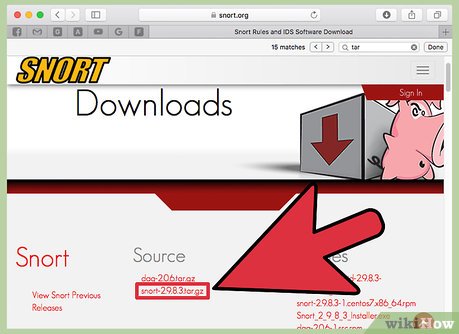 Download snort-2.9.7.0.tar.gz. Download it from https://www.snort.org/downloads or the https://www.snort.org or search for it online.
 -
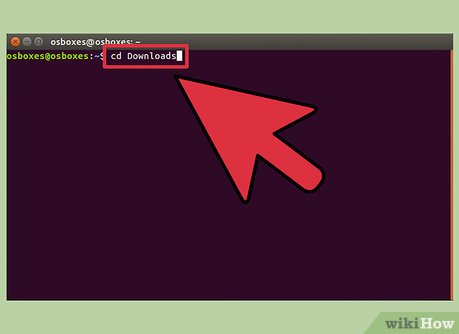 Switch to the directory where the file was saved (should be Downloads):
- If still inside libdnet-1.12 or daq.2.0.4, then type
- cd ..
- If in main directory then type
- cd Downloads
- If still inside libdnet-1.12 or daq.2.0.4, then type
-
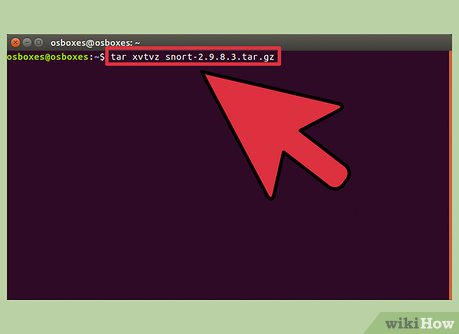 Untar the file:
- tar xvfvz snort-2.9.7.0.tar.gz
-
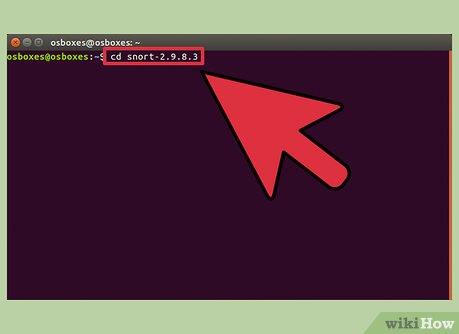 Change into snort-2.9.7.0 directory:
- cd snort-2.9.7.0
-
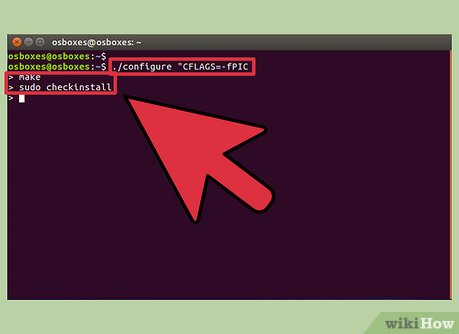 Compile snort (Similar to how we compiled libdnet and daw):
- ./configure
- make
- sudo checkinstall
- Type "y" and Enter when it reads "Should I create a default set of package docs? [y]: "
- Then when it reads ">>". Press Enter again
- Enter when it reads "Enter a number to change any of them or press ENTER to continue"
- Type "n" and Enter when it reads "Do you want me to list them? [n] "
- Type "y" and Enter when it reads "Should I exclude them from the package? (Saying yes is a good idea) [n]: "
-
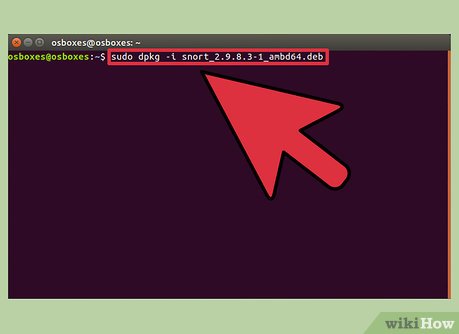 Install the package:
- sudo dpkg -i snort_2.9.7.0-1_amd64.deb
-
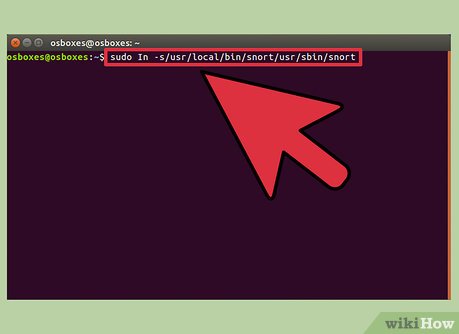 Create the required symbolic link:
- sudo ln -s /usr/local/bin/snort /usr/sbin/snort
- sudo ldconfig -v
-
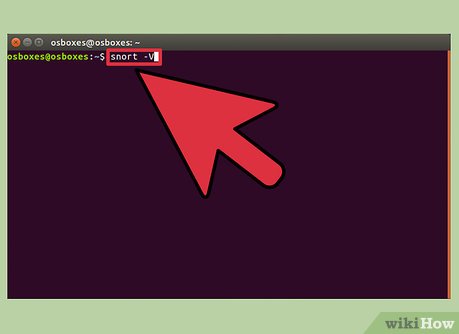 Verify the snort version by typing:
- snort -V
-
 Make snort an individual user with no login for network security:
- sudo groupadd snort
- sudo useradd snort -d /var/log/snort/ -s /sbin/nologin -c SNORT_IDS -g snort
- sudo mkdir /var/log/snort
- sudo chown snort:snort /var/log/snort
Part 5 of 5:
Install and Configure Snort Rules
-
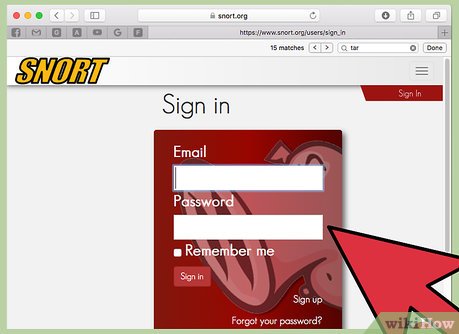 In order to download the default snort rule-set, you will have to create a log in at https://www.snort.org.
 -
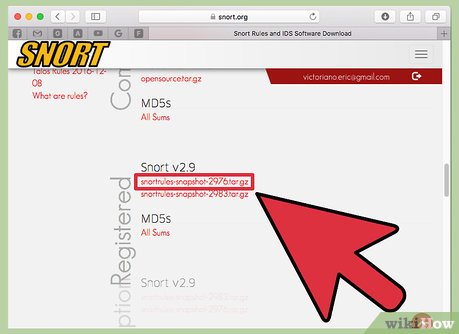 Download snortrules-snapshot-2970.tar.gz. Download it from https://www.snort.org/downloads or the https://www.snort.org or search online for it.
 -
 Switch to the directory where the file was saved (should be Downloads):
- If still inside libdnet-1.12 or daq.2.0.4 or snort-2.9.7.0 then type
- cd ..
- If in main directory then type
- cd Downloads
- If still inside libdnet-1.12 or daq.2.0.4 or snort-2.9.7.0 then type
-
 Make a new directory for the rules:
- sudo mkdir /etc/snort
-
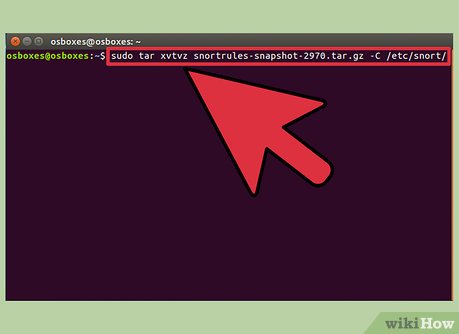 Untar the file
- sudo tar xvfvz snortrules-snapshot-2970.tar.gz -C /etc/snort/
-
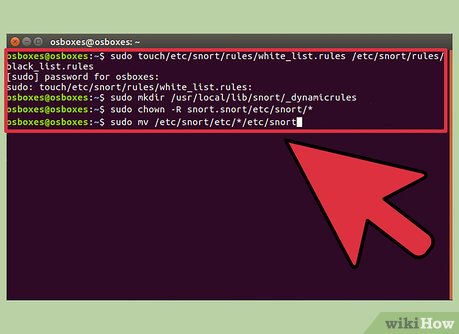 Configure the rule-set:
- sudo touch /etc/snort/rules/white_list.rules /etc/snort/rules/black_list.rules
- sudo mkdir /usr/local/lib/snort_dynamicrules
- sudo chown -R snort:snort /etc/snort/*
- sudo mv /etc/snort/etc/* /etc/snort/
-
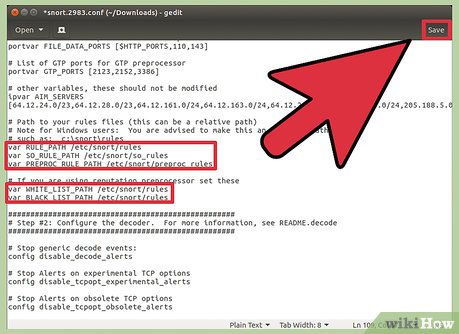 Update snort config file:
- Use any editor you are familiar with (vim, emac, gedit, pico) and open /etc/snort/snort.conf with sudo permissions. Eg: sudo vi /etc/snort/snort.conf
- Change Line 104 from "var RULE_PATH ../rules" to "var RULE_PATH /etc/snort/rules"
- Change Line 105 from "var SO_RULE_PATH ../so_rules" to "var SO_RULE_PATH /etc/snort/so_rules"
- Change Line 105 from "var PREPROC_RULE_PATH ../preproc_rules" to "var PREPROC_RULE_PATH /etc/snort/preproc_rules"
- Change Line 109 from "var WHITE_LIST_PATH ../rules" to "var WHITE_LIST_PATH /etc/snort/rules"
- Change Line 110 from "var BLACK_LIST_PATH ../rules" to "var BLACK_LIST_PATH /etc/snort/rules"
- Save and Exit
- Use any editor you are familiar with (vim, emac, gedit, pico) and open /etc/snort/snort.conf with sudo permissions. Eg: sudo vi /etc/snort/snort.conf
-
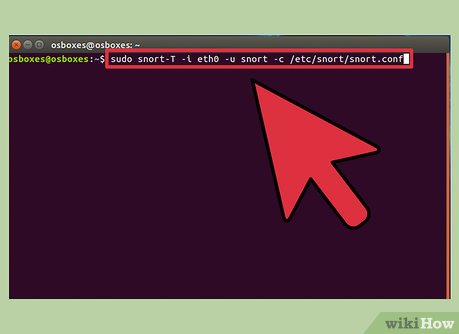 Verify that snort is fully functional with the default rule-set listening to all the traffic on the network by running it in test mode.
- sudo snort -T -i eth0 -u snort -g snort -c /etc/snort/snort.conf
Was this article helpful?
Your feedback helps us improve.
Related Articles
 How to Install Tomcat in Ubuntu6 minutes read
 What is a lunar eclipse? Lunar eclipse occurs when?3 minutes read
 How to Install Tomcat on Windows 77 minutes read
 3 super computers create eclipse eclipses that help you preview the total eclipse tonight3 minutes read
 The strange object appeared in the picture of the lunar eclipse in Hanoi2 minutes read
 What is a solar eclipse? When does a solar eclipse take place?2 minutes read
Reader Comments 0
Sign in with email or Google to join the discussion.