How to Clear Ubuntu Software Center History
Have you ever installed a software using the Ubuntu Software Center, but wanted to clear the history of the installation? This easy guide will show you how to remove the history from Ubuntu Software Center using a few terminal commands.....
Method 1 of 2:
GUI Method
-
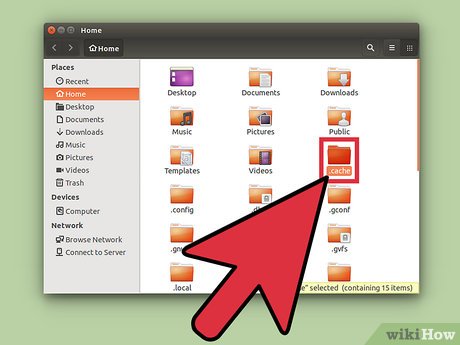 Navigate to your home folder and show the hidden files. To show the hidden files, press Ctrl+H. Then find the folder named .cache and open it.
 -
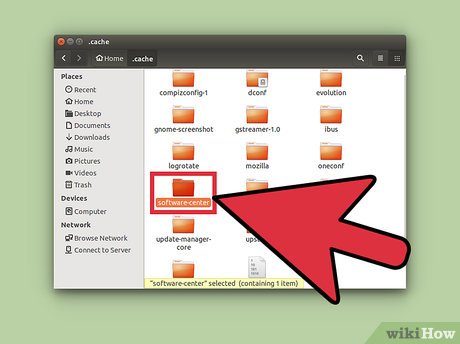 Find the folder named software-center. Then double-click on it to open it.
 -
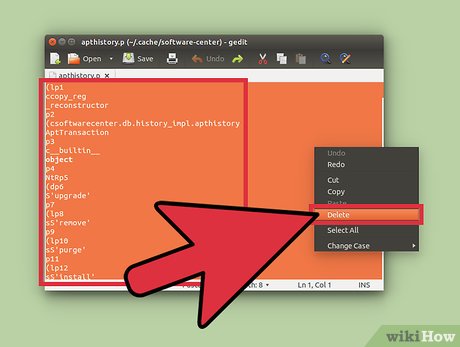 Edit the file named apthistory.p. Open apthistory.p Delete all the contents in the file and save it before closing it.
 -
 Navigate to
/var/log/apt/. Then open the history.log file an administrator and delete all its contents, as in step 3. -
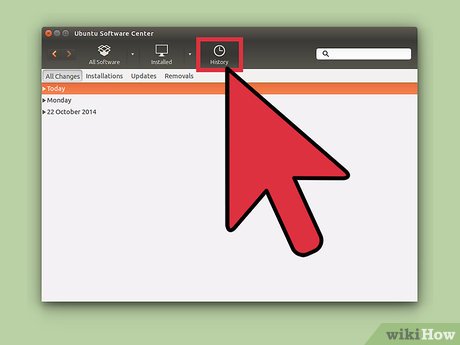
 Open up the Ubuntu Software Center. Click on the History tab. You will see that all the entries are cleared.
Method 2 of 2:
Terminal Method
-
 Open the terminal. This can be done by pressing Ctrl+Alt+T together.
 -
 Clear the cache history file. Type the following command into the terminal: sudo rm -rf ~.cache/software-center/apthistory.p. You will be required to provide an administrative password for this operation.
 -
 Clear the APT history log. Insert the following command: sudo rm -rf /var/log/apt/history.log*.
 -
 Open up the Ubuntu Software Center. Click on the History tab. You will see that all the entries are cleared.