How to align printed pages in Excel
Excel is an office application that supports quite well in printing, and you can see the print results immediately on the computer screen you are using, in the following article, TipsMake will guide you how to align. page editing in Excel, invite you to follow along..
Working in Excel, there will be times when you will encounter an Excel file that has short or long content, even very long and takes up more than a page of paper when you print. Therefore, if you do normal Excel printing, you will print to 2 pages or even more than 2 pages, which may cause difficulties in tracking or not guarantee the saving factor. At this point, it is necessary and important that you need to align the printed page in Excel so that it is suitable, most reasonable, it will be fine.
Align printed pages in Excel
To be able to print files in Excel to fit the paper size while ensuring aesthetics, there are a variety of alignment options that can help you do this. In this article, we have selected the best alignments applied by various Excel users with success.
1. Switch Portrait Print to Landscape and vice versa
Normally, by default, the Excel spreadsheets will be in portrait mode, so when you print on an A4 page, depending on the content in the Excel spreadsheet to choose the most suitable printing mode, it will be the solution. that you should think of.
To be able to switch portrait to landscape printing, just click on the Page Layout tab -> then navigate to Orientation -> and switch to Portrait to Landscape.

2. Use the Page Break feature in Excel
If your Excel file is too long, you can also page break (Page Break) to control the content or gather necessary content in one page, while the page breaks will merge with other content.
To use the Page Break feature, you just need to go to Page Layout -> then choose Breaks -> choose Insert page Break for Excel to automatically divide it for you.

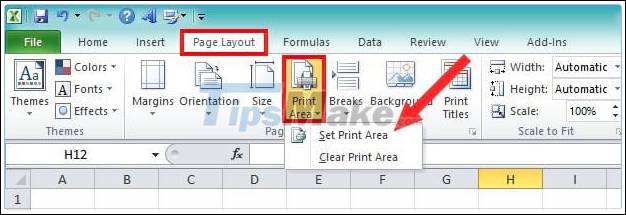
3. Selecting Print Area in Excel
In addition to printing in the normal way, you can also use the regional printing selection in Excel. With this type of print area selection, you are completely proactive in printing where you want to print.
To select the printing area in Excel, highlight the area you want to print -> go to Page Layout -> then select Print Area -> then click Set Print Area.
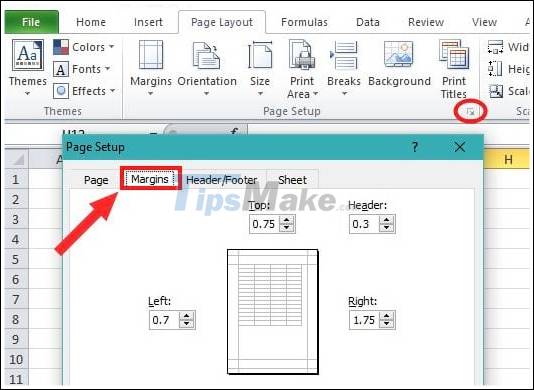
4. Re-align the Paper Size
When you re-align the page size, it will help you make the most of the extra space that Excel has set by default.
To re-align the paper page size, in Page Setup -> you select the tab Margins -> here, you can reset the page size through right alignment (right), left alignment (left).
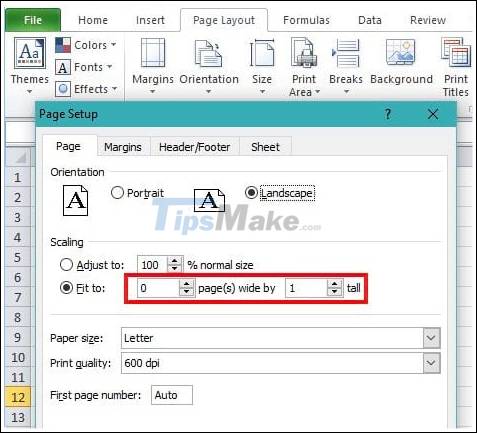
5. Reset The Size Of Table
You can also reset the size of the table to best fit in the Page Setup. In Page Setup, navigate to Page -> click on Fit to -> then enter the number on the page wide by and tall.
Suppose you need to set up to copy to fit on A4 page -> then at page wide by you enter 1
and at tall you enter the number 0 (see picture below).
The above article has just introduced and instructed you some good ways to align the printed page in Excel to the best standard and right according to the wishes of the user.