How to Add Header Row in Excel
Part 1 of 3:
Freezing a Row or Column to Keep it Visible
-
 Click the View tab. If you want to keep a row of data visible at all times, even when you've scrolled down the sheet, you can freeze it.
- You can set this row to print on all pages as well, which can be very useful for spreadsheets that span multiple pages. See the next section for details.
-
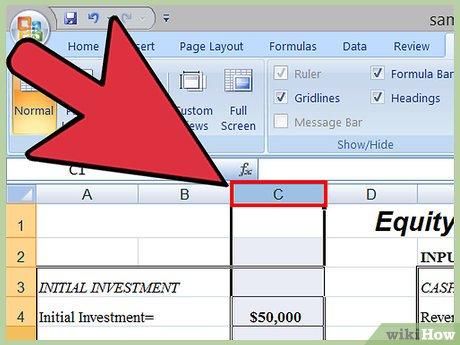
 Select the frame directly inside the row and column you want to freeze. You can set Excel to freeze rows and columns so that they are always visible. To do this, you'll want to select the cell in the corner of the area you want to keep unlocked.
- For example, if you want to keep the top row and the first column locked on the screen, highlight cell B2. All columns to the left will be frozen, and all rows above will be frozen.
-
 Click the "Freeze Panes" button and select "Freeze Panes." This will lock the rows above your selected cell and the columns to the left of your selected cell. For example, if you had cell B2 selected, the top row and the first column will be locked on the screen.
 -
 Add emphasis to your header row (optional). Create a visual contrast for this row by centering the text in these cells, applying bold text, adding a background color, or drawing a border under the cells. this can help the reader take notice of the header when reading the data on the sheet.
Part 2 of 3:
Printing a Header Row Across Multiple Sheets
-
 Click the Page Layout tab. If you have a large worksheet that spans multiple pages that you need to print, you can set a row or rows to print at the top of every page.
 -
 Click the "Print Titles" button. You'll find this in the Page Setup section.
 -
 Set your Print Area to the cells containing the data. Click the button next to the Print Area field and then drag the selection over the data you want to print. Don't include the column headers or row labels in this selection.
 -
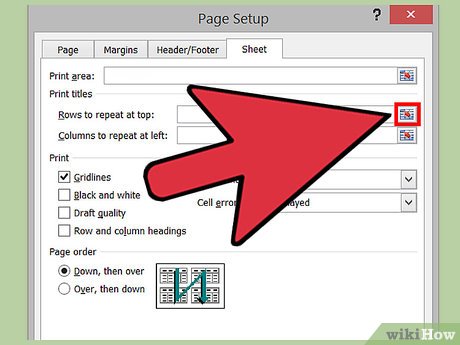
 Click the button next to "Rows to repeat at top." This will allow you to select the row(s) that you want to treat as the constant header.
 -
 Select the row(s) that you want to turn into a header. The rows that you select will appear at the top of every printed page. This is great for keeping large spreadsheets readable across multiple pages.
 -
 Click the button next to "Columns to repeat at left." This will allow you to select columns that you want to keep constant on each page. These columns will act like the rows you selected in the previous step, and will appear on every printed page.
 -
 Set a header or footer (optional). Click the "Header/Footer" tab and insert a header and/or footer for your print job. You can include the company title or document title at the top, and insert page numbers at the bottom. This will help the reader get the pages organized.
 -
 Print your sheet. You can send the spreadsheet to print now, and Excel will print the data that you set with the constant header and columns you chose in the Print Titles window.
Part 3 of 3:
Creating a Header in a Table
-
 Select the data that you want to turn into a table. When you convert your data to a table, you can use the table to manipulate the data. One of the features of a table is the ability to set headers for the columns. Note that these are not the same a worksheet column headings or printed headers.
 -
 Click the Insert tab and click the "Table" button. Confirm that your selection is correct.
 -
 Check the "My table has headers" box and then click "OK." This will create a table from the selected data. The first row of your selection will automatically be converted into column headers.
- If you don't select "My table has headers," a header row will be created using default names. You can edit these names by selecting the cell.
-
 Enable or disable the header. Click the Design tab and check or uncheck the "Header Row" box to toggle the header row on and off. You can find this option in the Table Style Options section of the Design tab.[1]
Share by
David Pac
Update 05 March 2020


