Here's How Windows 11 Protects You From Dangerous .EXE Files
Since the version of Windows 10, Microsoft has introduced to users the Windows Sandbox feature. This is considered a new lightweight virtual desktop environment, designed to let unknown applications and software run separately and securely from the real external operating system environment.
Table of Contents
In essence, Windows Sandbox is designed for security and disposable purposes. Therefore, when you have finished running applications, unknown software in this mode, the entire Sandbox will be deleted as well. With Windows Sandbox, you won't need to set up a virtual machine, but it will require virtualization enabled in the BIOS.
In addition, every time Windows Sandbox is activated, it simply creates a new (approximately 100MB) lightweight Windows installation to run applications and software. Microsoft will use its own hypervisor to create a separate kernel, completely isolated from the host PC, so you can use it with complete peace of mind.
Activate and Use Windows Sandbox in Windows 11

First, you need to check if your computer's CPU supports virtualization by right-clicking the Start button and selecting Task Manager.

The Task Manager window appears, click the Performance tab and observe the Virtualization line. If you see the value of Virtualization is Enabled, it means that your CPU supports virtualization and has been enabled.
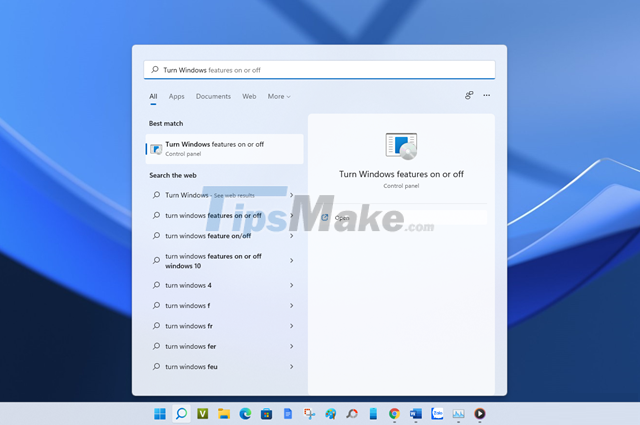
In addition, you can also enable virtualization for Windows 11 with Windows features. Specifically, enter the keyword "Turn Windows features on or off" into the search bar and click on the result as shown.
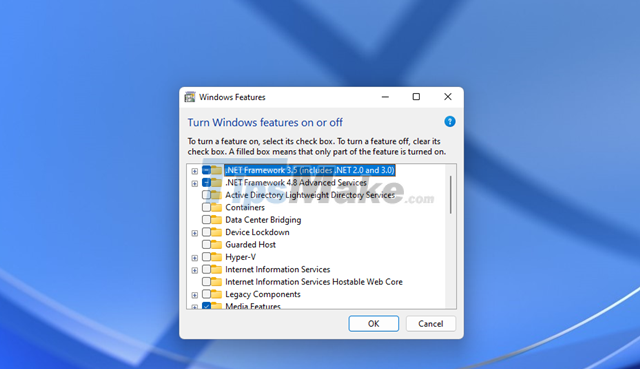
The option to activate Windows additional features will appear, wait a few seconds for a list of options to appear.
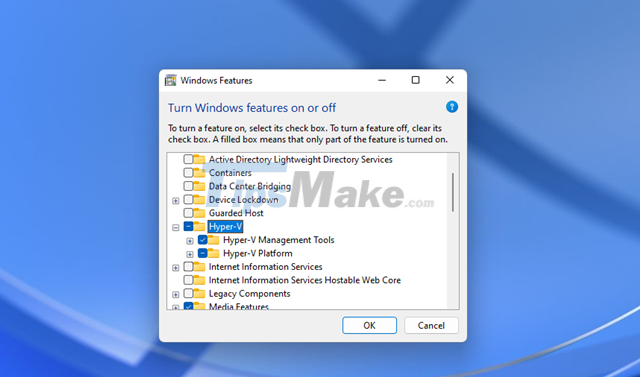
Tick the "Hyper-V" option and press OK.
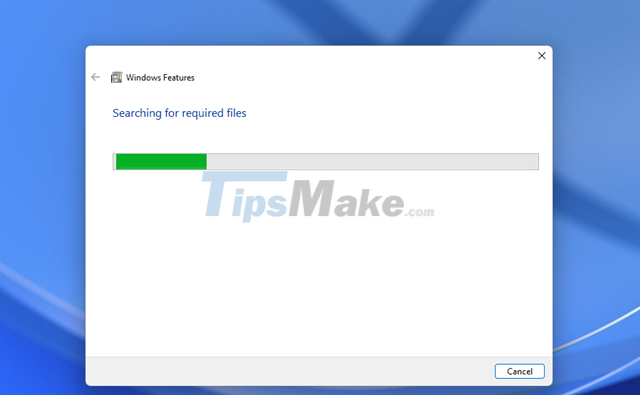
Hyper-V hypervisor activation will begin.
When done, you need to restart Windows.
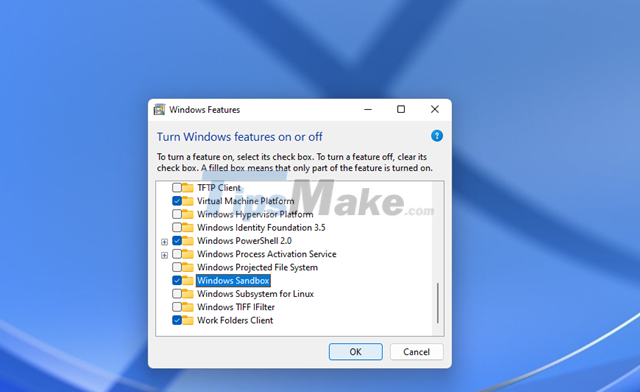
Now that the "preparation" is complete, you proceed to activate Windows Sandbox for Windows 11 by ticking the "Windows Sandbox" option in Windows features.
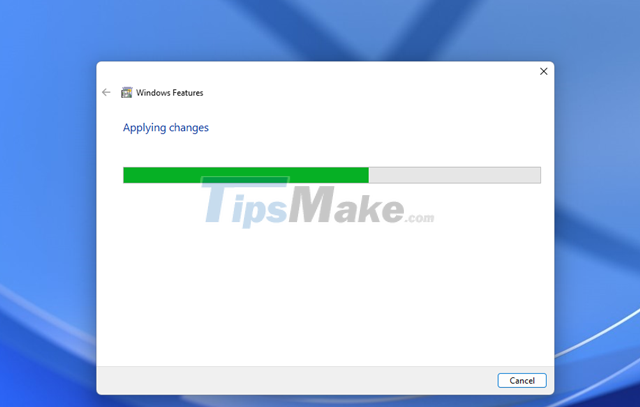
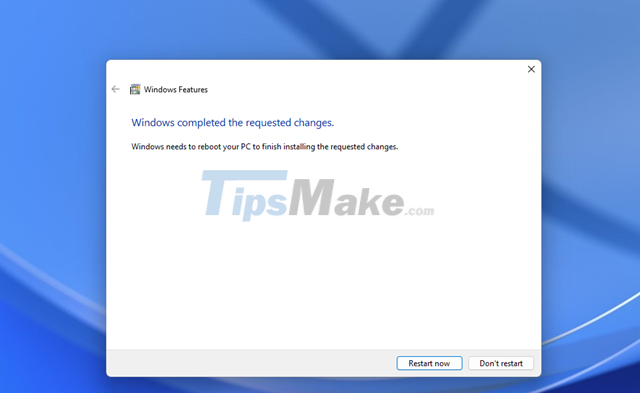
The activation process will take place, and you also need to restart Windows for this feature to work properly.
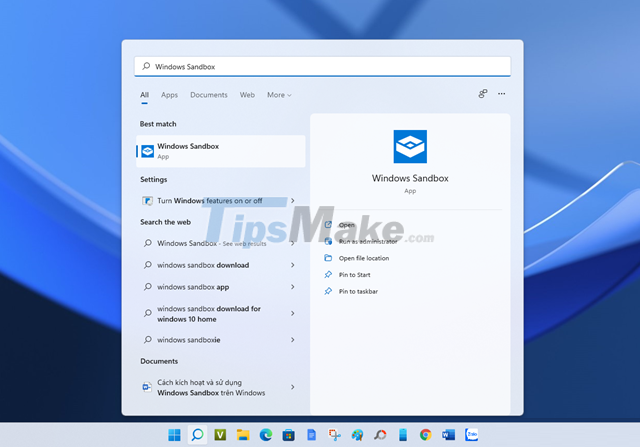
After restarting the computer, enter the keyword "Windows Sandbox" in the search box and click on the result as shown.
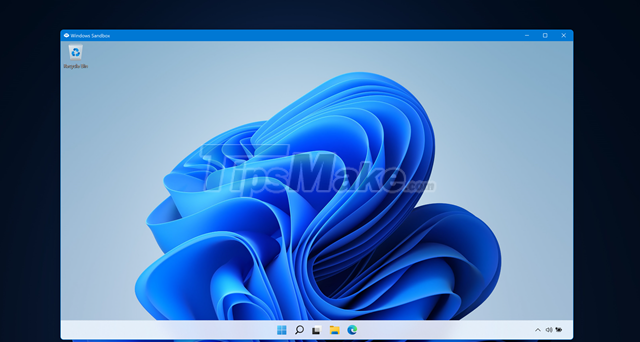
And now it's ready for you to use.
Very simple, right?
Was this article helpful?
Your feedback helps us improve.
Related Articles
 How to stop Windows Defender from deleting files3 minutes read
 Extremely dangerous commands on Windows, Linux, Mac, don't try even once3 minutes read
 4 ways to check BitLocker status in Windows 104 minutes read
 Delete the most 'stubborn' files on Windows12 minutes read
 Windows Sandbox: The Secret App That Lets You Open Anything Without Risk8 minutes read
 What is SIM-jacking?4 minutes read
Reader Comments 0
Sign in with email or Google to join the discussion.