6 Important Steps to Take After a 'Clean' Install of Windows 11
A clean install of Windows is a great way to keep your computer running fast. However, every time you do this, some important features are reset to Microsoft defaults—including some that could lock you out forever.
Table of Contents
A clean install of Windows is a great way to keep your computer running fast. But every time you do this, it resets some important features to Microsoft defaults—including some that could lock you out forever.
6. Back up the BitLocker recovery key
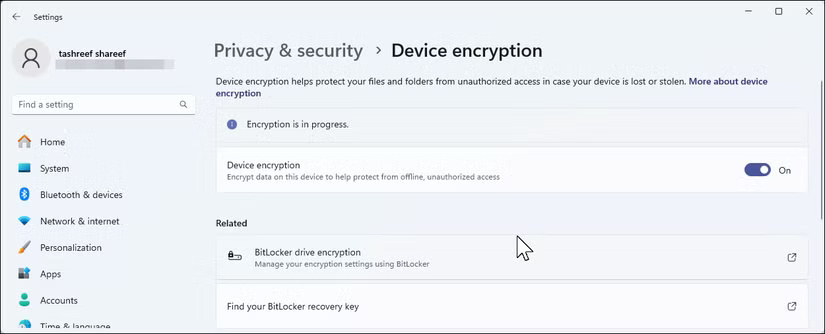
Starting with Windows 11 24H2, Device Encryption is automatically enabled when you do a clean install and sign in with a Microsoft account. This only applies to new installations or new PCs that come with 24H2 installed—it doesn't apply to upgrades. You can check if this is enabled by going to Settings > Privacy & security > Device encryption .
To find and back up your BitLocker recovery key, sign in to your Microsoft account online and navigate to Devices > Manage BitLocker keys . You'll see a list of recovery keys associated with your device. Each key has an ID that matches the ID displayed on your computer when it needs a key. You should print this key out and keep it somewhere safe, or save it to a USB stick separate from your computer. You can also take a photo with your phone — just make sure it's backed up somewhere.

If you don't want to use device encryption, you can turn it off via the toggle in Settings > Privacy & Security > Device encryption . Keep in mind that doing so is trading security for convenience, and on modern systems, the performance difference of encryption is usually negligible.
5. Turn on System Protection to create a restore point
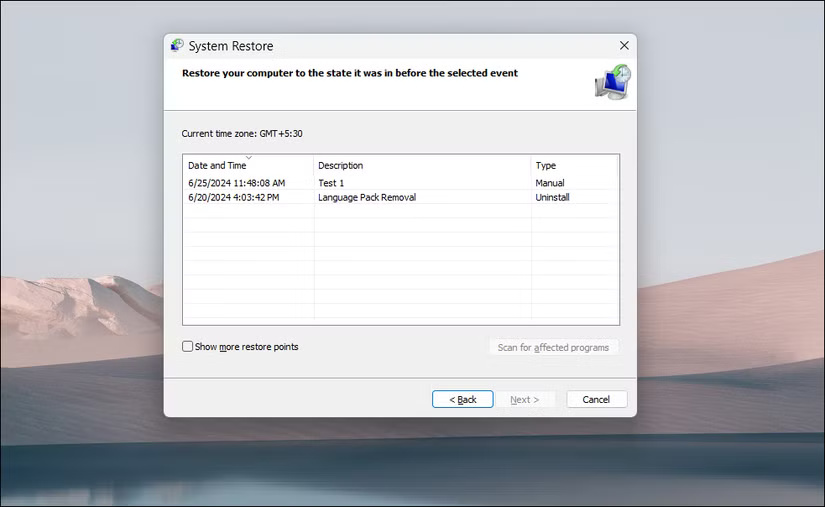
System Protection is Windows' built-in time machine for your system files and settings. When something goes wrong—maybe a driver update messes up your sound or a program installation corrupts your system files—you can use a restore point to undo the changes and restore your PC to a previous point in time when everything was working properly.
Before you can create a system restore point, you need to turn on System Protection. To do this, click Start , type View advanced system settings , and open it from the search results. In the System Properties dialog box , open the System Protection tab .
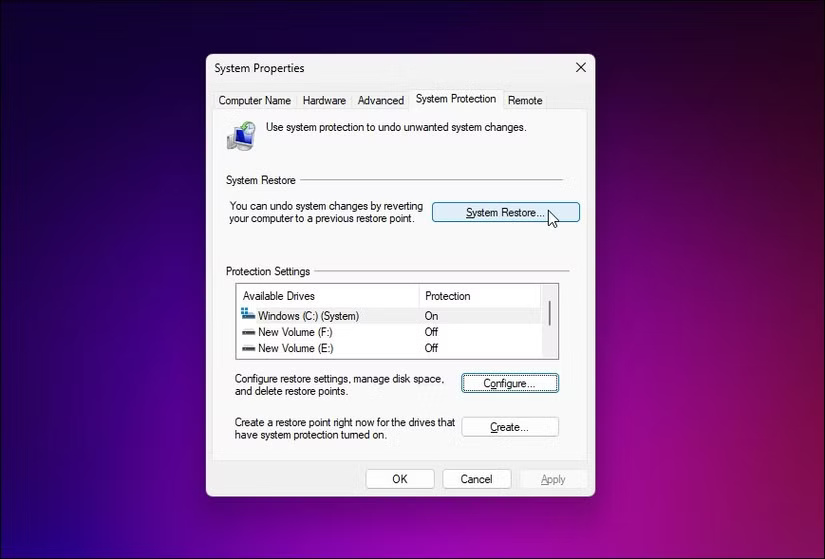
Select your system drive (usually C: ), click Configure and select Turn on system protection . People usually set it to use about 5 - 10% of their drive space - enough for a few restore points without taking up too much space. Click Apply to save the changes.
4. Update Windows and install the latest drivers
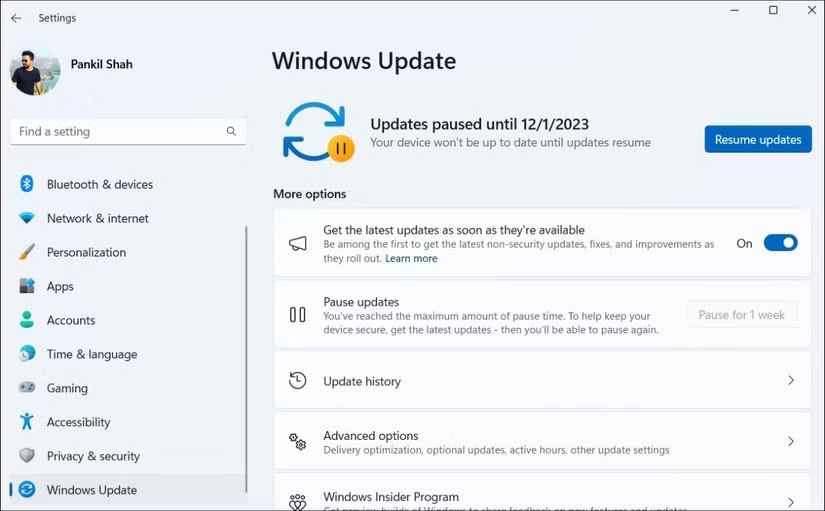
Windows Update starts prompting you almost immediately after a fresh install, but it turns out those first few updates are important. They often include security patches, driver updates, and bug fixes for issues that have arisen since you created the installation media.
Go to Settings > Windows Update and install any pending updates. Keep running Windows Update until there are no more updates available. This usually takes at least two rounds of updates with reboots in between. Don't skip this step thinking you'll get to it later – too many people have run into weird problems that a simple update could have prevented.
After you've completed Windows Update, it's time to take a look at the drivers Windows Update missed. Your graphics drivers in particular need attention. Windows installs basic display drivers that work fine, but they're notoriously slow.
3. Change power settings
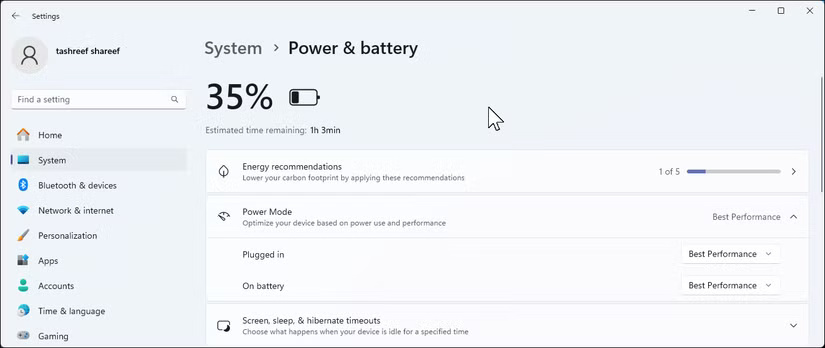
Windows' default power settings are too conservative if you want your system to perform at its best. On a new installation, Windows often defaults to Balanced mode , which sounds reasonable but actually throttles the performance of the CPU and other components to save power.
Go to Settings > System > Power & battery and expand the Power mode section . For desktops and laptops that are plugged in, switch to Best performance . Yes, it uses more power, but your system will run significantly faster. For laptops that run on battery, you may want to stick with Balanced mode or even Best power efficiency , depending on your needs.
2. Turn off unnecessary notifications
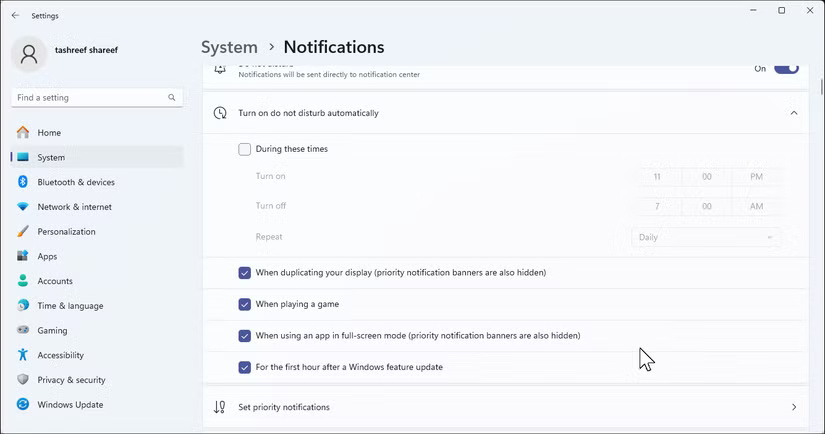
New Windows 11 installations typically come with as many as 11 notifications. Every app wants to tell you something, from news updates to tips about features you'll never use. After a few days, the constant pings can become annoying.
Go to Settings > System > Notifications and start cutting back. Turn off Show me the Windows welcome experience and Get tips and suggestions right away—these are just ads disguised as 'helpful tips.' Then, go through the list of apps at the bottom and turn off notifications for anything you don't need. Keep notifications for your communications, calendar, and security apps, and mute everything else.
1. Review your privacy settings
Microsoft's default privacy settings are pretty generous when it comes to data collection. The new settings will give you access to just about everything: Diagnostic data, personalized experiences, advertising ID tracking, and more. While some of this data helps improve Windows, you may want to cut back.
Go to Settings > Privacy & security and work your way through each section. Under General , turn everything off except Let websites show me locally relevant content . Under Diagnostics & feedback , switch from Optional diagnostic data to Required diagnostic data only .
Don't forget about app permissions - camera, microphone, location, etc. - you should consider which apps have access to what. You'd be surprised how many apps ask for permissions they don't really need.
Was this article helpful?
Your feedback helps us improve.
Related Articles
 8 things to remember before performing a clean install of Windows6 minutes read
 Follow this checklist before 'clean' installing Windows 11!9 minutes read
 7 simple steps to make your laptop as clean as new3 minutes read
 How to perform a clean install of macOS 10.15 Catalina6 minutes read
 How to use Clean Master to clean up, speed up Windows6 minutes read
 How to implement Clean Boot on Windows 10/8/73 minutes read
Reader Comments 0
Sign in with email or Google to join the discussion.