Steps to enable TPM 2.0 to install WINdows 11
Windows 11 will require a TPM 2.0 chip (Trusted Platform Module) when installing, this article guides you to enable TPM 2.0 in the BIOS to meet this requirement.
Table of Contents
1. Windows 11 and the 'unusual'
Windows 11 operating systems will turn to a new page when they break through in both technology and design. The most prominent feature on Windows 11 is that Microsoft has added running Android applications directly on the platform and can be installed via the familiar .APK installation file on Android. This has made Android emulators excited and they look forward to Windows 11 every day to experience the ability to operate Android applications on computers without software.
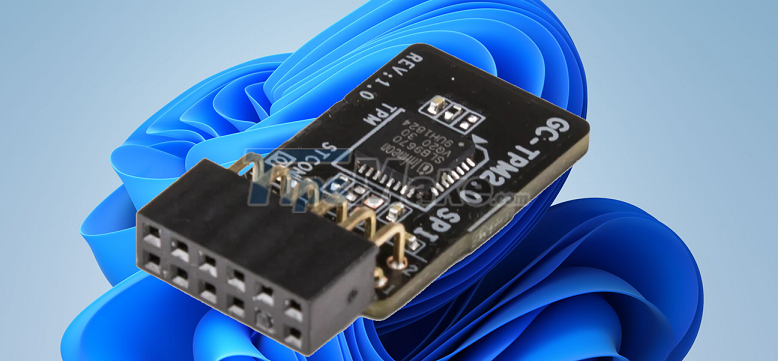
But Microsoft has hardware requirements and this causes many companies to encounter problems. Specifically, the Windows 11 operating system will require the motherboard's hardware to be equipped with a TPM 2.0 chip (Hardware Security Chip). If the hardware of Windows 11 does not have TPM 2.0, you will not be able to install and will get an error during the installation process.
Most motherboards manufactured since 2015 are equipped with TPM 2.0 security chip, but very few companies have enabled the onboard settings. This means that you will have to enable them manually in the BIOS to be compatible with Windows 11 before installing.
2. How to check if TPM 2.0 is enabled or not?
Microsoft makes available to users a set of hardware testing tools that are compatible with Windows 11. For errors like TPM 2.0, the system will notify users directly to find ways to fix it.
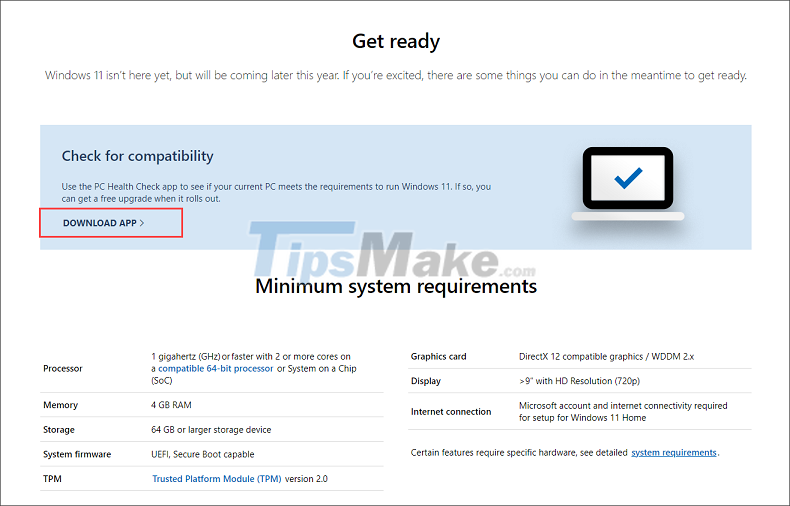
Step 1: Visit the home page of Windows 11 Microsoft to check.
Step 2: Then, scroll down to the end to search for Microsoft's toolkit and select Download App to download it to your computer.
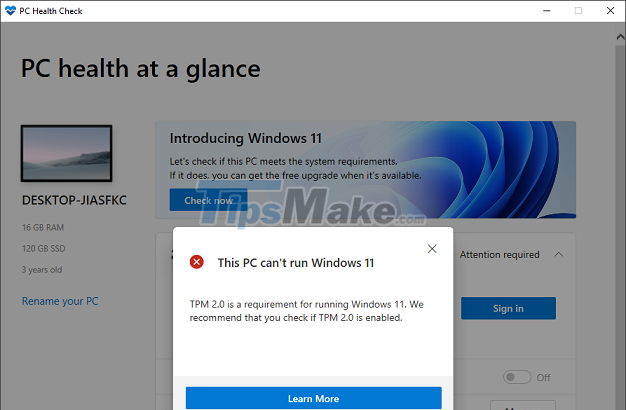
Step 3: Then you just need to open the application and click Check now to check if the computer is compatible with Windows 11 or not?
In this scenario, the system reports that the computer cannot run Windows 11 due to the lack of TPM 2.0. But in fact, this motherboard has a TPM 2.0 chip, which comes from the fact that they are deactivated in the BIOS. So, we will have to access the BIOS and start TPM 2.0.
3. How to enable TPM 2.0 on your computer
If you want to enable TPM 2.0 on your computer, you will need to access the motherboard's BIOS and tweak some basic parameters. Specifically, the operation is as follows:
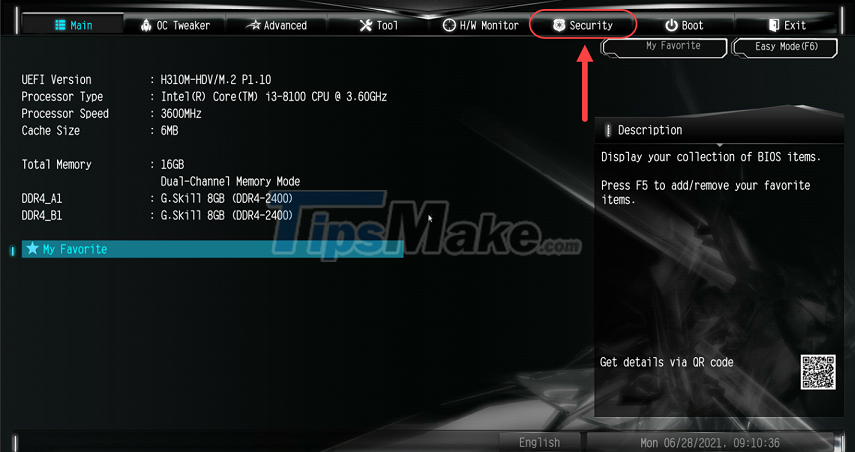
Step 1: Please restart the computer and press the Del / F2 key during the boot process to access the BIOS on the computer.
Step 2: Then, choose the Security tab because every manufacturer also puts the TPM 2.0 feature in the protection card. However, each company will use a different name and your task is to find them. Here are some suggestions for finding TPM in the BIOS of some motherboards:
- AsRock: Security => Intel Platform Trust Technology
- Gigabyte: Settings => Miscellaneous => Intel Platform Trust Technology (PTT)
- Asus: Advanced => Trusted Computing => TPM Support/ TPM State
- MSI: Advanced => Trusted Computing => Security Device Support => TPM Device Selection PPT
In this article, the motherboard used comes from AsRock so they will be under the Security tab. For other motherboards, follow the instructions.
Step 3: Next, select Intel Platform Trust Technology and enable it to Enable mode to open TPM on your computer.
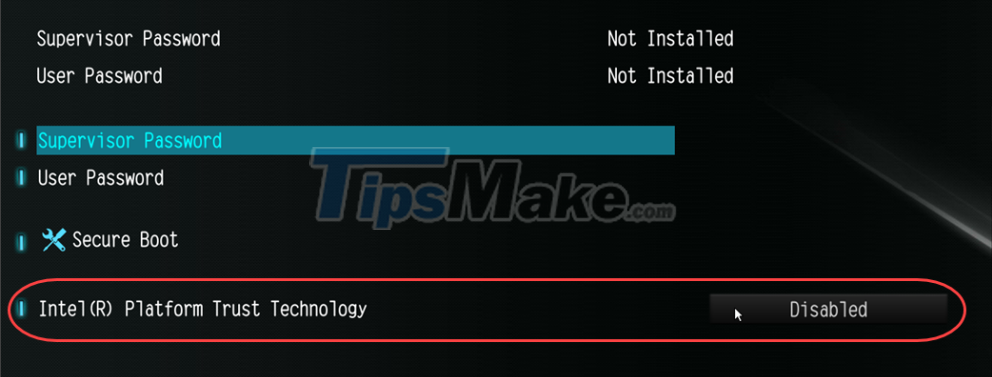
Step 4: Before enabling the TPM feature, you can read the manual to know what mode the feature is related to. Intel PPT's default is to turn on / off the TPM Module equipped on the motherboard.

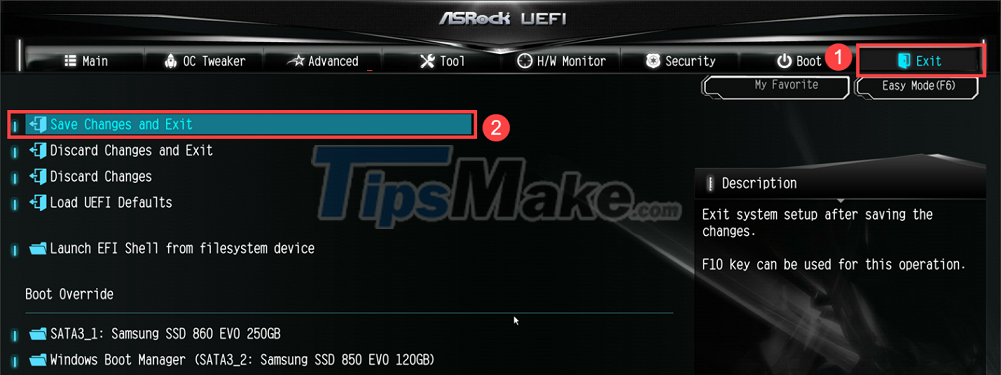
Step 5: Finally, you just need to select the Exit tab (1) and select Save changes and exit (2) to exit the BIOS and save the settings.
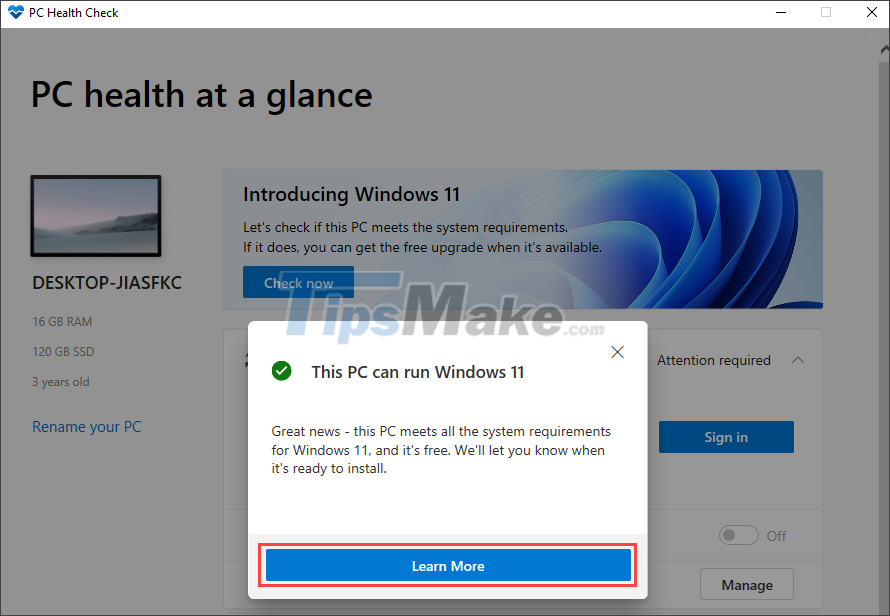
Step 6: After activating TPM 2.0 on the motherboard, you will see the TPM 2.0 setup notification window disappear and be replaced by a window allowing the installation of Windows 11 on the computer.
In this article, Tipsmake showed you how to enable TPM 2.0 to install WINdows 11. Good luck!
Was this article helpful?
Your feedback helps us improve.
Related Articles
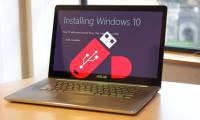 Install Windows 10 with a super fast USB in just a few simple steps4 minutes read
 How to enable duplex printing in Windows 102 minutes read
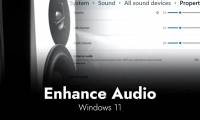 Steps to enable Enhance Audio to improve sound quality on Windows 112 minutes read
 How to enable two-sided printing on Windows2 minutes read
 Reactivate 'hibernate' - Hibernate on Windows 8.13 minutes read
 Instructions on how to create USB install Windows 1010 minutes read
Reader Comments 0
Sign in with email or Google to join the discussion.