How to customize the Taskbar and Start Menu of Windows 11
How to customize the Taskbar and Start Menu interface of Windows 11 to resemble Windows 10?
Yes, Windows 11's Taskbar and Start Menu is one of Microsoft's great innovations. That is in my personal opinion.
However, there will be people who do not like it because they are simply too familiar with the interface of Windows 10. So the question is is there a way to change?
Of course yes, if you don't want the Taskbar to center the icons and you want to change the interface of the Start Menu on Windows 11 because it's difficult to use, that's fine, you can refer to the article below. Please.
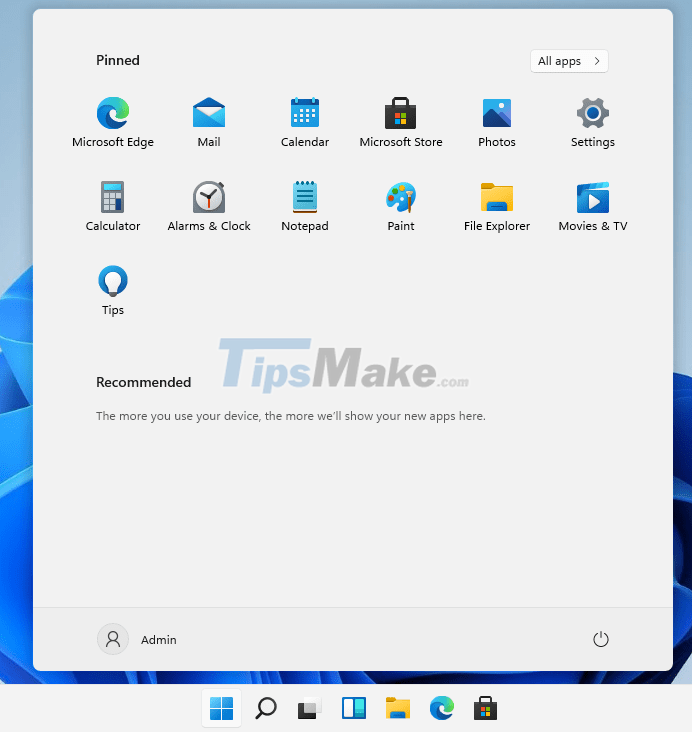
#first. How to bring the icons on the Windows 11 Taskbar to the left
Step 1: Right-click the Taskbar => then click Taskbar Settings.

+ Step 2: The Settings window appears, click on the Taskbar behaviors => then in the Taskbar alignment from the Center you set it back to Left.

So the icons in the Taskbar have been moved to the left. The familiar interface resembles previous versions of Windows.

#2. How to customize Windows 11's Start Menu to look like Windows 10 (manually)
NOTE: There will be no preset section in Windows Setting, so we will edit the Registry, so please back up the Registry before doing so that if you make a mistake, you can restore it.
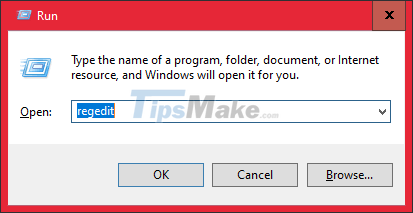
+ Step 1: Press the Windows + R key combination to launch the Run dialog box => then enter the command regedit => and click OK to execute.
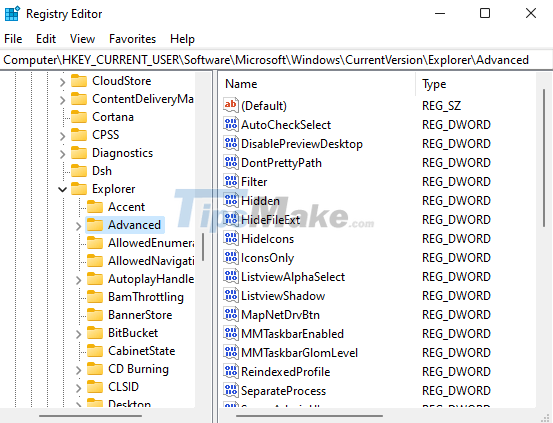
+ Step 2: When the Registry Editor window appears, go to the following path:
HKEY_CURRENT_USERSoftwareMicrosoftWindowsCurrentVersionExplorerAdvanced
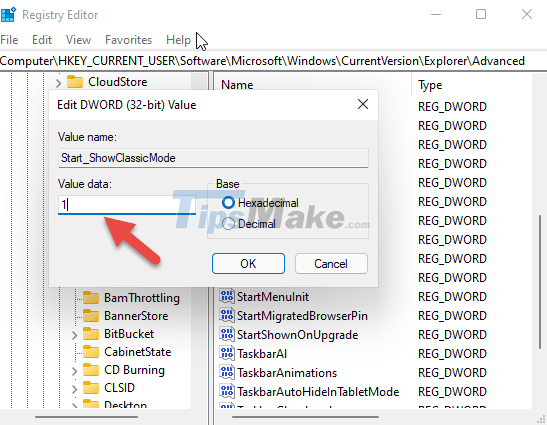
+ Step 3: In the right window, right-click on any empty area => then select New => select DWORD (32-bit) Value to create a new value named Start_ShowClassicMode.
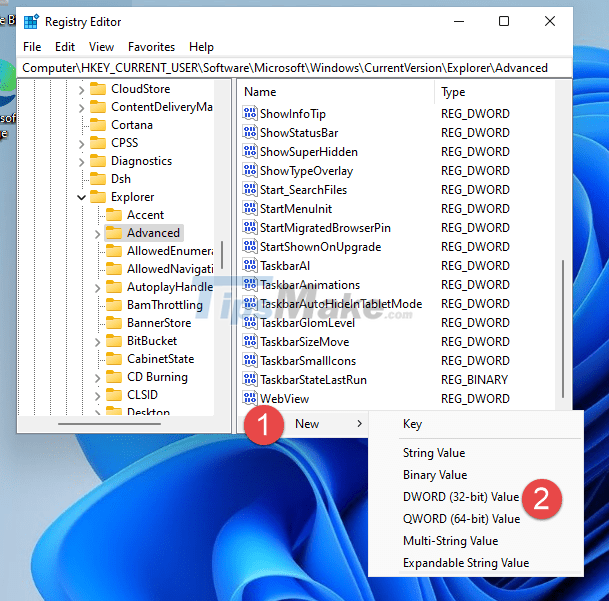
+ Step 4: Next, we name the key Start_ShowClassicMode => then double click on that key and set the value to 1. Finally you click OK to finish.
+ Step 5: Restart the machine and this is the result. The interface of the Start Menu on Windows 11 has returned to the interface of the Start Menu on Windows 10.
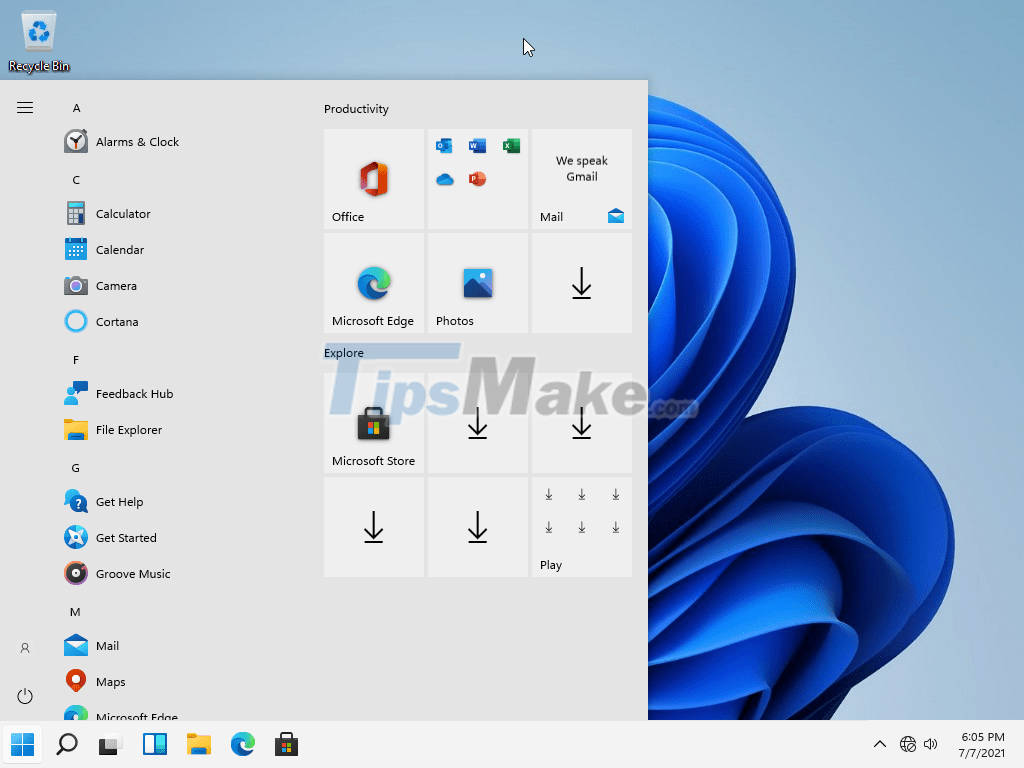
To bring the Start Menu back to the way it was, you just need to delete the Start_ShowClassicMode key.
#3.Conclusion
OK, so I've finished showing you how to put the icons on the Taskbar on Windows 11 to the left, and reset the Windows 11 Start Menu interface to look like Windows 10.
Hope this little tip will be useful to you, good luck.