Merge multiple photos into one common frame using GIMP
In today's article, you will learn how to merge multiple photos into one frame using the GIMP tool. Find out how to do it right away with TipsMake.com!
Table of Contents
In today's article, you will learn how to combine images with the GIMP tool, namely, to merge multiple photos into one frame. The article will use the standard line ( Image> Guide> New Guides (by percent) ) to precisely position the image, go to File> Open As Layers to insert the image and Tools> Selection Tools> Rectangle Select to draw the selection. . Find out how to do it right away with TipsMake.com!
1. Create a new image
Go to File> New to open the Create a new image dialog box. Here you can set the width and height of the new image. Enter the initial value for the width of 1350px and the height is 1350px manually or through the up and down arrows, then click OK.

2. Create a calibration curve
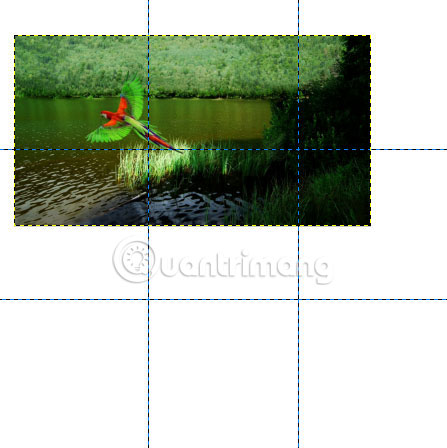
Now, we need to put many small images into the newly created images correctly. We will have to use standard lines, a flexible positioning support tool. Calibration curves are horizontal or vertical lines that you can temporarily display on an image while working with it.
- Create 2 horizontal lines. Go to Image> Guide> New Guides . In the dialog box, select Direction as Horizontal, enter 450 on Position and click OK. Repeat this step for Position: 900.
- Now create two vertical lines. Go to Image> Guide> New Guides . In the dialog box, select Direction as Vertical, enter 450 on Position and click OK. Repeat this step for Position: 900.
If you don't see the standard lines, go to View> Show Guides .
Snapping is a useful feature in GIMP, allowing you to align images according to the standard curve. Select View> Snap to Guides to enable snapping, then align any image you want.

3. Insert the image into the calibration line
Go to File> Open As Layers in the top menu to open the image you want to insert. Click on the image, then click Open.
4. Adjust the image
You can now edit the image as follows:
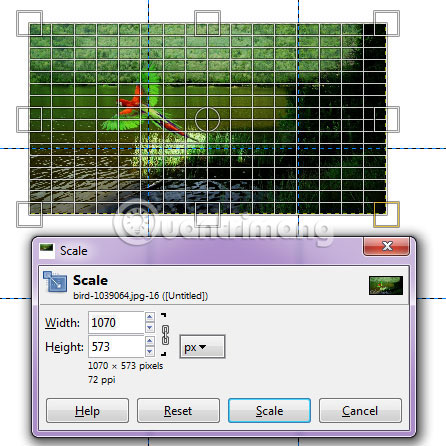
- Use Tools> Transform Tools> Scale to resize the image. Click anywhere in the image. In the Scale dialog box , click the leash icon to keep the image from deforming. Enter new values for the width and height of the image manually or through the up and down arrows. Click the Scale button when done.
- Use Tools> Transform Tools> Move to move the image. Click and hold anywhere in the image and drag.
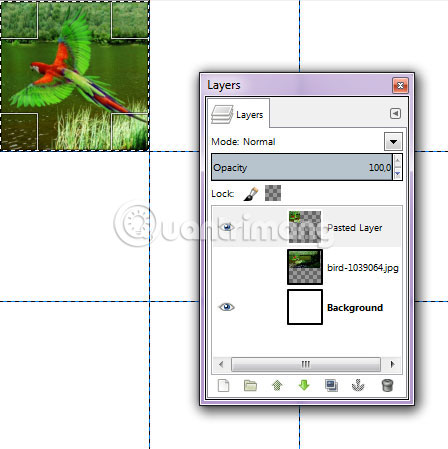
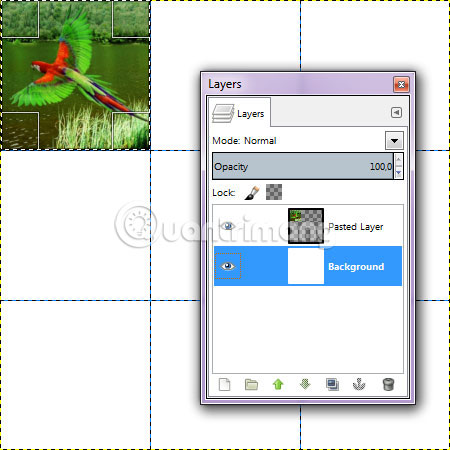
5. Create a selection then duplicate the layer
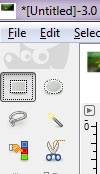
Go to Tools> Selection Tools> Rectangle Select . To create a selection, drag the mouse over a part of the image, go to Edit> Copy , Edit> Paste and then use Layer> To New Layer . You can now delete the layer of the original image.
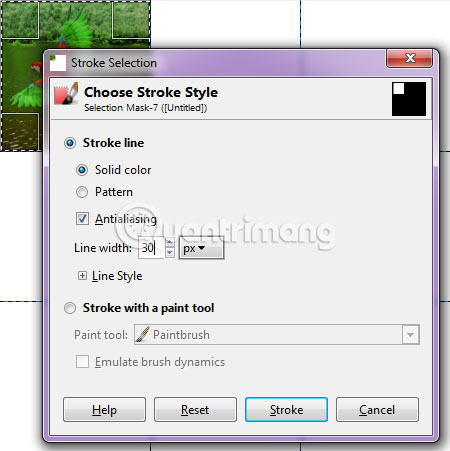
6. Add a border to the selection
For example, choose foreground color is white. Use Tools> Default Colors to reset the color to default and then use Tools> Swap Colors .
Right-click on the new layer / pasted layer, then select Alpha to Selection . With the selection still active, use Edit> Stroke Selection . The Stroke Selection window will appear. Click the 'Stroke line' button and then select 'Solid color'. For example, set Line width to 30px. Finally, click the Stroke button .
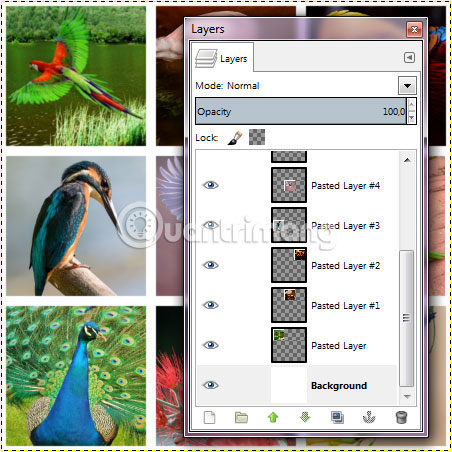
7. Insert all images
Repeat steps 3 to 6 to open and manipulate each image you want to insert. Go to Image> Guides> Remove All guides to remove the standard lines.
8. Save the newly created image
Go to File> Save in the top menu and name the document. Click OK when done.
Here are the results:
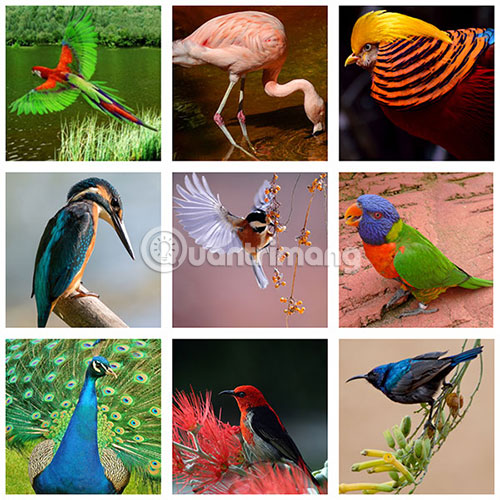
If you are afraid of tinkering with photo editing tools, you can use photo collage software, with templates available, just insert the image to finish.
Hope you are succesful.
Was this article helpful?
Your feedback helps us improve.
Related Articles
 How to merge multiple photos into a photo frame in Photoshop2 minutes read
 How to merge multiple photos into one frame in Photoshop6 minutes read
 How to merge photos into the frame on Paint4 minutes read
 Merge cells in Excel7 minutes read
 How to merge multiple Word files into 1 file, merge multiple Word documents into one3 minutes read
 How to merge photos on Macbook, merge multiple photos into 1 on Mac OS5 minutes read
Reader Comments 0
Sign in with email or Google to join the discussion.