Instructions on how to create drop down lists or drop-down lists in Excel
The input in Excel will take time when you have to type the same content over and over again. This article details how to create a drop down list or a drop-down list in Excel.
You do the data entry on the warehouse or in a working unit, the data entry will take time when you have to type the same content over and over again. The following article guides in detail how to create a drop down list or a Drop-down List in Excel.
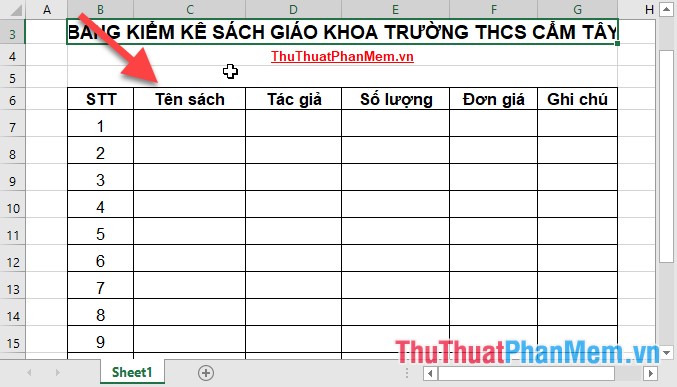
For example, want to inventory the number of textbooks of Cam Tay Secondary School. Usually you enter the entire content. But when you have a list when importing textbooks, including titles and authors, you only need to create a drop-down list for the title and author columns to minimize the input process:
- Create Drop-down List for column title and author
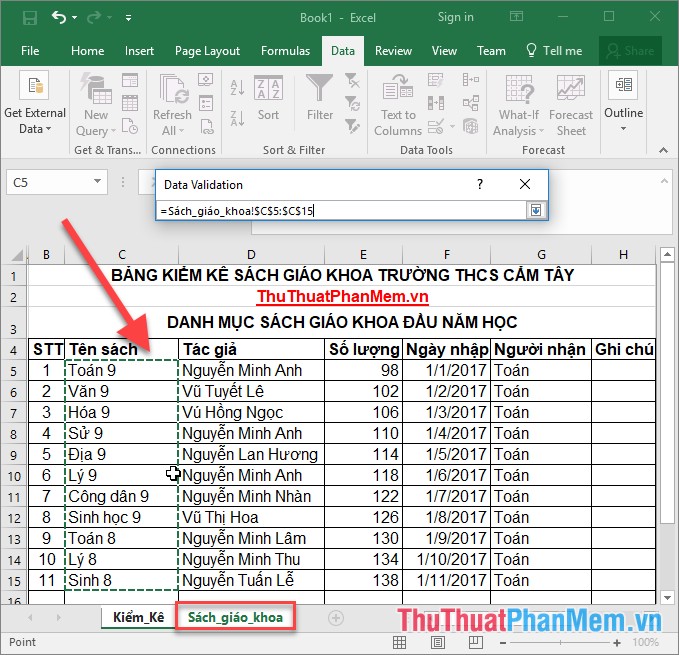
- The data to create the Drop-down List is taken from the Book_document sheet with the corresponding column:

To create a Drop-down List for a textbook column, follow these steps:
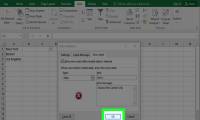
Step 1: Select the data area you want to create Drop-down List -> on the Data tab -> Data Validation -> Data Validation .

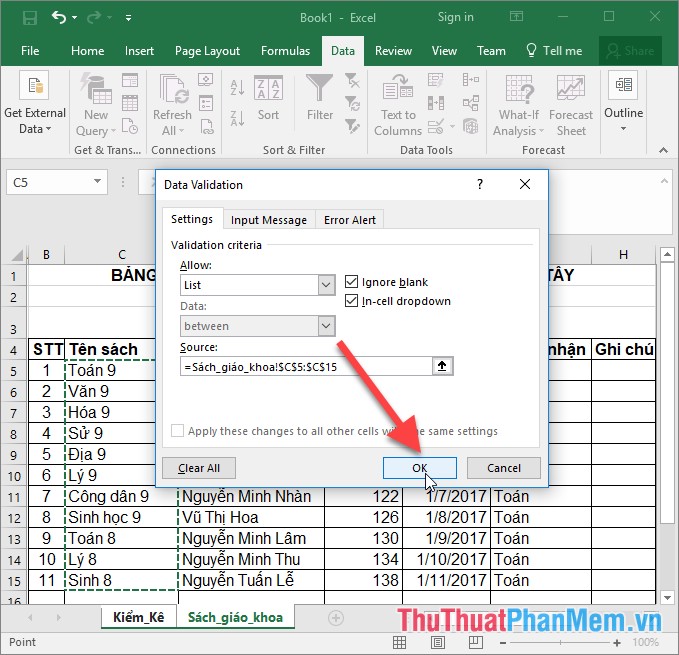
Step 2: The Data Validation dialog box appears in the Allow price list option:

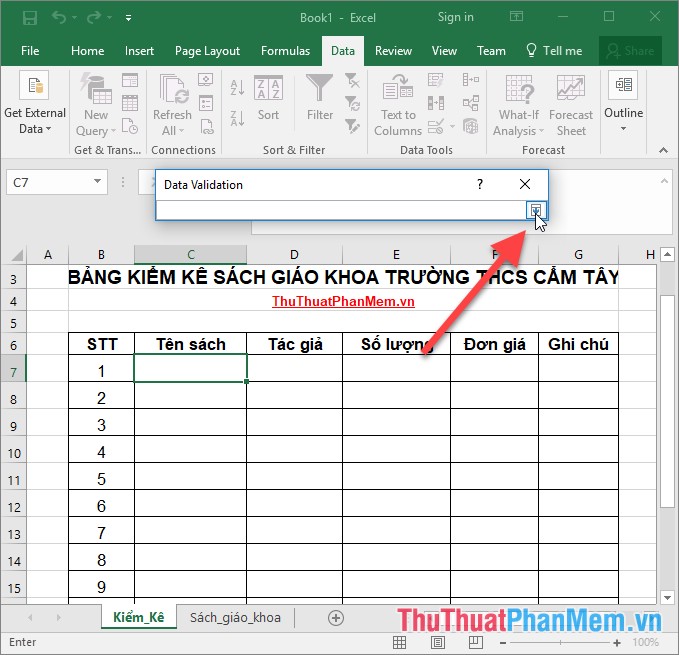
Step 3: After selecting the type of list, scroll down to Source, click the arrow to select the data set in the Drop-down List:

Step 4: Click the down arrow and move down the Book_document sheet to get the data to create Drop-down List:
Step 5: Select the data area placed in the Drop-down List, for example, here take the data in the Name column :
Step 6: After making your selection click OK:
The result when you click a cell in the title column -> Drop-down List 1 drop down list for you to choose, instead of entering the content you just need to click on a value in the Drop-down List:
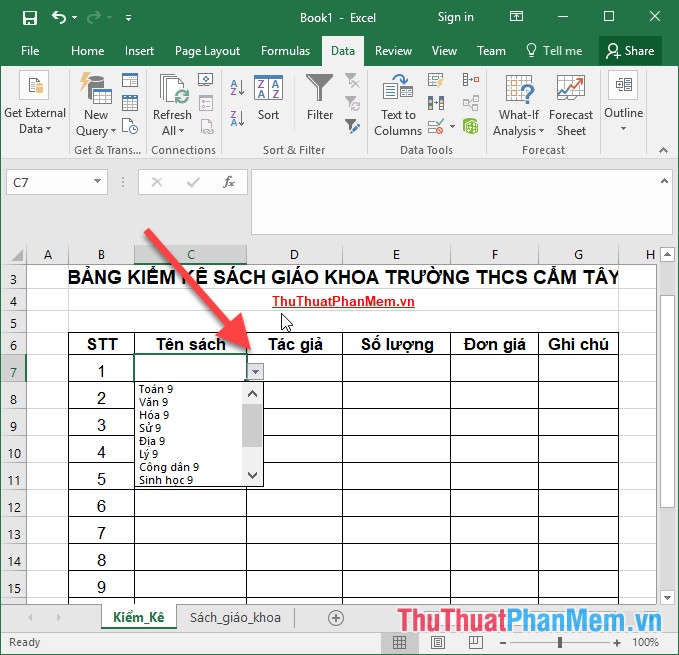
In the same way, you create a Drop-down List for the Author column:

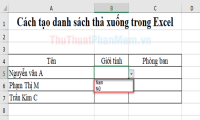
In case the content you want to create in the Short Drop-down List , you can enter the content directly in Source:

Attention:
In some cases, it is impossible to use the Data Validation feature due to one of the following reasons:
- Drop-down List cannot be created from a sheet linked to Office SharePoint tools.
- Your Excel file has a security mode such as setting a password .
The above is a detailed guide on how to create drop down lists or drop-down lists in Excel. Good luck!
Was this article helpful?
Your feedback helps us improve.
Related Articles
 How to create drop down lists in Excel5 minutes read
 How to create a drop list in Excel 201613 minutes read
 How to make Excel spreadsheets smarter with drop-down lists4 minutes read
 How to create drop down lists on Google Sheets2 minutes read
 How to create a filter in an Excel cell4 minutes read
 How to Create a Drop Down List in Excel6 minutes read
Reader Comments 0
Sign in with email or Google to join the discussion.