Create a calendar in Excel
You want to create a calendar, insert a calendar in Excel to print out using, or make a better spreadsheet. The following article gives detailed instructions on how to create a calendar in Excel from simple to advanced for your reference..
You want to create a calendar, insert a calendar in Excel to print out using, or make a better spreadsheet. The following article gives detailed instructions on how to create a calendar in Excel from simple to advanced for your reference.
1. Create a calendar in Excel one year one.
For example, create a calendar in 2018.
Step 1: Create a table in the form of January in the year, comparing the date of January 1, 2018 on the date. Since the first day falls on the second day, the second day value is January 1, 2018.
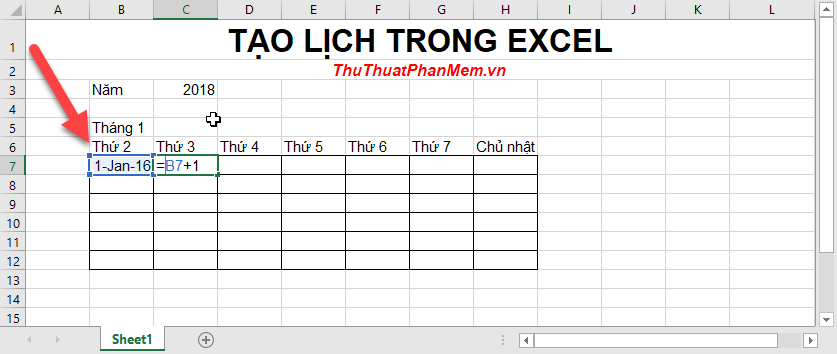
Step 2: The value of day 3 is equal to the value of cell in day 2 plus 1, similar to the value calculation for the remaining cells. Particularly, the first cell of the 4th row you need to apply the If function to avoid cases that exceed 31 or 28 days by entering the formula: = IF (H10 <> "", IF (MONTH (H10) <> MONTH (H10 + 1), "", H10 + 1), ""

Step 3: The value of the adjacent cell is calculated according to the value of the cell before it -> enter the formula: = IF (B11 <> "", IF (MONTH (B11) <> MONTH (B11 + 1), "", B11 +1), "")

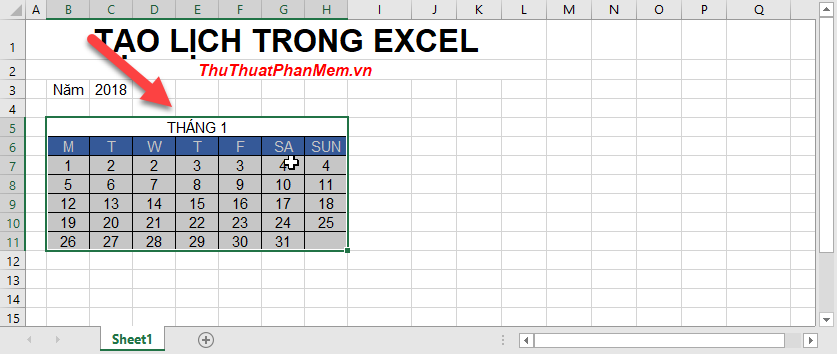
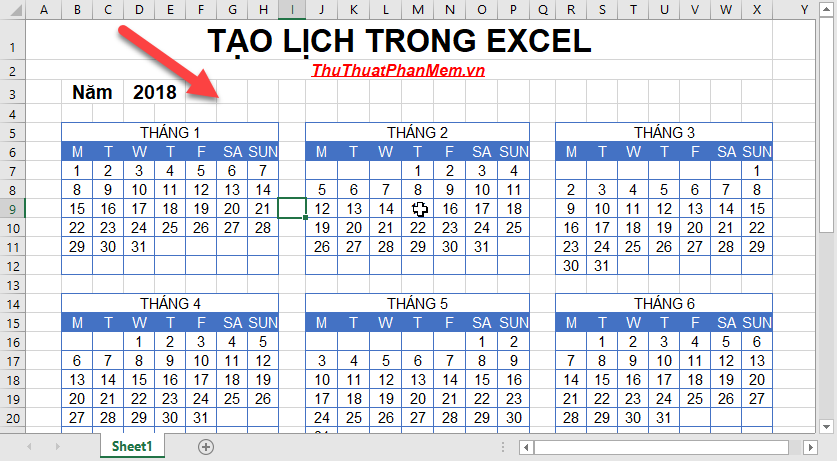
The results created the calendar for January:

Step 4: To display only the date value in the calendar -> select the entire January content -> right-click and select Format Cell in Custom section enter d -> OK:

After pressing Ok to get results:

Step 5: You need to reformat the table before copying:
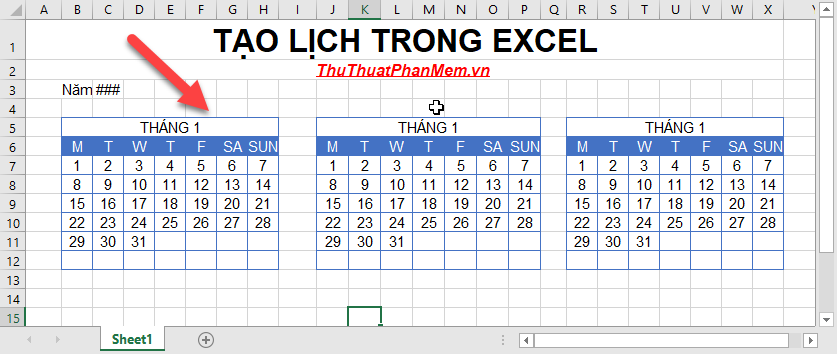
Step 6: Copy the newly created table into 3 tables as shown:
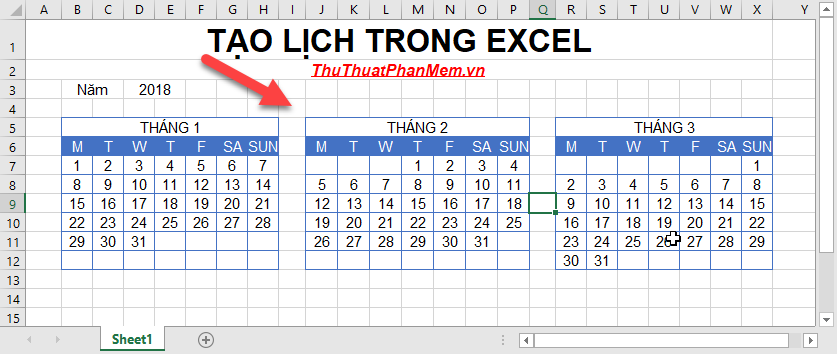
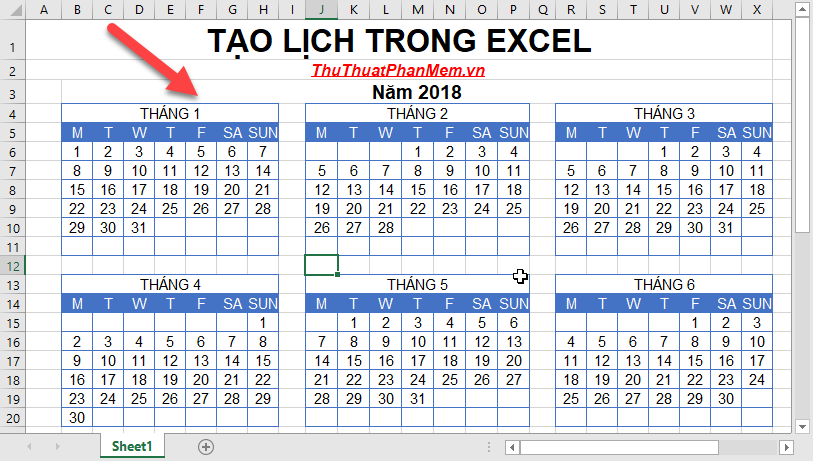
Revise the day of the month accordingly, determine what day the last day of the previous month is -> then revise the first day of the next month to fall on, for example, the 31- 1 falls on Wednesday -> day 1-2 falls on Thursday:
Step 7: After 3 months of editing, copy 3 months for a full 12 months -> proceed to correct the date (note only correcting the first few days, the next days automatically jump according to the formula):
After editing, you have created a 12-month calendar for 2018:
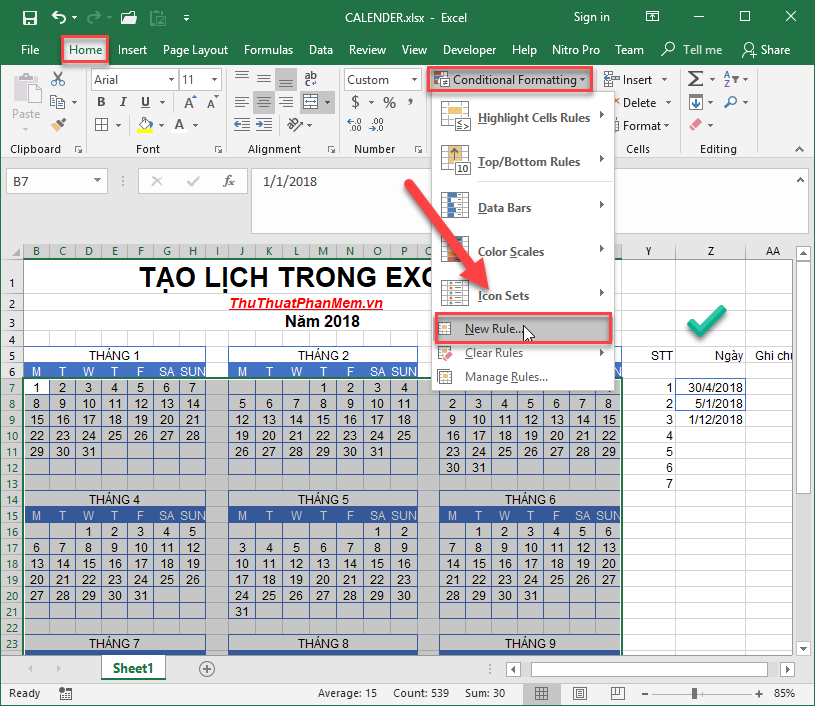
Step 8: Add to mark some holidays in the year, for example, have 2 holidays 30-4 and 1-5 you create a data area containing those 2 days -> select from the first day of the year to the last month - > go to the Home tab -> Conditional Formating -> New Ruler:
Step 9: The dialog box appears enter the formula: Match (B7, $ Z7 $ Z13,0). Where B7 is the first cell of the first month, $ Z7 $ Z13 is the data area containing the date to be marked. Click Format to format the background color and text for the cell containing the date to highlight:

Step 10: Select the background color and font color for the cell to be marked -> OK:

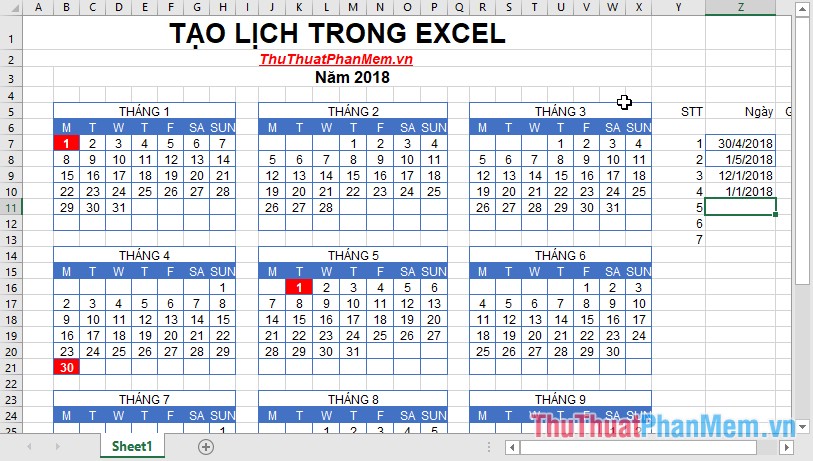
The result created a calendar for 2018 and the holidays were marked in red. Also you can mark special dates for yourself and your family:
You can also add family photos . The last thing you need to do is print your own calendar. Good luck!
Method 2: Create a calendar in Excel for many years
Here you can create calendars for different years, depending on your input.
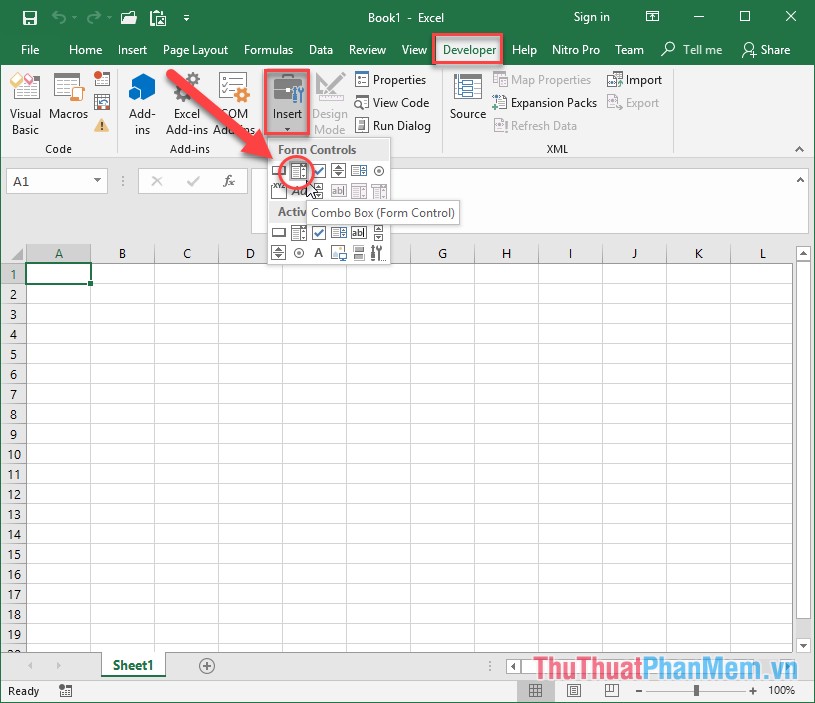
Step 1: Insert 2 combobox to create month and year selection for calendar:
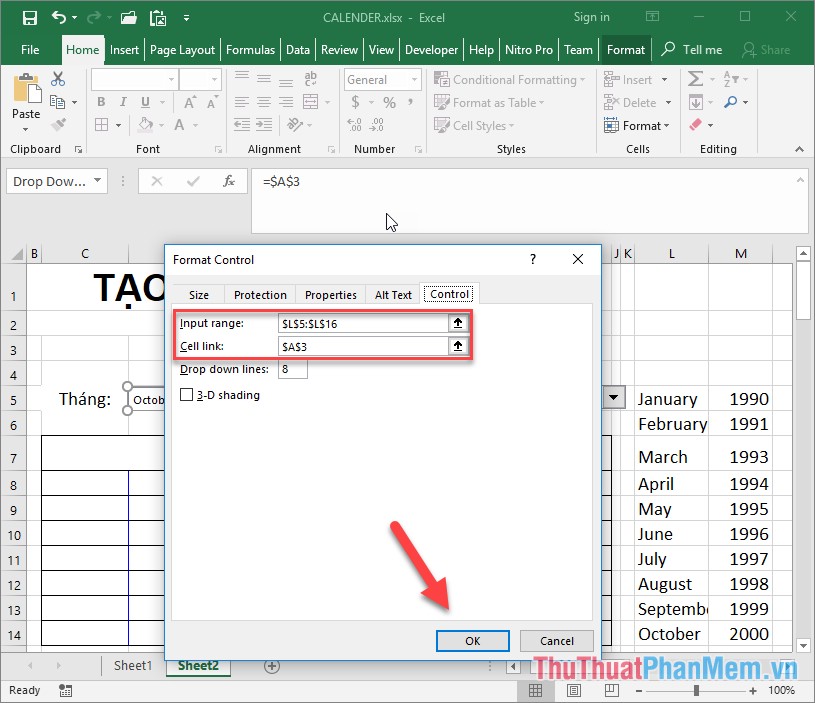
Step 2: Create two corresponding data columns containing the month of the year and contain the years you want to create a calendar, for example, here create a calendar from 1990 to 2080, this value is chosen by you. Next right-click on the newly created combobox select Format Control -> dialog box appears -> select the Control tab -> in the Input range field select the data area containing the months, Cell link item you select the value of cell A3 to get The month's value is linked to the calendar -> click OK:
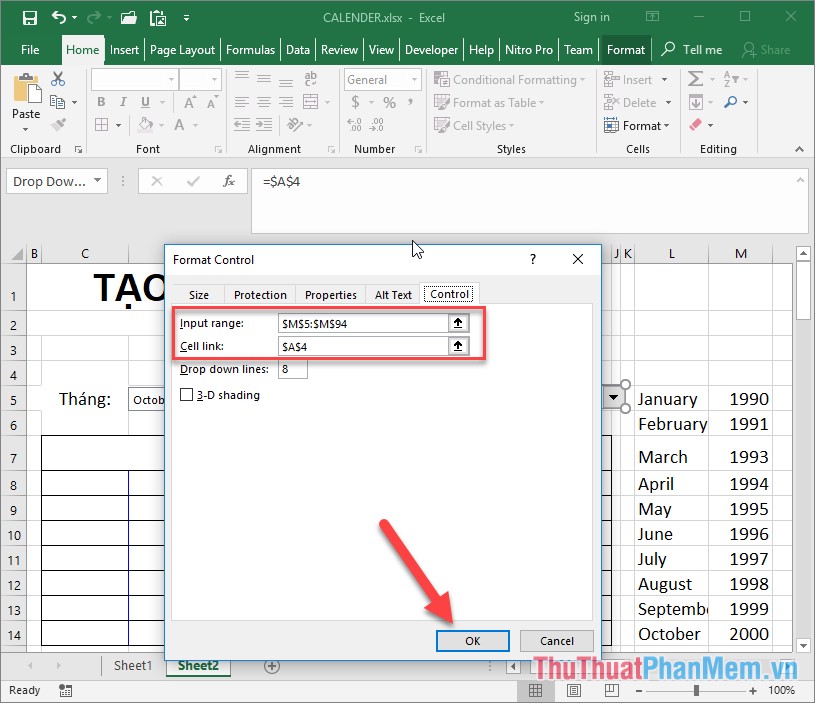
Step 3: Similar to creating data for the year, take cell A4 as the data link cell:
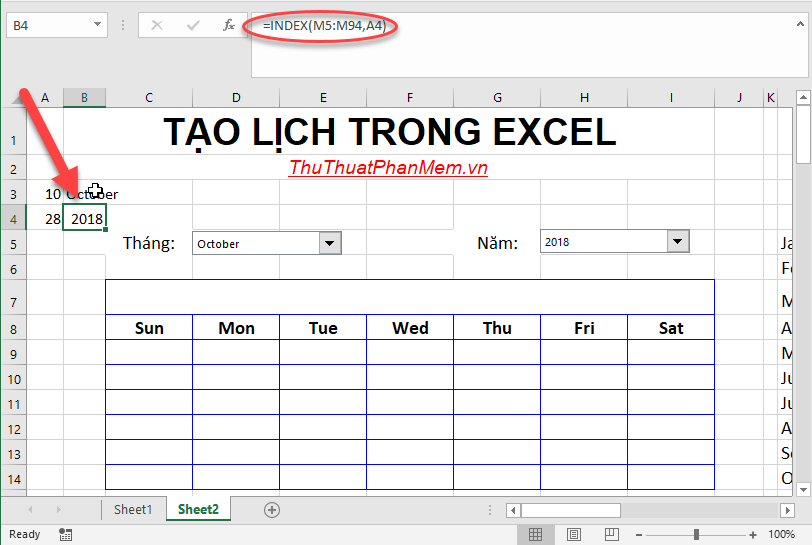
Step 4: Get the combobox value of the user selected by using the Index of the month data area with the ordinal number in cell A3 to get the associated month value to create that month's calendar:
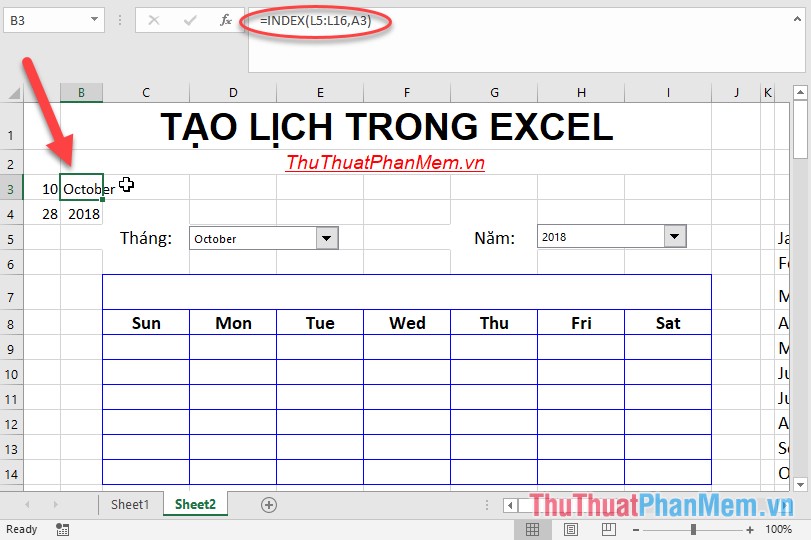
Step 5: Similarly, take the value of year:
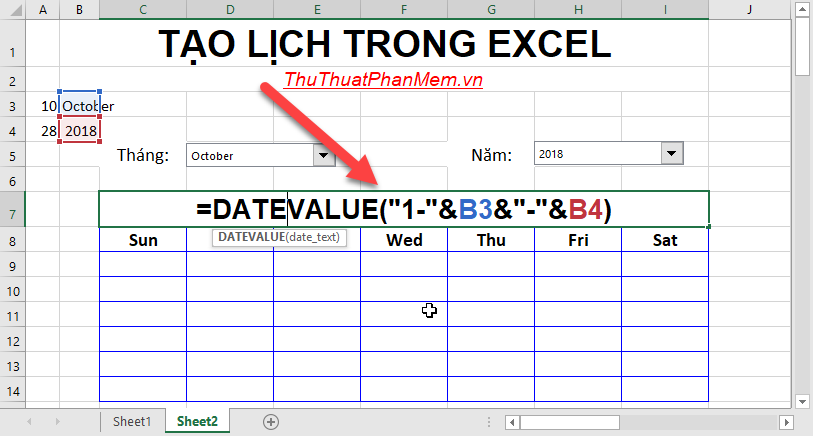
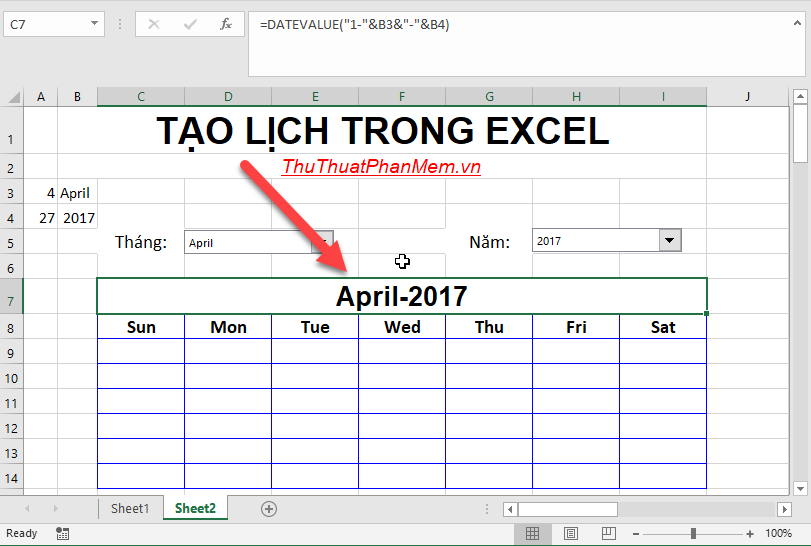
Step 6: Enter the formula: Datevalue ('1 -' & B3 & '-' & B4) to get the month and year values to display the calendar:
Result obtained month and year users want to display the calendar:
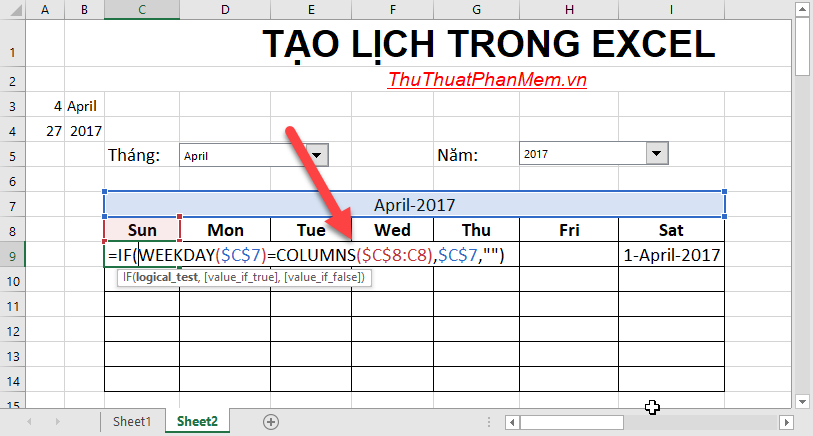
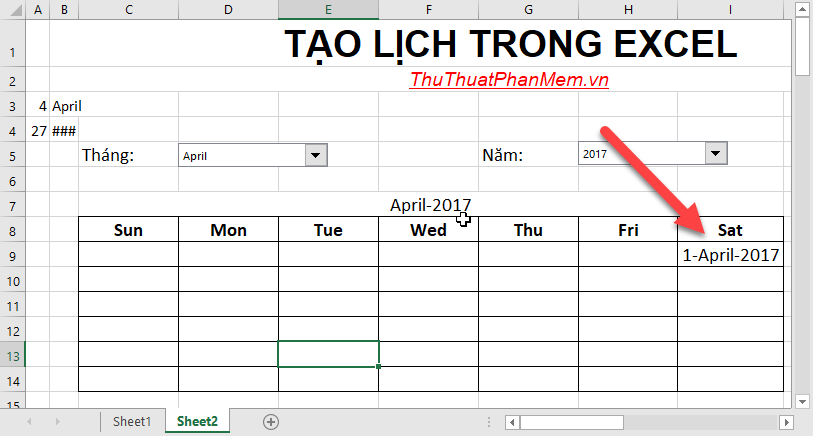
Step 7: In the first cell of the Sunday test month by entering the formula: If (WEEKDAY ($ C $ 7) = COLUMNS ($ C $ 8: C8), $ C7, '') -> press Enter:
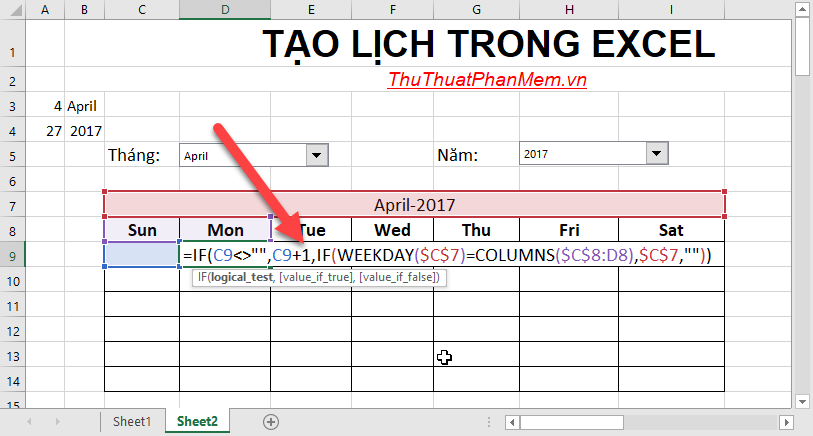
Step 8: At day 2 enter the formula: If (C9 <> ``, C9 + 1, if (WEEKDAY ($ C $ 7) = COLUMNS ($ C $ 8: D8), $ C7, ''))
Step 9: Copy the formula for the remaining values in the same row:
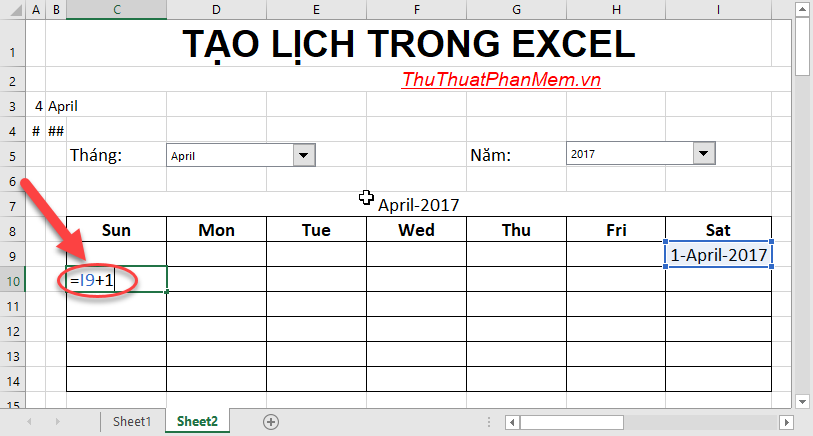
Step 10: In the next row you do the same but take the value at the end of the row before it:
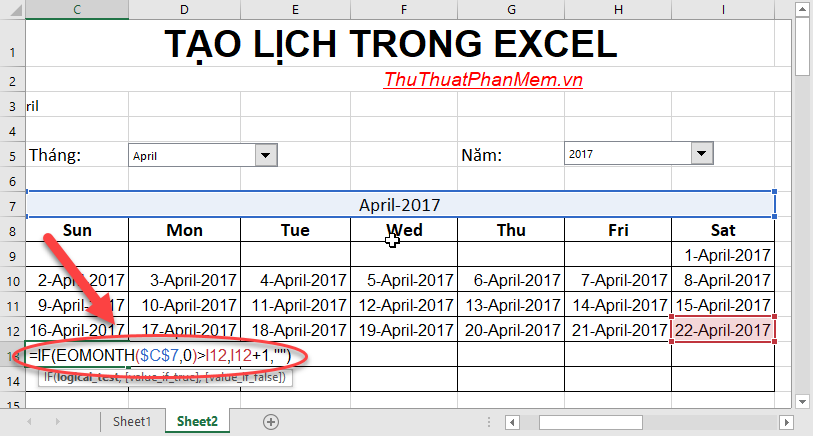
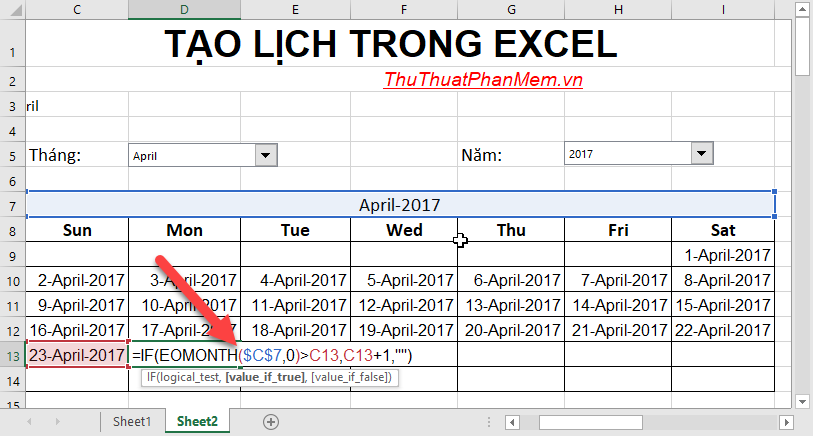
Step 11: In the last row of the month, you need to use the function to avoid adding more than 31 or 28 days by using If (EOMONTH ($ C $ 7.0> I12, I12 + 1, '')
Similarly enter the next cell value:
Step 12: Format the date data to display only the day by selecting calendar -> right-click and select Format Cell in Custom section, enter d value -> OK:

Step 13: You hide the value of the cells to display the calendar link -> select those cells -> right-click and select Format Cell -> in Custom, enter 3 semicolons:

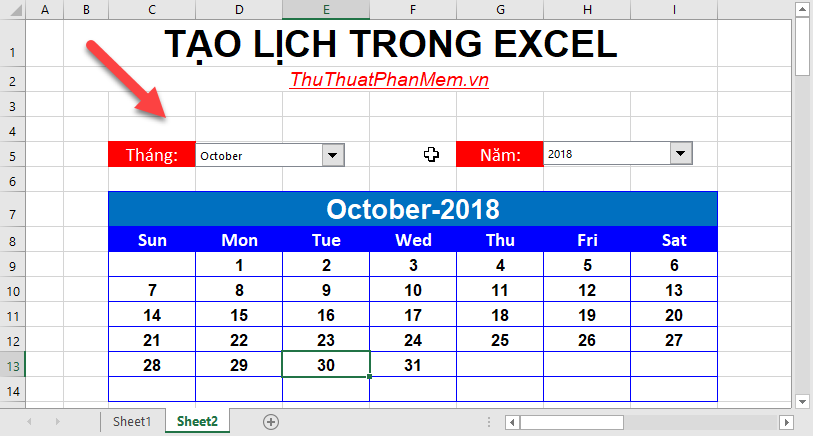
Step 14: Format display calendar -> you have created calendars for many different years:
Above is a detailed guide on how to create a calendar in Excel. Depending on how you choose to display the calendar appropriately. Good luck!