Instructions for setting up a custom email domain on iCloud
If you have or intend to purchase your own domain name, you can manage email addresses with that domain through iCloud Mail.
Note: At the time of writing (September 2021), the custom email domain feature is still in beta. You can visit beta.icloud.com to proceed with the setup. The official version is expected to officially launch in 2021. At that time, you can visit icloud.com to create your custom email domain.
Set up a custom email domain on iCloud
First, sign in to your iCloud account with your Apple ID and password, then click 'Account Settings'.

Scroll down to the Custom Email Aliases section and click 'Use (or Manage) Custom Email Aliases'.

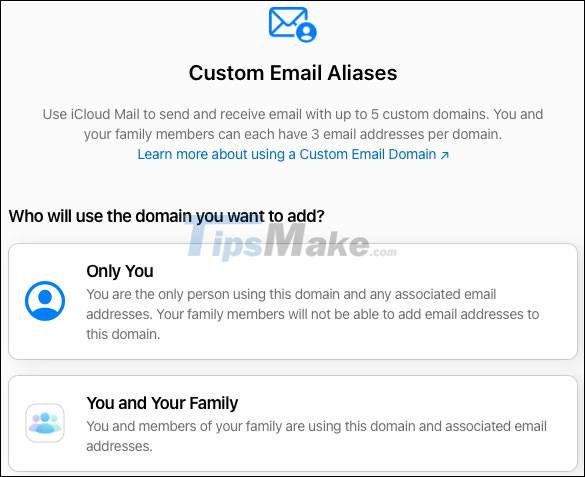
The system will ask if you want to set this up for yourself or for the whole family. If you use Family Sharing, this allows each family member to use 3 email addresses with a domain name. Select 'Only You' or 'You and Your Family'.
Enter the domain name you want to use and click 'Continue'.

On the next screen, confirm the domain name you entered above.

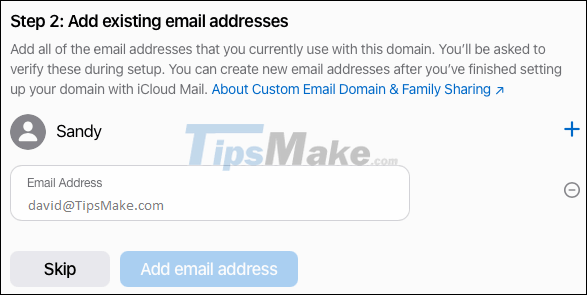
Then add any existing email addresses that you use with the domain at "Step 2". If you are not currently using an email address on that domain, 'Skip' can be clicked. You can create a new email address once the domain is set up.
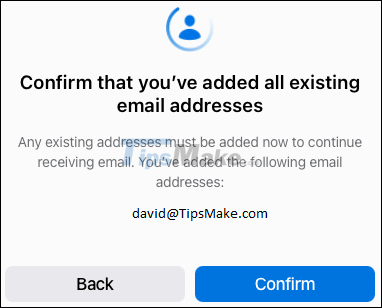
If adding an email address, click 'Confirm' to confirm that you have added all required email addresses. You will then be asked to verify via email before you move on to the next step. So open the email app and check for messages from Apple.
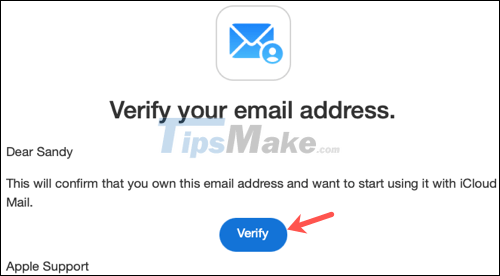
You'll receive a confirmation email at each email address you've added. Just click 'Verify' to confirm the email address is yours.
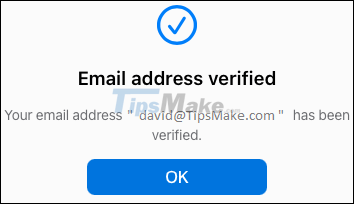
Once the email address verification is done, return to the iCloud screen and click 'OK'.
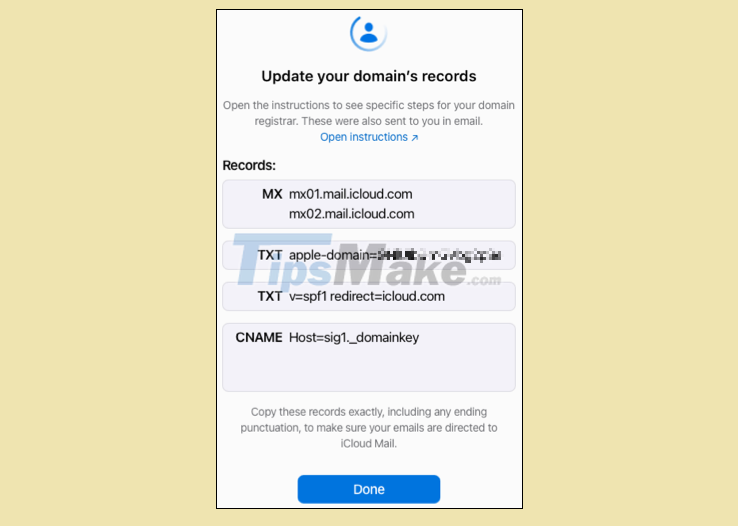
The next step is to copy and update your domain records. Click 'View' for 'Step 3' and you will see a window appear with the settings you need. Text can be selected and copied for each record. Then just paste them in the correct zone location, or modify the zone file if you manage your own DNS. Click 'Done' when you're done.
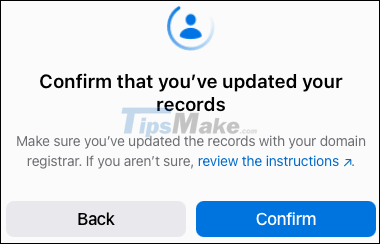
Finally, click 'Finish Set Up' for 'Step 4', and then 'Confirm' that you have successfully updated your domain records.
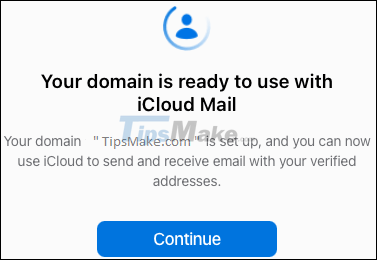
After a while, you'll see a confirmation message that your domain is ready to use with iCloud Mail. Click 'Continue'.
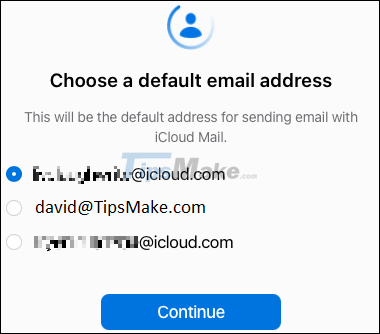
You will then be asked which email address you want to use as the default. Select the email you want and click 'Continue'.
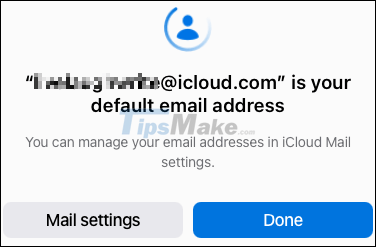
When you see the next confirmation message, click 'Done' to finish.
Create a new email address
Once your domain has been set up with iCloud Mail, you can create a new email address if desired. Go back to the Custom Email Aliases section on iCloud and click 'Use (or Manage) Custom Email Aliases'.
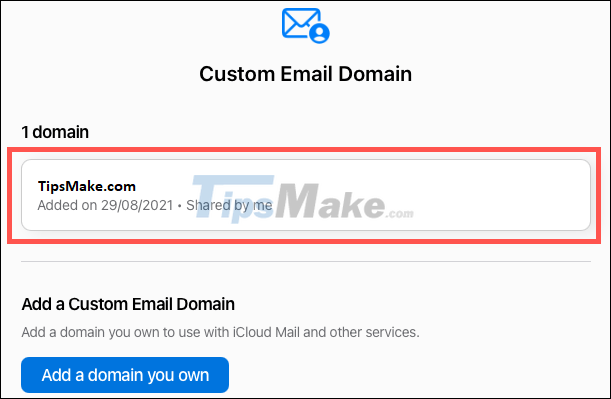
Click to select the domain you have set up.
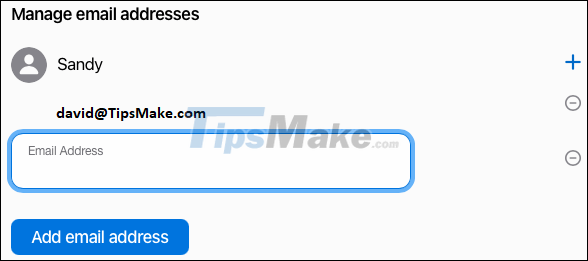
Click the plus sign to the right of your name. Then enter a new email address and click 'Add Email Address'.
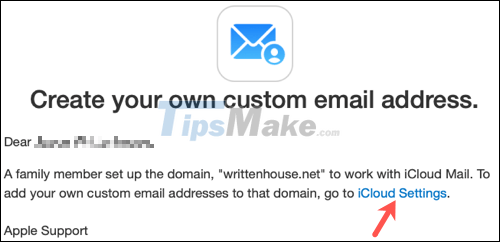
If you set up a custom domain for your family to use, each family member will receive an email at the address associated with Apple ID Family Sharing. They can click the iCloud Settings link in the email and follow the prompts to set up their email address.
Once done, you can perform the test and send a message to your custom email domain. Then enjoy easy inbox management through iCloud Mail on any of your Apple devices or browsers.