How to use Obsidian with local AI to visualize things.
Recently, some people have overcome this by combining their Obsidian account with a local AI image generator..
Many people have used Obsidian for several years for note-taking. They like its graphical interface, two-way linking, and plain-text philosophy. However, for a while, one thing bothered them: its primary source of content was typing, and a lot of it.
Recently, some people have overcome this by combining their Obsidian account with a local AI image generator. This isn't about inserting pre-made images or copying content from Midjourney or Leonardo.ai, but rather creating images directly linked to notes, stored locally, privately, and without registration.
How to set up a free local AI photo generator on your Mac
Choose the Stable Diffusion model that matches your hardware.
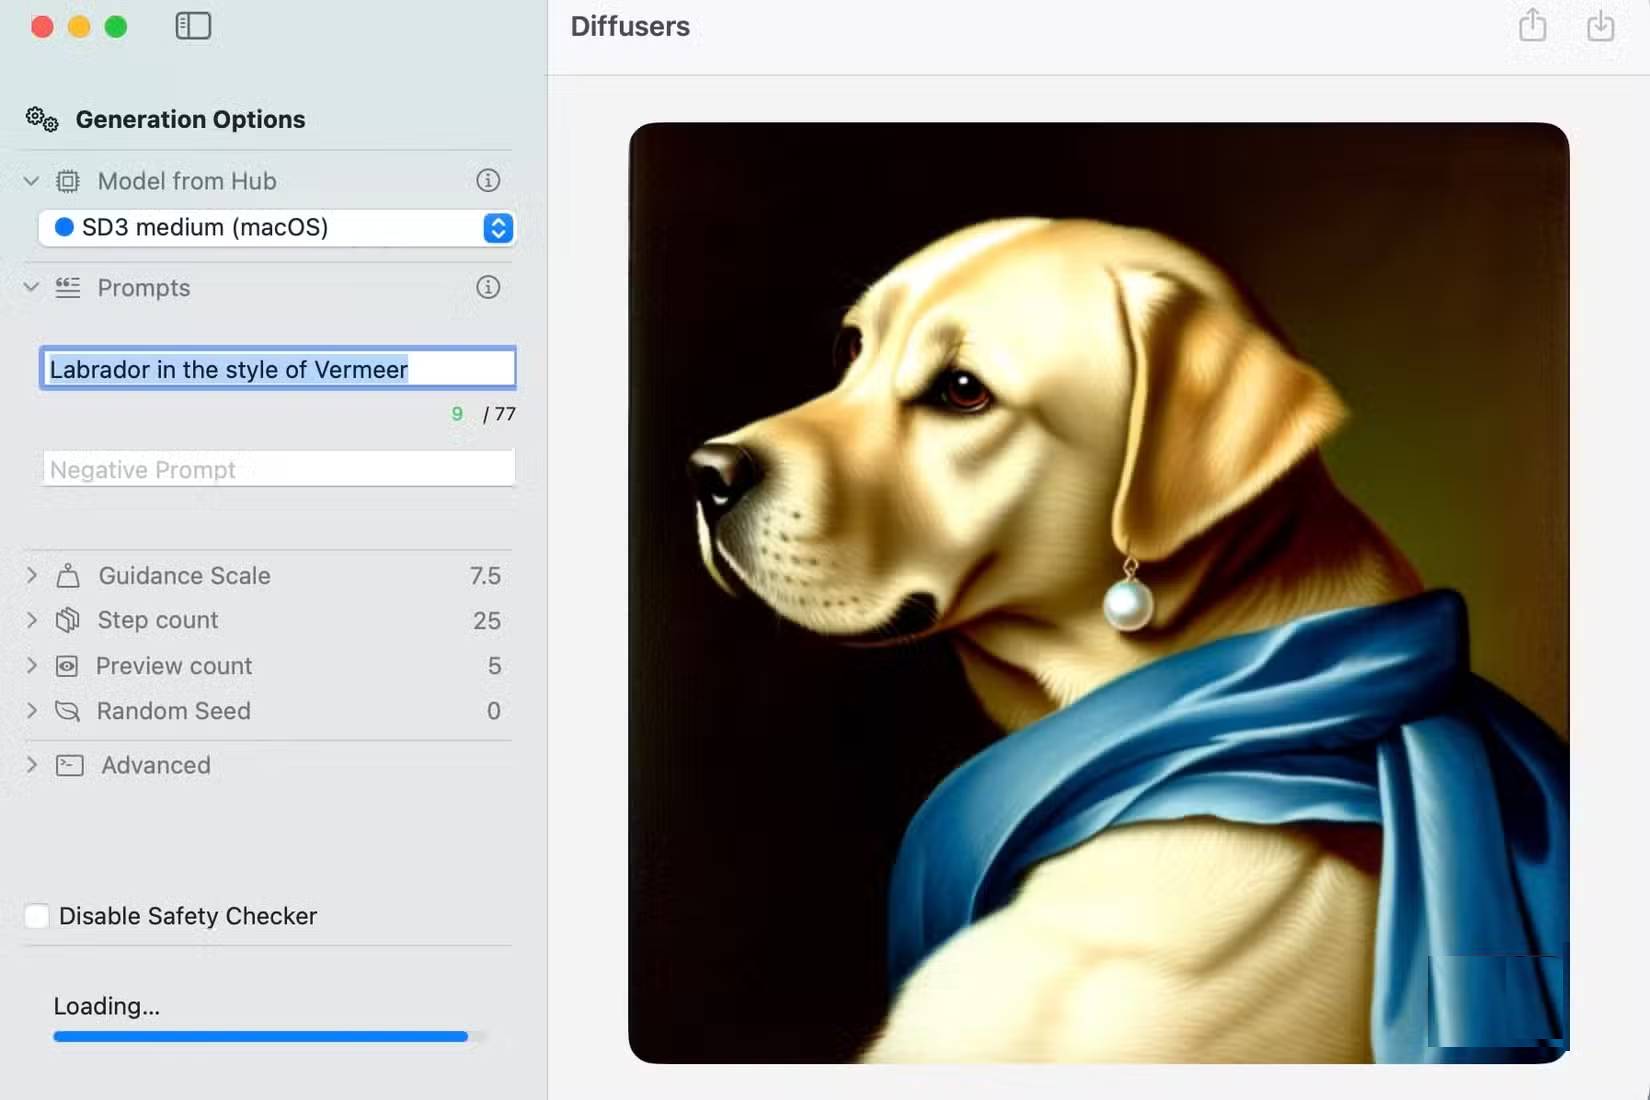
For those who primarily use a Mac, a helpful tool is Diffusers, an open-source image creation application from Hugging Face. This application is free, available for download on the Mac App Store, and incredibly easy to install without any command-line knowledge. It runs entirely on the machine and leverages Apple Silicon's Metal GPU, meaning it creates images faster than expected from consumer hardware.
When you first open the application, you'll be prompted to download a model, which is the creative tool that powers image creation. If you're using a Mac M3 or M4 with 16GB or more of memory, you should choose Stable Diffusion 3 Medium. It produces the most realistic results of all the options available in the application, and your hardware will handle it comfortably. If you own an older Mac, Stable Diffusion 2.1 is a reliable starting point.
If you're using Windows, there are several alternatives worth considering. These include ComfyUI, which offers an intuitive node-based interface and a one-click installer, and Automatic1111, which offers a more traditional web interface. Both are excellent alternatives, but neither is as optimized for Apple Silicon as Diffusers. Mac users will experience significantly better performance using the Hugging Face ecosystem.
The primary requirement for all these solutions is that they must run locally. Therefore, your notes and ideas remain private. While you could transfer them via a cloud service, this would defeat the purpose of a personal knowledge repository.
How to connect Obsidian and Diffusers
Use the Obsidian Templater plugin to build image prompts.
Once Diffusers is up and running, you need a way to seamlessly integrate it with Obsidian instead of treating them as two separate applications that you have to switch back and forth between.
First, continue writing down your ideas and thoughts on Obsidian as you normally would. Always make sure to write at least one paragraph about the concept or node you're working on. The goal here is to force yourself to clearly articulate what the image should represent, which will significantly improve the final prompt. If your prompt isn't complete, neither will the image.
Next, use a template to build your visual prompt. For this, use Obsidian's Templater plugin , one of the easiest-to-use plugins available. If you haven't installed it yet, go to Settings -> Community Plugins -> Browse and search for Templater , then install it. It's free and only takes about 2 minutes to set up.
After you've finished writing, create a new folder in your archive called Templates , and inside it, create a new note named Image Prompt Template .
For example, you're writing a murder thriller set on a cruise ship, so you've spent a lot of time visualizing the main characters. This means documenting "who" and "what," as well as mood, atmosphere, and style. You should also include a "negative statement" to let the reader know what to actively avoid (such as bland details or cartoonish style).
For the first prompt, use the following language: "Subject: Mood/Atmosphere: Color: Style: Extremely detailed, cinematic. Negative statement:".
Now, whenever you're ready to add an image to a note, you can open the note, click inside, and activate it with a hotkey. You can set up this trigger in Templater's settings under Template Hotkeys . A small window will appear, and you type "Image" to find the template, then press Enter . The template will add that structure to the note, and you just need to fill in the blanks.
Here's an example of the prompt being used:
Subject: a retired schoolteacher in her mid-60s, silver hair pulled back loosely, reading glasses pushed up on her forehead, sitting at a kitchen table with a cup of tea Mood/atmosphere: quietly content, unhurried, the feeling of a Sunday morning with nowhere to be Colors: warm cream, soft morning light, muted sage green Style: hyper-detailed, cinematic, photorealisticChủ thể: Một giáo viên đã nghỉ hưu khoảng 60 tuổi, tóc bạc buộc lỏng, đeo kính đọc sách, ngồi ở bàn bếp với một tách trà Tâm trạng/không khí: Yên tĩnh, mãn nguyện, thư thái, cảm giác của một buổi sáng Chủ nhật không cần phải đi đâu cả Màu sắc: Kem ấm, ánh sáng buổi sáng dịu nhẹ, xanh lá cây xám nhạt Phong cách: Cực kỳ chi tiết, điện ảnh, chân thực như ảnh chụp
The final step is to copy the completed prompt from Obsidian and paste it into the Prompt text box at the top of the application. Add the negative statement to the Negative Prompt box below. This example used:
Negative prompt: blurry, low quality, cartoon, watermark, text, deformed hands, young, glamorous, dramatic lightingCâu lệnh phủ định: Mờ, chất lượng thấp, hoạt hình, hình mờ, văn bản, bàn tay biến dạng, trẻ trung, quyến rũ, ánh sáng kịch tínhAfter filling in both prompts, select Generate . You may need to do this two or three times to find the layout you want. Some of the images Diffusers generates aren't very good, so you'll need to look through a few variations before finding one you like. Over time, as you write better prompts, this process will become faster.
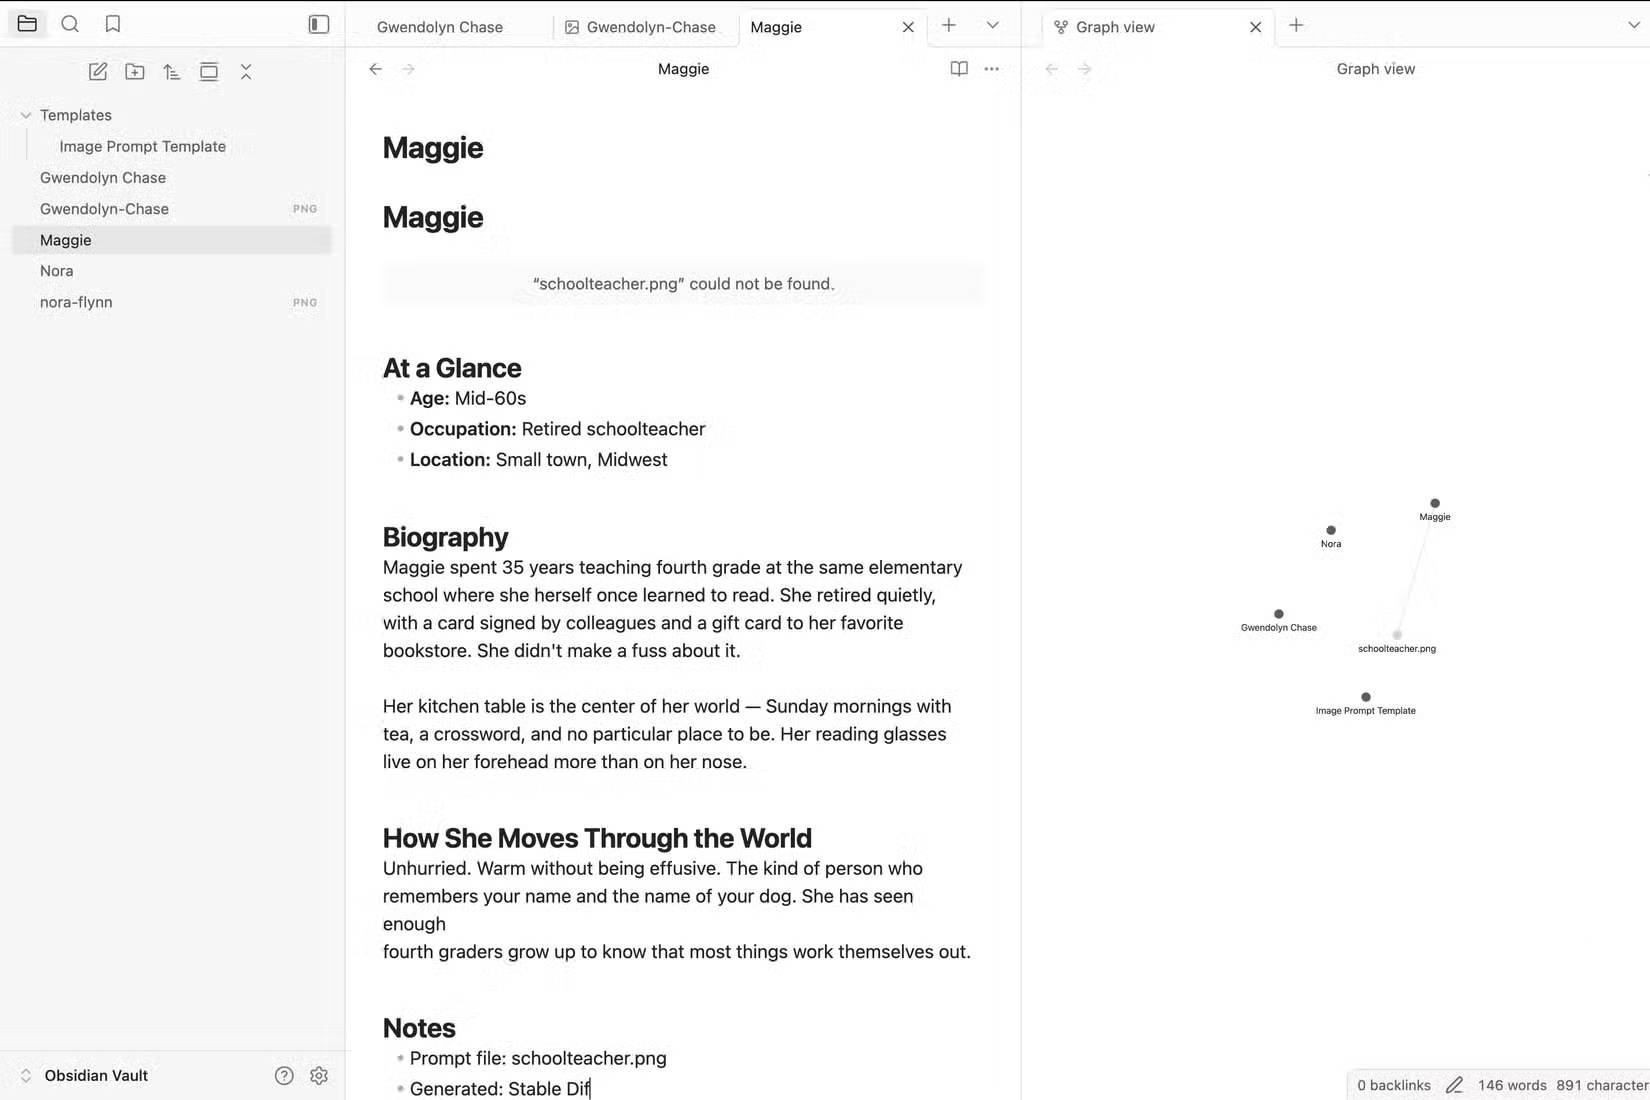
Now, you need to save the image to the assets folder inside your Obsidian repository. For simplicity, use "/assets/images/" in the root directory of your Obsidian repository. Every time you save a created image, it will be placed here. This example has named the file "schoolteacher.png."
The final step is to embed the image at the beginning of your Obsidian note. For example, "![[schoolteacher.png]]" has been added. When opened for the first time, it helps you orient yourself immediately, and now you know what this note feels like before reading any words.