How to Uninstall iTunes
On Windows

Open Start . Click the Windows icon in the lower left corner of the screen.
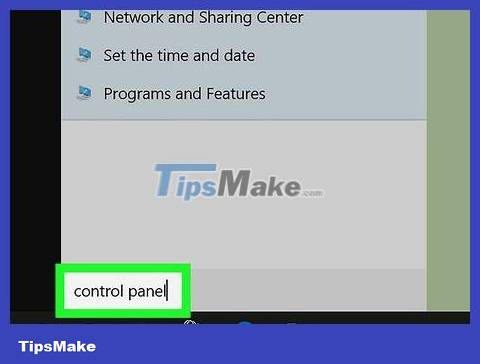
Tap control panelStart. This will find the Control Panel application on your computer.
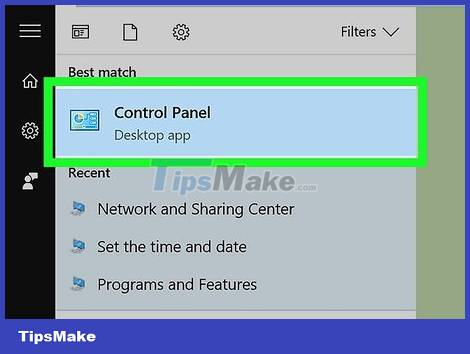
Click Control Panel at the top of the Start window.
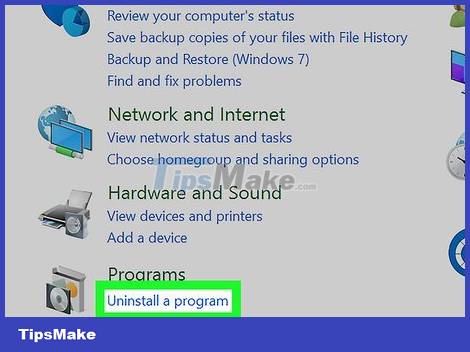
Click Uninstall a program . The link is under the "Programs" heading.
If Control Panel displays a grid of icons instead of several icons with links, click Programs and Features .

Click the Publisher tab . It's in the row of organization options below the program list. Programs will be arranged alphabetically by publisher name, so that Apple software will be at the top of the Control Panel window.
If the publisher "Apple Inc." page header is not displayed, click Publisher again.
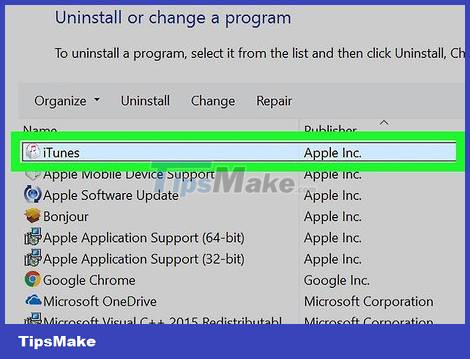
Select iTunes . The application will be at the top of Apple's list of services.
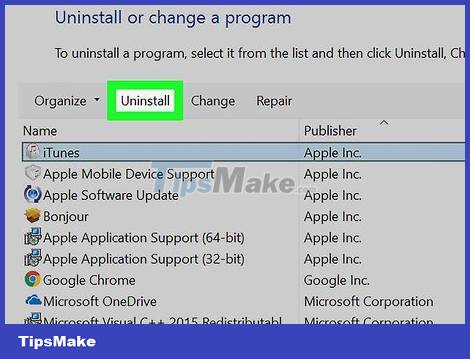
Click Uninstall . This button is located to the left of the options row at the top of the program list. The iTunes uninstallation process will begin.
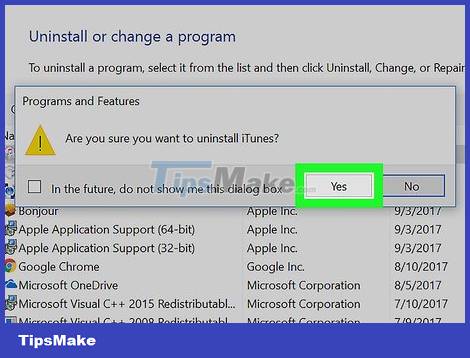
Follow the uninstallation instructions. Click Yes twice, then wait for the iTunes uninstallation process to complete.
If the system asks to restart, click Restart later .
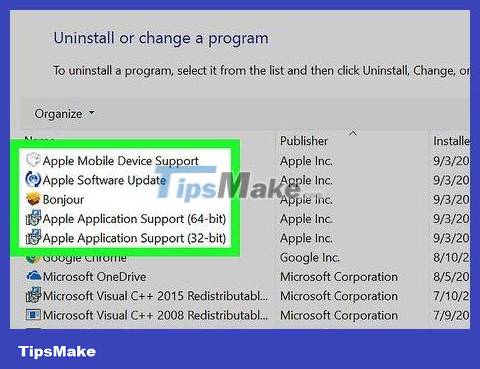
Uninstall other Apple services. If you don't want to have anything to do with iTunes anymore, you can uninstall other programs in the following order:
Apple Software Update
Apple Mobile Device Support
Bonjour
Apple Application Support (64-bit)
Apple Application Support (32-bit)
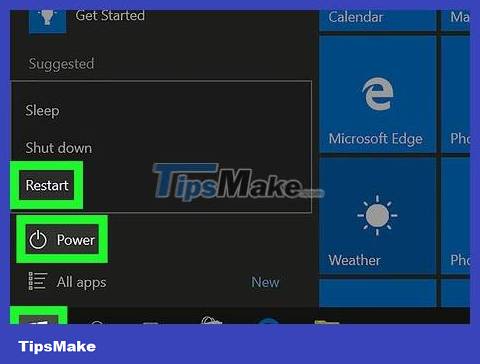
Restart the computer. Open Start , click the button, then click Restart . After the computer restarts, iTunes and all related software will be removed from the computer.
On Mac
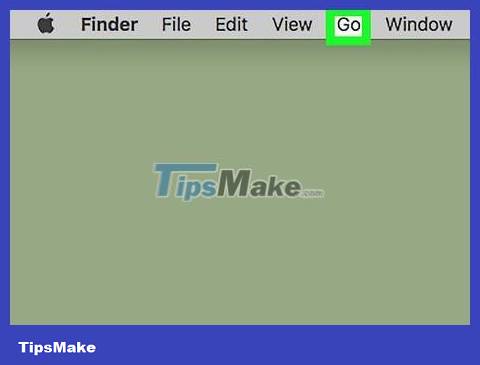
Click Go in your Mac's menu bar.
If you don't see the Go option , click the desktop, or open Finder.
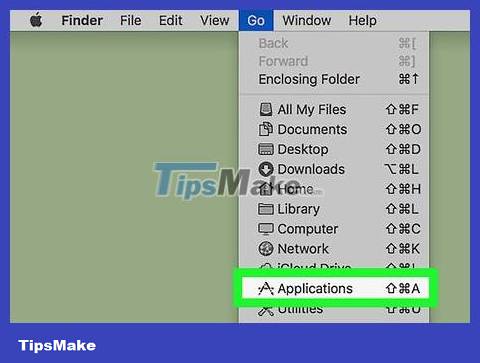
Click Applications . The option is in the Go drop-down menu .
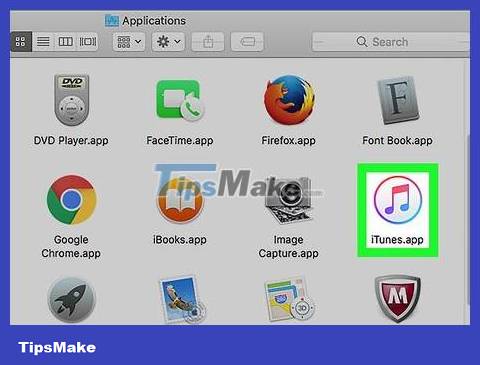
Select iTunes. Find and click the iTunes icon, which resembles a multicolored music note on a white background, to open the app.
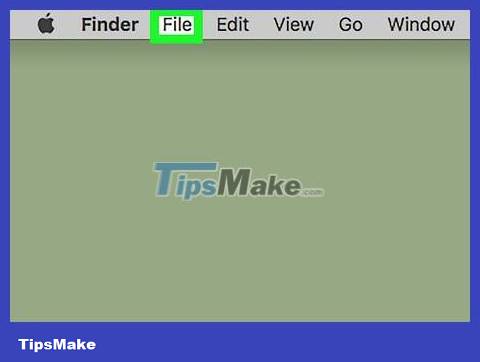
Click File . Options are at the top left of the screen.
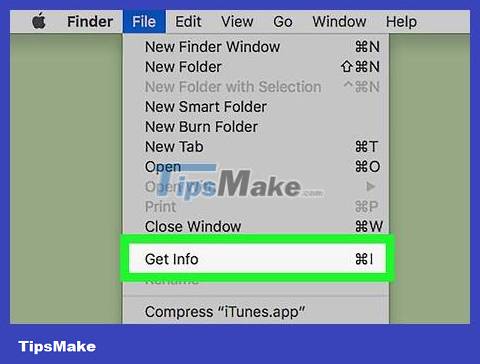
Click Get Info . The action is near the top of the File drop-down menu .
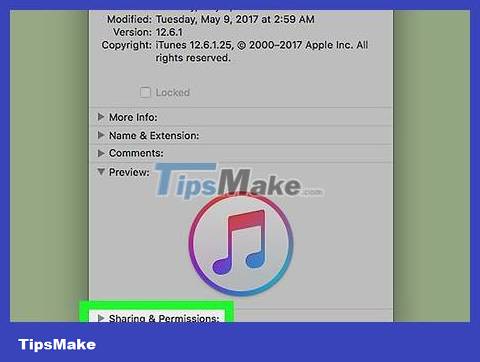
Double-click the Sharing & Permissions tab . It's near the bottom of the iTunes information menu. The card will expand with additional options.
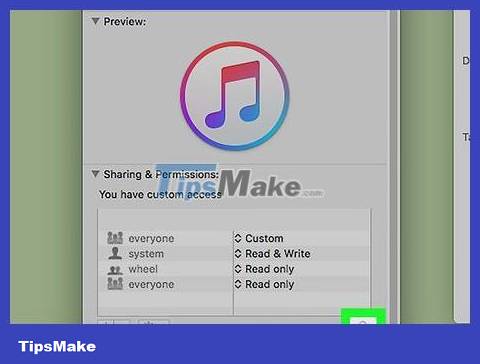
Click the padlock icon in the lower-right corner of the window.
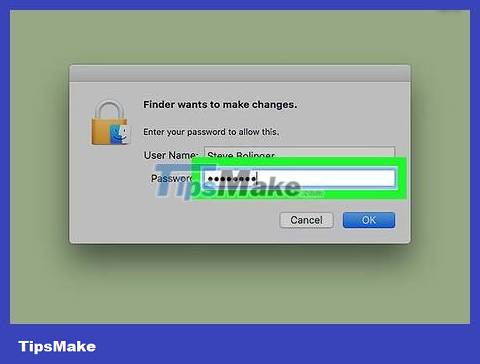
Enter the administrator password when asked. This will unlock the Sharing & Permissions menu, allowing you to change program permissions.
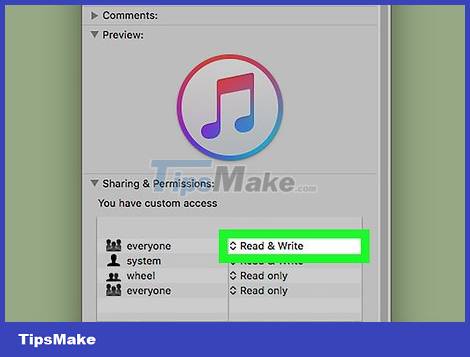
Change the "everyone" permission to "Read & Write". Click the ^ sign to the right of the "everyone" heading, then click Read & Write to set it as iTunes' default access. This setting will allow you to delete iTunes.
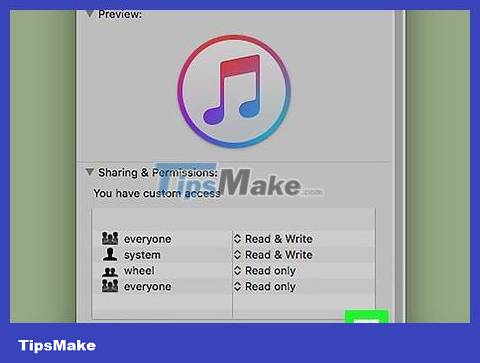
Click the padlock icon again to save the changes.
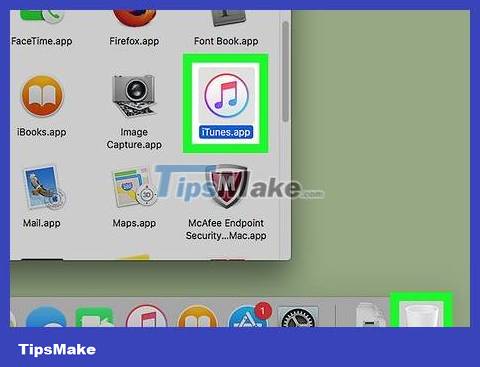
Click and gently drop iTunes into the Trash. Trash is located in the right corner of the Dock on Mac computers. This will uninstall iTunes.
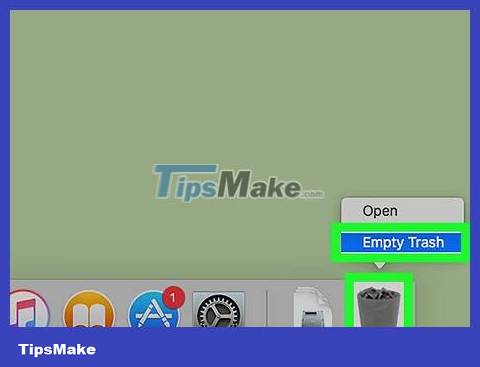
Empty the trash. Long click on the Trash icon, click Empty Trash in the pop-up menu and select Empty Trash when asked. The trash will be completely emptied and iTunes will be deleted from the computer.
You may need to restart your Mac for iTunes to disappear completely.