How to Root an Android Device Without a PC Using Framaroot
Part 1 of 2:
Rooting Your Android
-
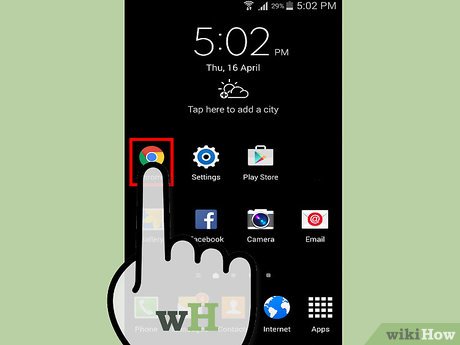
 Open a web browser on your Android device. You can use your device's native browser app or other third-party applications likes Google Chrome, Mozilla Firefox, Opera, or Dolphin browser.
 -
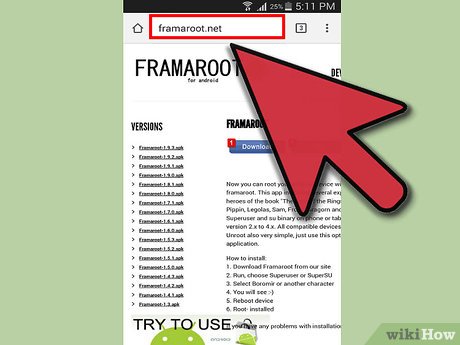
 Download an app called Framaroot. Framaroot is a stand-alone application that roots your Android device without having to use a PC. You can download the latest version of this app straight from Framaroot's website (http://framaroot.net/).
 -
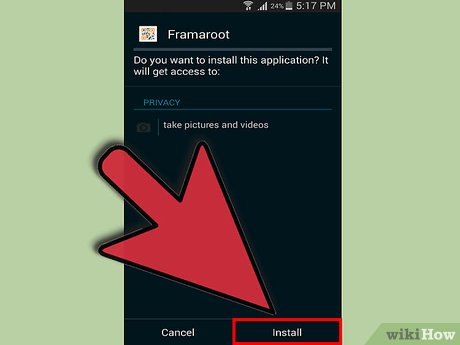
 Install Framaroot. Tap the downloaded APK to install it on your device.
- If your device's not set to install third-party applications, a prompt will appear asking confirmation to install Framaroot. Simply enable the 'Unknown Sources' option on the prompt to continue.
-
 Open Framaroot. After installation, tap the app icon from your device's home screen to launch Framaroot.
 -
 Select an exploit to use on your phone or tablet. Framaroot will require you to choose from three kinds of exploits that will root your phone, namely, 'Sam,' 'Frodo,' and 'Aragorn.' You can select any of the three exploits listed. Just tap each one and find out which one is working.
- Some exploits will not work on your device depending on the make, model, and version of Android OS it's running on. When this happens, a message prompt will appear on the screen telling you that the exploit 'failed.' Just select another one from the three until you find one that will work.
- After choosing a working exploit, a message will appear notifying you that the exploit is successful and superuser settings have been installed on your device, which means that you have rooted your phone or tablet.
-
 Restart your device to apply the updates. Press and hold the Power button of your newly rooted Android device to reboot it.
Part 2 of 2:
Checking if Rooting Was Successful
-
 Launch Google Play. Tap on Google Play's icon your home screen or app drawer to open it.
 -
 Look for Root Checker. On the search bar at the top, type in 'Root Checker' then tap on the search icon (magnifying glass).
 -
 Select Root Checker from the results. Tap on the app's name to view its details.
 -
 Install Root Checker. Tap the 'Install' button to download and install the application on your Android device.
 -
 Open Root Checker. Tap the app icon from your device's home screen to launch Root Checker.
 -
 Check if your Android has been successfully rooted. Tap the 'Verify Root' button to check whether your phone or tablet is rooted or not. If you used Framaroot correctly, a message prompt should be displayed on the screen telling you that your device is rooted.
Share by
Isabella Humphrey
Update 04 March 2020


