How to enable root user on a Mac to take complete control of the device
Apple has turned off root user access by default. If you still want to learn how to enable root user on macOS, follow the instructions below..
On macOS platforms, certain file system components are not usually available by default, even if you are the administrator of the system. However, when you activate the Root User (root account, root user or superuser), you will have read and write privileges over the entire file system. In addition, you can even access data files in other users' accounts on the system when needed.
By enabling the root user, you will have full control over your Mac. But along with that, the risk of your system crashing is also much higher. Apple is fully aware of this and has turned off root user access by default. If you still want to learn how to enable root user on macOS, follow the instructions below.
Activate Root via Terminal
You can enable root access through macOS's Terminal. To launch Terminal, open a new Finder window and navigate to ' Applications -> Utilities '.
Step 1. In the Terminal window, type the following command:
dsenablerootStep 2. Press Enter . Terminal will automatically detect your username and will then ask you for the corresponding password.

Step 3. Enter your password and press Enter .
Step 4. You will be prompted to create a password for the root account. Since the root user basically has access to every component of the system make sure you choose a strong password!
When the process is complete, you will see the following message displayed:

Root user is now enabled on the Mac, and you can start using it for advanced tasks, which is not possible with regular user accounts.
Enable Root Using Directory Utility
If you want to use the Mac's user interface, you can enable root users using Directory Utility:
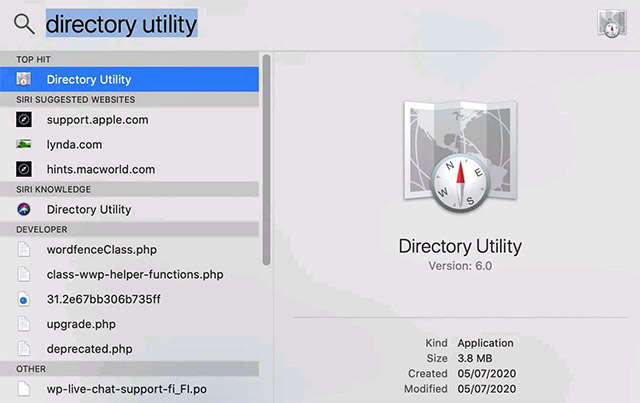
Step 1. Open Spotlight on your Mac by clicking on the menu icon in the top right corner of the screen.
Step 2. In the Spotlight window, search for ' Directory Utility ', then click on this app when it appears.
Step 3. In Directory Utility, click on the ' Services ' tab .
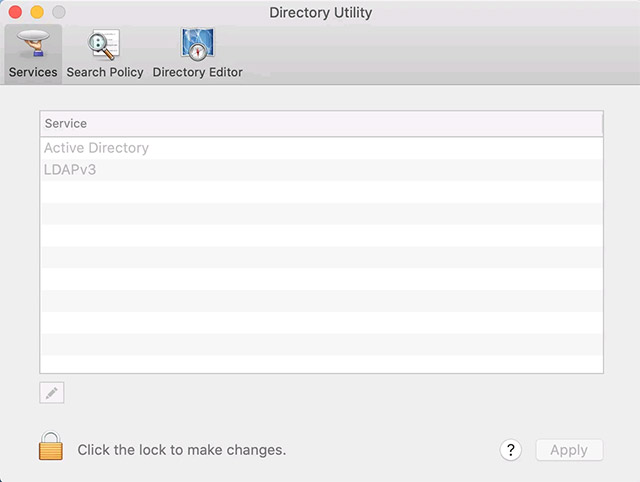
Step 4. In the bottom left corner, click on the little padlock icon, then enter your username and password when prompted.
Step 5. In the toolbar, select ' Edit -> Enable Root User '.
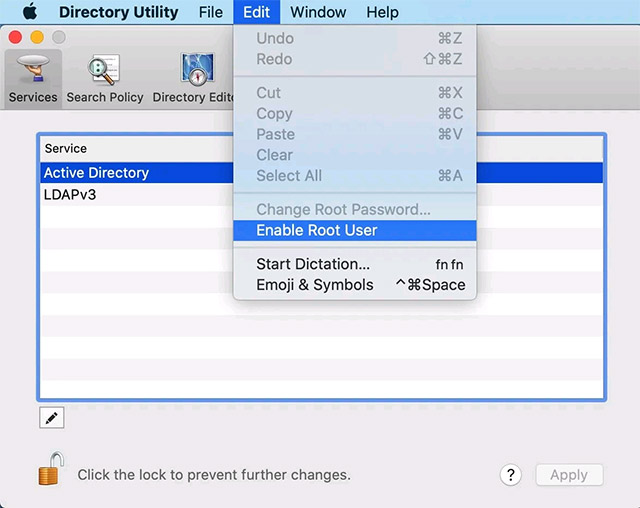
When prompted, create a username and password for your root user.
Step 6. Now you can click ' OK ' to create your root account.
If you want to disable the root user, launch Directory Utility again, but this time click ' Edit -> Deactivate root user '.
How to log into the root user account
Once the root user is enabled, you can log into this account from the main macOS login screen:
Step 1. Log out of your current account as usual.
Step 2. On the macOS login screen, select ' Other… '.
Step 3. For ' username ', enter ' root '. Now you can enter your root password.
Step 4. Sign in to your account.
This account might look exactly like a regular user account, but you can now access, edit and even delete files that are out of the normal bounds, so be careful!
For safety's sake, you should only log in to the root account when performing tasks that require root privileges.
Disable root user using Terminal
To help protect your Mac from malicious activities, you should turn off root as soon as you no longer need it.
To disable root access, launch Terminal (' Applications -> Utilities -> Terminal '), then run the following command:
dsenableroot -dWhen prompted, enter the password for your current account. You will see the following message:
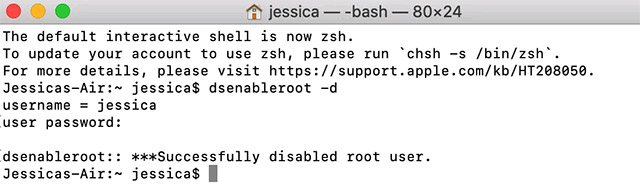
The root user account is now disabled on your Mac.
Good luck.