Table of Contents
This updated guide examines Click: How to Change the Screen Resolution on a Mac and organizes the essential facts, background, and practical takeaways in clear American English.
Part 1of 2:
Changing the Display Resolution
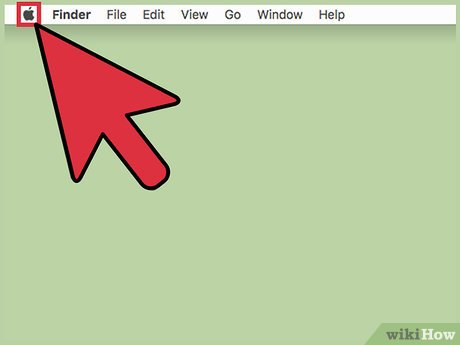 Click the Apple menu. This is located in the upper-left corner.
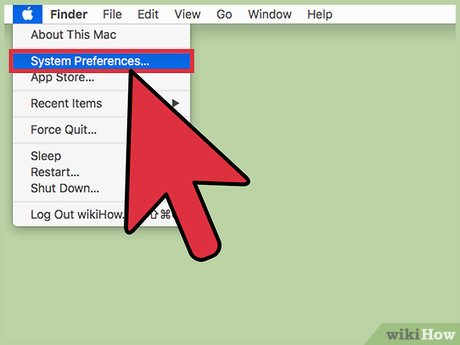 ClickSystem Preferences.
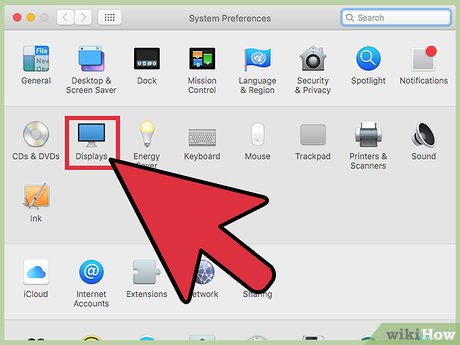 Click theDisplayoption. If you don't see this, click the Show All button at the top of the System Preferences window.
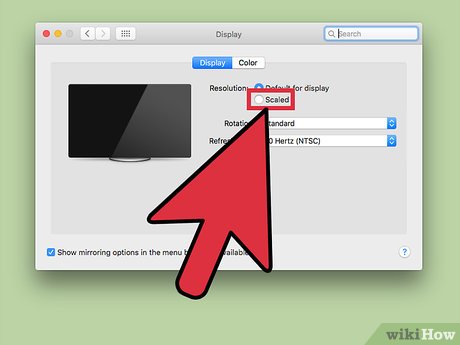 Click theScaledradio button.
 Double-click the resolution option you want to use. Selecting a "Larger text" option is the same as choosing a lower resolution. Choosing a "More space" option is the same as selecting a higher resolution.[1]
Part 2of 2:
Opening an App in Low Resolution Mode
 Quit the app if it is already open. You can do this by clicking the app name in the menu bar and selecting Quit.
- You may need to enable Low Resolution mode for apps that are not displaying properly on a Retina display.
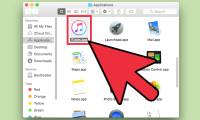
 Click your desktop. This will make Finder the active program.
 Click theGomenu.
 ClickApplications.
 Click the application to highlight it.
 Click theFilemenu.
 ClickGet Info.
 Click theOpen in Low Resolutionbox.
 Close theGet Infobox.
 Double-click the app icon to open it. The app will open in Low Resolution mode.[2]
FAQ
What is Click: How to Change the Screen Resolution on a Mac about?
It provides a structured overview of click, explains the main context, and highlights practical takeaways for readers.
Why does this topic matter?
Understanding the main concepts helps readers evaluate the issue, avoid common mistakes, and make better-informed decisions.
How should readers use this information?
Use the guidance as a practical starting point, confirm details that may have changed, and follow current product, safety, or security recommendations.
Related Articles
 How to Change the Screen Resolution of Galaxy S202 minutes read
 How to Change Mac Screen Resolution: Complete Guide4 minutes read
 How to Change Screen Resolution on Computers and Laptops5 minutes read
 Instructions to Change Screen Resolution (Screen Resolution)3 minutes read
 How to Change the Resolution in Windows 84 minutes read
 How to Change Screen Resolution in Ubuntu4 minutes read
Reader Comments 0
Sign in with email or Google to join the discussion.