How to disable Lock Screen lock screen on Windows 8, 10
On Windows 8 and Windows 10, Lock Screen lock screen allows users to select any image as wallpaper as well as display the date and time on the screen when logging out of Windows. However, when logging back into Windows, users are forced to use the mouse to bypass this Lock Screen lock screen.
Table of Contents
On Windows 8 and Windows 10, Lock Screen lock screen allows users to select any image as wallpaper as well as display the date and time on the screen when logging out of Windows. However, when logging back into Windows, users are forced to use the mouse to bypass this Lock Screen lock screen.
If you want Windows 8 or Windows 10 to display the login interface immediately instead of having to manipulate via the Screen Lock screen, you can disable the Lock Screen lock screen.
1. Disable Lock Screen lock Screen by Local Group Policy Editor
To disable the Lock Screen lock screen on Windows 8 and Windows 10, first open the Local Group Policy Editor by pressing the Win + R key combination to open the Run dialog box, then enter gpedit.msc in the Run dialog box press Enter .

At this point, on the screen that displays the interface of the Local Group Policy Editor folder in the left pane, you will find the path to Computer Configuration Administrative TemplatesControl Panel Personalization.

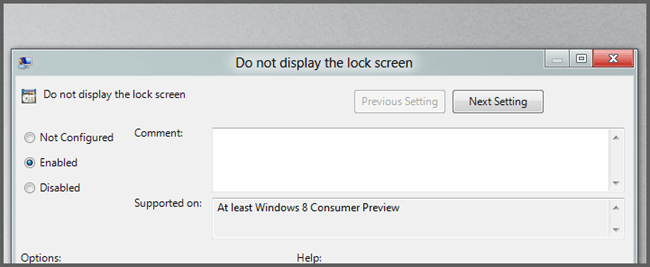
On the interface to the right of Personalization, double-click the option Do not display the lock screen .

Then check the Enable item .

Finally, click OK and restart the computer to set it up.
2. Disable quick lock screen Lock Screen
If you don't want to edit the Registry manually, you can download the pre-edited Registry file to your computer and install it.
Download the available Registry file to your computer here.
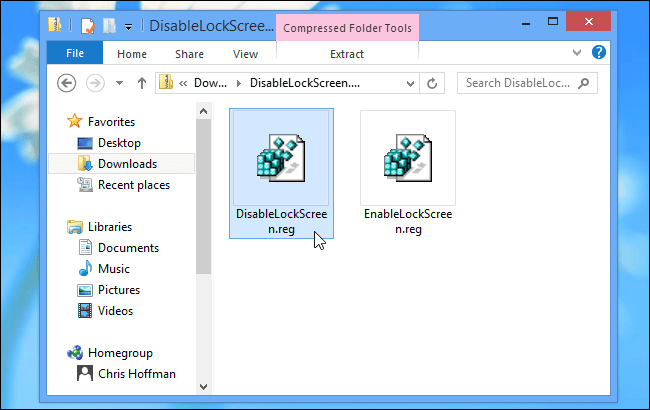
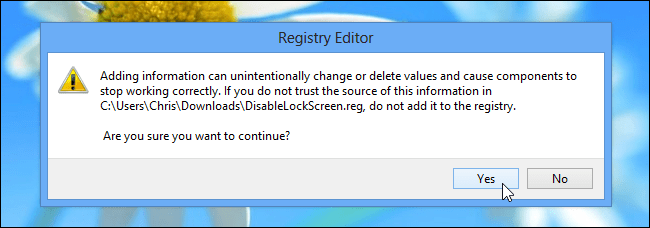
After you have downloaded the pre-edited Registry file, proceed to unzip the Zip file, now you will see two files, DisaleLockScreen.reg and EnableLockScreen.reg. Your task is to double click on the DisaleLockScreen.reg file to disable the Lock Screen lock screen.
Once done, you do not need to restart your computer.
If you want to re-enable Lock Screen lock screen, double click on EnableLockScreen.reg file.
3. Edit the Registry manually
If you want to edit the Registry manually, follow the steps below:
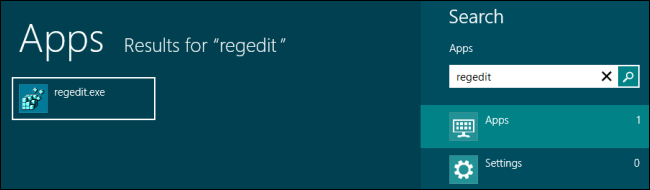
First open the Registry Editor by pressing the Windows key, then enter regedit in the Search box and press Enter. If you use Windows 10, simply open the Start Menu, then enter regedit there and press Enter to open the Registry Editor window.
On the Registry Editor window, navigate to the key:
HKEY_LOCAL_MACHINESOFTWAREPoliciesMicrosoftWindowsPersonalization
If you can't find the Personalization key, right-click the Windows key above, select New and create a new key called Personalization.
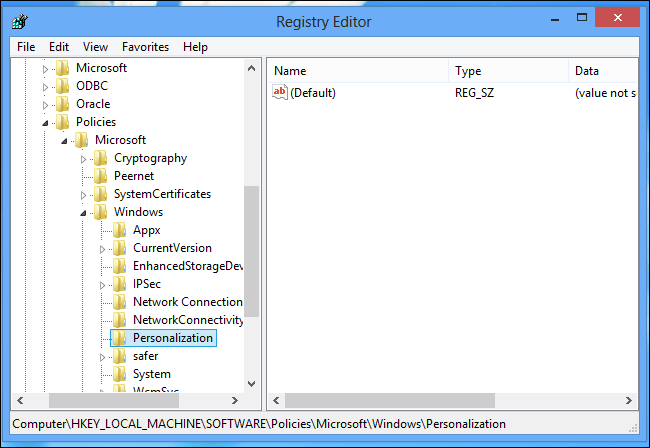
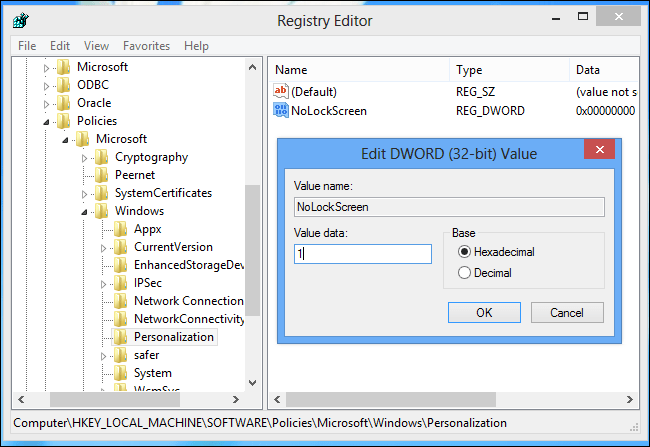
Right-click on the right frame and create a new DWORD value, name it NoLockScreen .

Next, double-click on the value NoLockScreen that you just created, at the Value Data frame you set the value to 1 .
Finally close the Registry Editor window and you do not need to restart your computer.
If you want to re-activate the Lock Screen lock screen, follow the same steps and set the value in the Value Data frame to 0 .
You can refer to some of the following articles:
-
Tips to customize Taskbar on Windows 10 effectively
-
How to get back 20GB of storage after the Windows 10 November update
-
Hidden features on Windows 10
Good luck!
Was this article helpful?
Your feedback helps us improve.
Related Articles
 How to disable Widgets on iOS 10 lock screen?2 minutes read
 How to turn on the search box on the lock screen on Windows 104 minutes read
 How to disable the Caps Lock key in Windows 103 minutes read
 How to disable Lock Screen lock screen on Windows 10 Anniversary Update6 minutes read
 3 ways to enable/disable Windows Spotlight image on lock screen4 minutes read
Reader Comments 0
Sign in with email or Google to join the discussion.