How to protect files from being mistakenly deleted by Windows Defender
Windows Defender is an antivirus tool, securing computer systems with the ability to eliminate malware. But what if this tool accidentally deletes your important data?
Table of Contents
Besides antivirus software installed on the computer, Windows Defender is a system security built into Windows, which helps the computer protect against malicious software. However, this tool has limitations: there are no more options to exclude trust files. Meanwhile, Windows Defender does not always work correctly, so it will delete the wrong file even if it is not a virus.
If so, you can install the Defender Injector tool to whitelist for trusted files and folders, to avoid Windows Defender deleting it mistakenly as a virus. This tool is compatible with Windows 8 and above.
- Turn off Windows Defender on Windows 10
- Use Windows Defender with Command Prompt on Windows 10
- How to kill viruses with Windows Defender Offline on Windows 10 Creators
How to use the Defender Injector to create a white list of trusted files
Step 1:
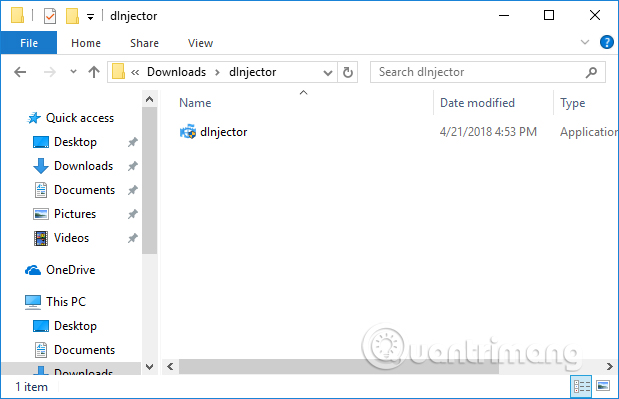
Go to the link below to download the Defender Injector tool to your computer, then proceed to extract the .zip file. Click on the file after extracting to proceed to install the tool.
- https://www.sordum.org/10636/defender-injector-v1-0/
Step 2:
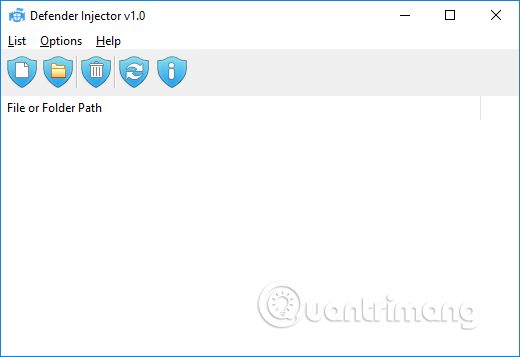
The installation of the Defender Injector is very simple and you do not need to perform the usual setup steps. Then appear the main interface of the tool.
Step 3:
To add folders or reliable data on the Defender Injector interface, we will have a lot of different implementations.
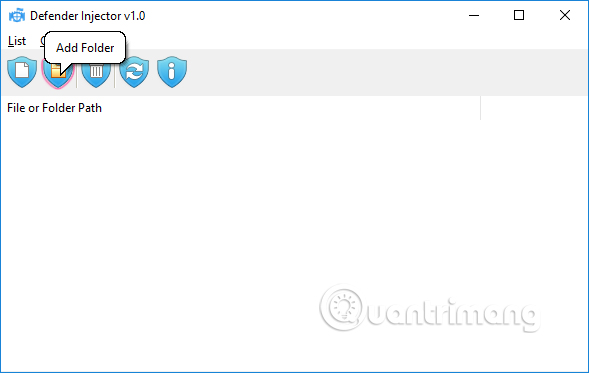
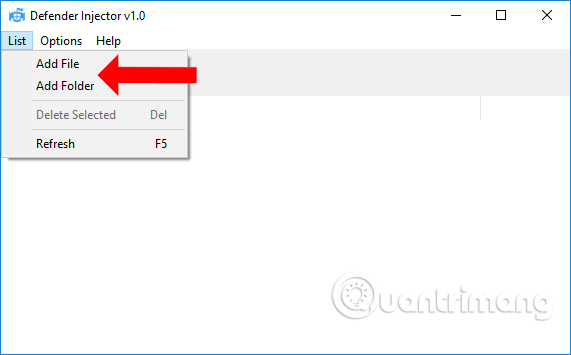
You can click the Add file icon to select the file or click the Add Folder icon to select the desired folder.
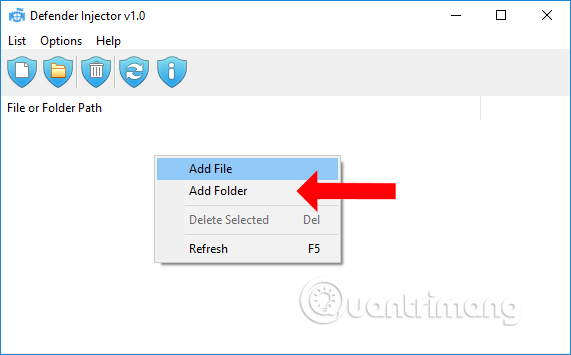
Or at the white interface of the tool, right-click and choose Add File / Add Folder .
Or if clicking on the List item will also see the option to add data and folders.
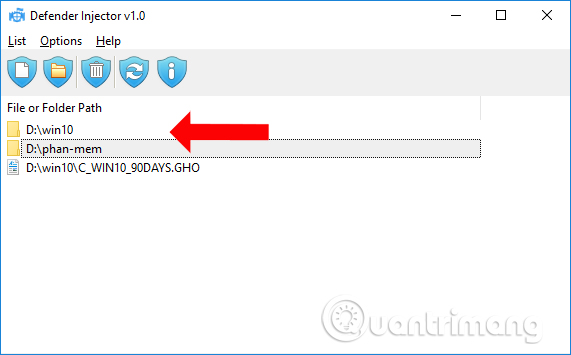
After adding files or folders to the Defender Injector interface, Windows Defender will remove the tracking process, and there will be no mistaken data deletion.
Step 2:
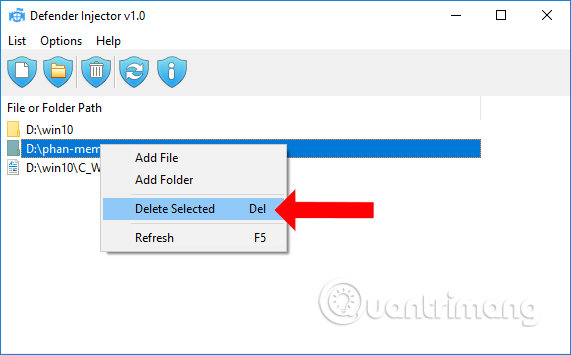
If the user wants to delete a file from the 'white' list, click on the data and then click the trash icon or Delete key.
Step 3:
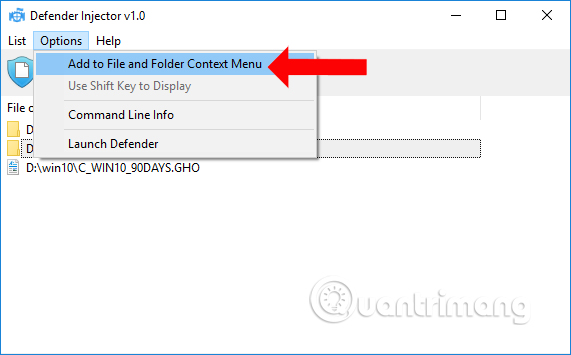
Next to add Defender Injector to the File Explorer right-click menu list without going through the software interface, press Options and then select Add File and Folder Context Menu .
So you have activated this option for the right-click menu.
Step 4:
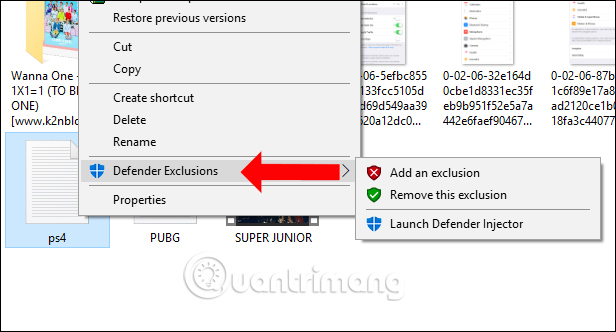
Now select which files or folders you want to secure, right-click will see the Defender Exclusions command, with different options.
- Add an exclusion: Click this option to include the file or directory in the exclusion list.
- Remove this exclusion: Remove from the exclusion list, Windows Defender will monitor again.
- Launch Defender Injector: Click to open and execute in the Defender Injector or check the exclusion list.
In addition, you can also add or exclude directories and files in the Defender Injector list with commands in the Command Prompt.
- Add to the list with the command dInjector.exe / A 'file / directory path' and press Enter.
- If you want to remove from the list of tools, press the command dInjector.exe / D 'file path / folder' also press Enter.
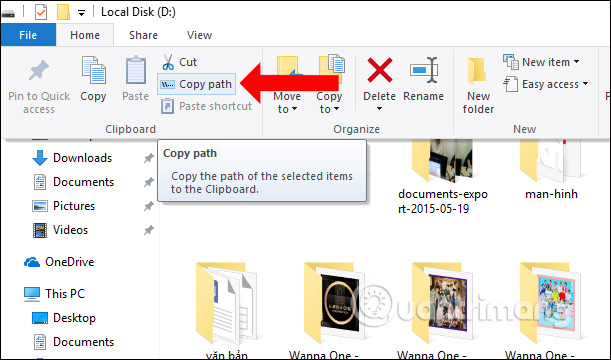
Directory path of, press and hold Shift key and right-click on the file select Copy as path. On Windows 10, adding a click on the file and then clicking on the Home tab, select Copy path.
With the Defender Injector tool, users will avoid Windows Defender deleting reliable data. The 'white' list will be created to secure the data that we have chosen. But you need to be sure of the software you choose to be safe.
See more:
- How to schedule automatic scans for Windows Defender on Windows 8
- How to enable Dynamic Lock in Windows 10 Creators Update
- How to control application installation on Windows 10 Creators Update
I wish you all success!
Was this article helpful?
Your feedback helps us improve.
Related Articles
 How to Recover Files Deleted by Windows Defender2 minutes read
 How to add files to the exclusion list in Avast so as not to be deleted mistakenly2 minutes read
 Instructions on scanning compressed files with Windows Defender on Windows 102 minutes read
 How to restore files quarantined by Windows Defender3 minutes read
 How to recover files deleted by Microsoft Defender quickly and simply5 minutes read
 Add the 'Scan with Windows Defender' command to the right-click menu in Windows 82 minutes read
Reader Comments 0
Sign in with email or Google to join the discussion.