Table of Contents
This updated guide examines Click: How to Open Exe Files on Mac and organizes the essential facts, background, and practical takeaways in clear American English.
Method 1of 2:
Using WINE
 Go to the WineBottler site. It's located at http://winebottler.kronenberg.org/. WINE is an advanced program, but WineBottler adds a user-friendly interface to WINE.
- Some programs simply won't work with WINE. If your EXE file won't run on WINE, you'll instead need to use Boot Camp.
 Click the "WineBottler 1.8-rc4 Development" button. You'll see this button in the middle of the page; it has a green arrow on it.
- If you're running anything lower than OS X Capitan, click the WineBottler 1.6.1 Stable option.
 ClickDownloadwhen prompted. This will take you to an advertising screen.
 ClickSKIP AD. It will appear in the top-right corner of the screen after five seconds.
- Do not click anything else on this page while you're waiting for the SKIP AD button to appear.
- If you're using an ad blocker, you'll first need to disable it for this specific page.
 Wait for WineBottler to download. If WineBottler doesn't begin downloading to your computer within five seconds, you can click the "WineBottlerCombo_1.8-rc4.dmg" link to force it to download.
 Install WineBottler. To do so, double-click the WineBottler setup file, then drag both the "Wine" and the "WineBottler" icons into the blue "Applications" folder.
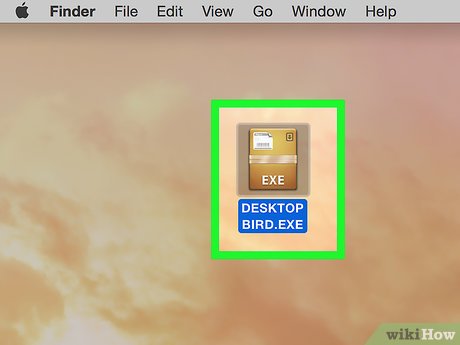 Two-finger click your EXE file. This will invoke a drop-down menu.
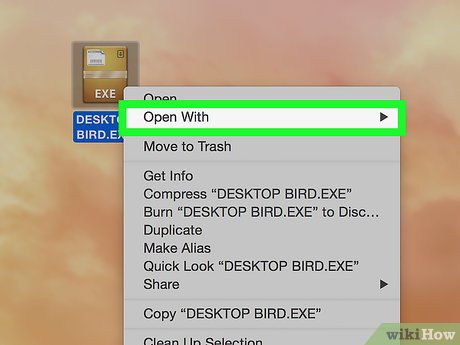 SelectOpen With. It's near the top of the drop-down menu.
 ClickWine. You should see it in the pop-out window on the left or right side of the drop-down menu. Doing so will prompt an alert.
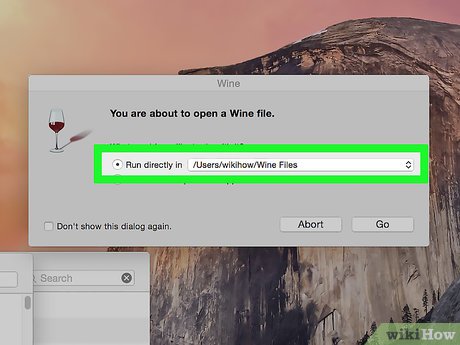 Make sure the "Run directly in" option is checked. If it isn't, click the circle to the left of "Run directly in [address]".
 ClickGo. It's a blue button in the lower-right corner of the alert window. As long as your EXE file is supported by WINE, it will begin to load.
- If your EXE file won't run using WINE, proceed to the next method.
Method 2of 2:
Using Boot Camp
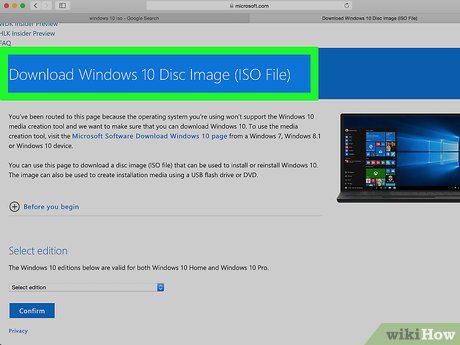 Make sure you have a Windows installation file. MacOS' Boot Camp supports Windows 8, 8.1, and 10.[1]
- You can download an ISO file version of Windows from Microsoft's site.
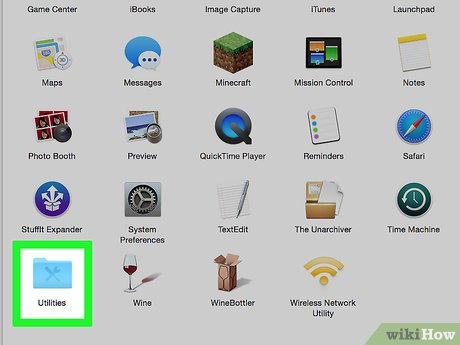 Open your Mac's Utilities folder. You can do this by clicking the magnifying glass icon in the top-right side of your Mac's screen, typing in "Utilities", and then clicking the Utilities folder.
 Double-click the Boot Camp Assistant icon. It resembles a grey hard drive.
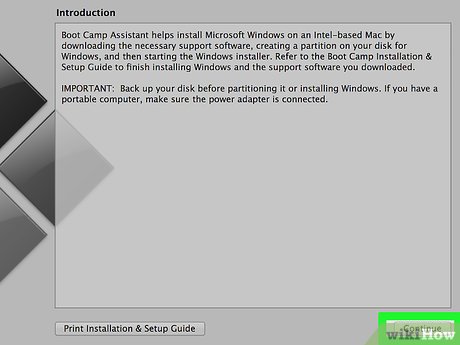 Follow the on-screen instructions. These steps will entail selecting the Windows installation file, selecting the drive onto which you wish to install Windows, and restarting your Mac.
- If you're installing Windows from a USB drive, you'll be prompted to insert the drive during this process.
 Wait for your Mac to restart. After you finish setting up your Boot Camp settings, you'll be prompted to restart your Mac. When your Mac is done restarting, you should be at the Windows installer screen.[2]
 Select the "BOOTCAMP" partition if necessary. If you're installing Windows from a USB drive, you'll need to select this option to proceed with the installation.
- If you're installing Windows directly from an ISO file, Boot Camp will partition your drive for you.
 Follow the on-screen Windows installation instructions. This process will vary depending on the version of Windows you're using, but you'll restart your Mac at the end just like you did while setting up the Boot Camp Assistant.
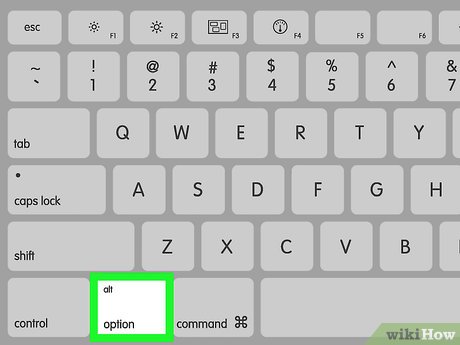 Hold down the⌥Optionkey as your Mac restarts. Doing so will load the Startup Manager window.
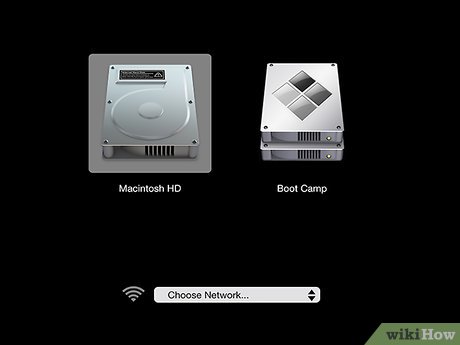 Release⌥Optionwhen the Startup Manager appears. This window will display all of the different drives from which you can start up your Mac.
 Click the "Boot Camp" icon, then press⏎Return. Doing so will load your Mac into the Windows operating system.
 Locate and double-click your EXE file. As long as you're using Windows, EXE files should begin running immediately after double-clicking them.
FAQ
What is Click: How to Open Exe Files on Mac about?
It provides a structured overview of click, explains the main context, and highlights practical takeaways for readers.
Why does this topic matter?
Understanding the main concepts helps readers evaluate the issue, avoid common mistakes, and make better-informed decisions.
How should readers use this information?
Use the guidance as a practical starting point, confirm details that may have changed, and follow current product, safety, or security recommendations.
Related Articles
 How to Open SWF Files: Clear Instructions6 minutes read
 How to Open RAR Files on Android Phones: Practical Guide5 minutes read
 How to Open Rar Files10 minutes read
 What Is a DAT File? How to Open DAT Files, How to Read DAT12 minutes read
 How to Open DAT Files: Practical Guide10 minutes read
 How to Fix Photoshop Error Can't Open RAW Files3 minutes read
Reader Comments 0
Sign in with email or Google to join the discussion.