How to Solve the Lnk File Extension Problem in Windows
LNK is a file extension for a shortcut file used by the Microsoft Windows operating system. It usually offers a direct link to an executable or EXE file, without having to navigate to it. Sometimes, a Windows Registry error can end up...
Table of Contents
Method 1 of 4:
Running a Registry Fix for Windows
-
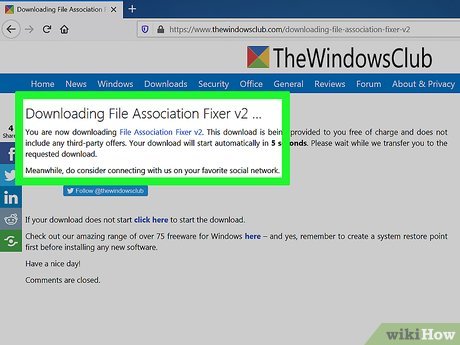 Download the Registry fix for Windows. Usually, .lnk extensions fail to work properly due to a failed Windows Update, missing files or files corrupted by malware. You can download and run .lnk file association fixes to solve this problem.
- For Windows 8, Windows 8.1 and Windows 10, download File Association Fixer v2. This tool also supports Windows 7 and both 32-bit and 64-bit. Choose the right .exe file for your computer and proceed ahead.
- For Windows 7 and Vista, you can either download the .zip file, or directly download the .lnk File Association Fix.
- Download .lnk File Association Fix for Windows XP. The link will automatically download the registry fix to solve the problem.
-
 Run the Registry fix. Once you download the Registry fix, double-click on it. This will automatically run the fix.
- If you downloaded the .zip file, you will first have to unzip it. Save its contents to a location on your computer and then click on it.
-
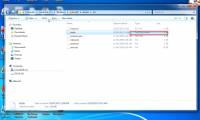
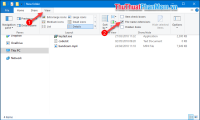
 Download the .lnk file repair tool from Tweaking.com. This is an alternate registry fix tool, which is available free of charge. This tool supports all versions of the Windows operating system.
- Double-click the file to open it.
- Click the Start button. This will automatically run the tool.
-
 Wait till the process is completed. Wait a while to allow the prompt from the Registry Editor.
 -
 Restart your PC. Restarting your computer will save the changes you made to the Registry.
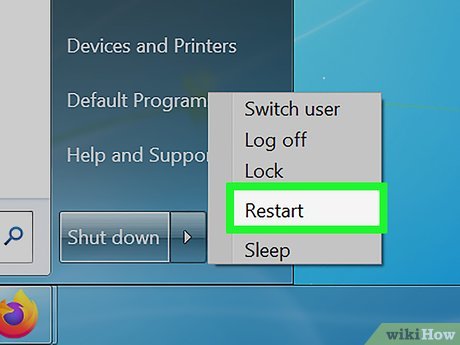
- Click on the 'Start' button.
- From the 'Shut down' tab, choose the 'Restart' option. This will automatically restart your computer.
Method 2 of 4:
Using the Windows System Restore Feature
-
 Click 'Start'. Windows offers its users a convenient System Restore feature. This feature allows users to revert back to a recent point when their computer was working just fine. This nifty tool will undo any recent changes made to the registry and will uninstall programs that were incorrectly installed; without affecting existing files. Here is how you can Do a System Restore.
 -
 Access System Restore. In the search box, type 'System Restore'.
 -
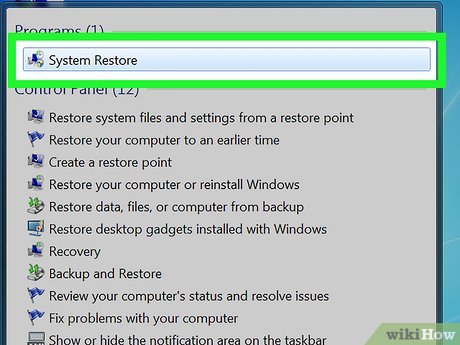 Click on System Restore. This will automatically run the wizard.
 -
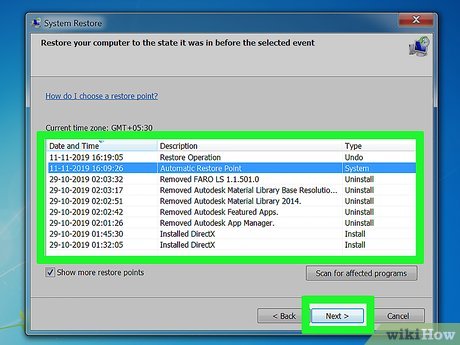 Choose a restore point. Select an earlier date to restore your system to. Windows will automatically select the most recent restore point.
- If you wish to select a different restore point, tick the 'Show more restore points' box. You will find this at the bottom left-hand corner of the screen.
- Click Next. A list of available points will be displayed on the screen. Each point will have a description, detailing the changes made in that restore point.
- Choose your desired restore point. Click on the restore point to choose it.
- The wizard will ask to confirm your choice. Confirm your choice of restore point.
- Click 'Finish'. Then click 'Yes' for the wizard to restore your system to an earlier state.
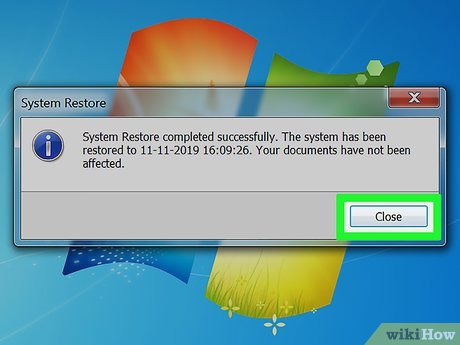
- Note that it will take the wizard a while to complete the restore. Wait patiently, till you receive a prompt that the restore was successful.
-
 Test the restore. Reboot Windows and work with it to confirm that the restore was successful.
- In case some previously installed programs are still giving trouble, you may have to install them again.
Method 3 of 4:
Scanning Your PC for Malware
-
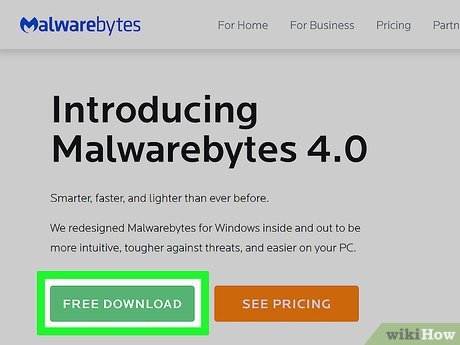 Download the latest version of Malwarebytes' Anti-Malware. In some cases, a .lnk file extension problem can be caused by a computer virus. Anti-Malware is one of the most popular anti-malware programs available online. This software can easily detect and remove malicious programs from your computer.
 -
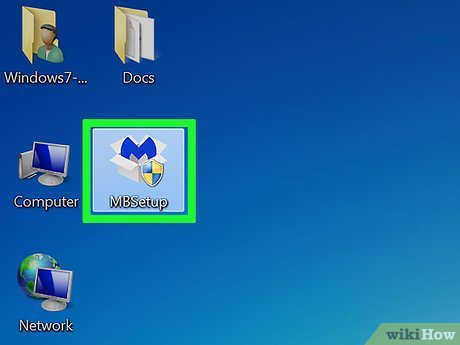 Double-click on the mbam-setup file. This will install the software onto your PC.
 -
 Setup the Software. Follow the onscreen prompts to continue with the setup process. Remember not to change any of the default settings.
- Once the software has been installed, make sure that you tick both the 'Update Malwarebytes' Anti-Malware' and 'Launch Malwarebytes' Anti-Malware' checkboxes.
-
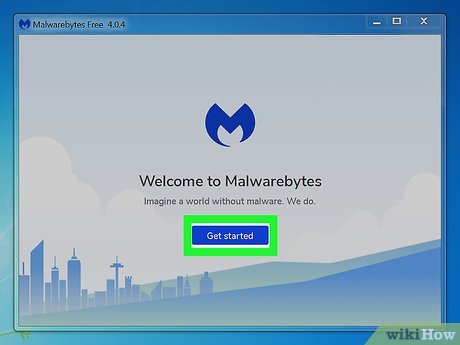 Click Finish. This will finish the installation process.
 - Do not restart the computer. If you are prompted to reboot your system, do not do so.
-
 Select "Malwarebytes free" to avoid paying for the service. Once Anti-Malware starts, you will be prompted to sign up for a trial period of their paid services.. Click 'free' if you only wish to use the on-demand scanner.
 -
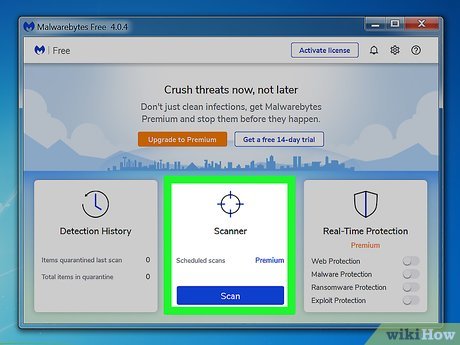 Run the Anti-Malware scan. On the Scanner tab, select 'Perform quick scan'.
 -
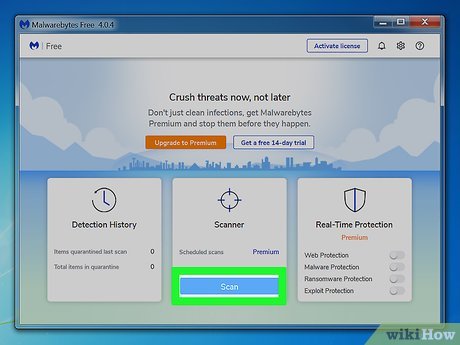 Click the 'Scan' button. This will start scanning your computer for malicious files. Once the scan is finished, a message box will appear, indicating the same.
 -
 Click OK. This will bring up a list displaying the list of malware infections that the software detected on your computer.
 -
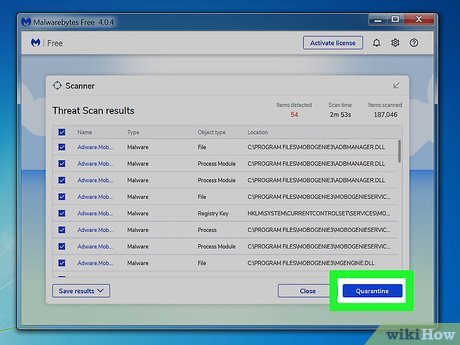 Remove the infections. Check all the boxes to select all the corrupted files. Then click on the 'Remove Selected' button. Anti-Malware will now start removing all the malware.
 -
 Restart your PC in Normal mode. Once the scan is done, Anti-Malware will prompt you to restart your computer. Accept this prompt and reboot your PC as usual. This will put your changes into effect.
Method 4 of 4:
Manually Fixing the Registry
-
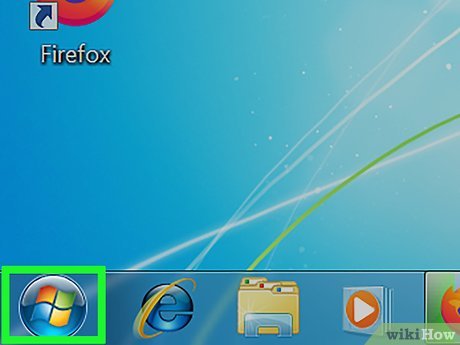 Click Start. You can fix the problem either by restoring the registry key from another computer, or by manually replacing it on your own computer. To manually edit your registry, do the following:
- Note that Windows 8 does not support the Start Menu feature. Here are tips on restoring the Start button in your Windows 8 PC.
-
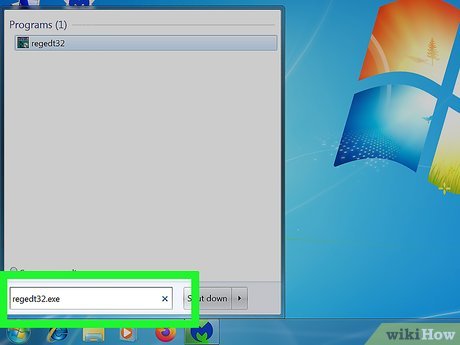 Type 'Regedt32.exe' into the search box. This will bring up a list of files in the search menu.
 -
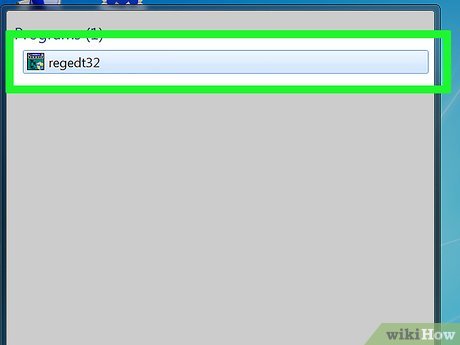 Click on executable file. This will open the file. Alternatively, right-click the program and then click 'Open'.
 -
 Start the Registry Editor. Click Yes to start working with the registry editor.
 -
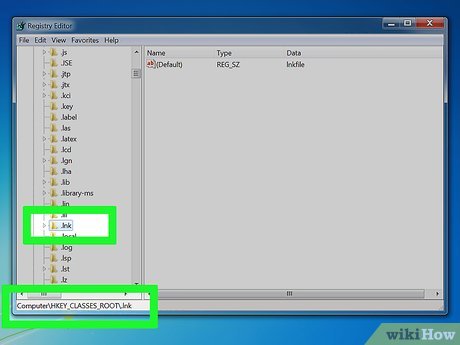 Go to the subkey, HKEY_CLASSES_ROOT.lnk. Find the root file first. The .lnk folder will be listed under it.
 -
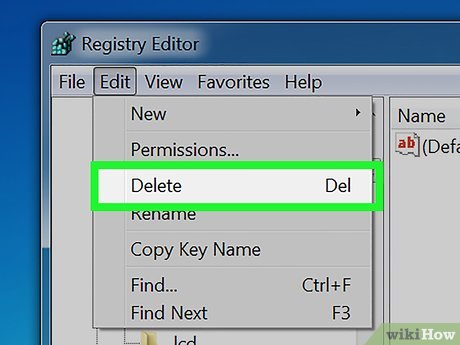 Edit the existing file. Go to the Edit Menu.
- To edit your registry via a different computer, click on the Edit menu.
- Locate the .lnk file. Then click Delete. This will remove it.
- Save your changes. Click the Registry menu. Hit the Save key to save your changes.
- Copy the file onto a disk. Once you are done saving the changes, copy this entire file onto a disk or pen drive.
- On your computer, recreate the registry key. Go to HKEY_CLASSES_ROOT, following the above-mentioned steps on your computer.
-
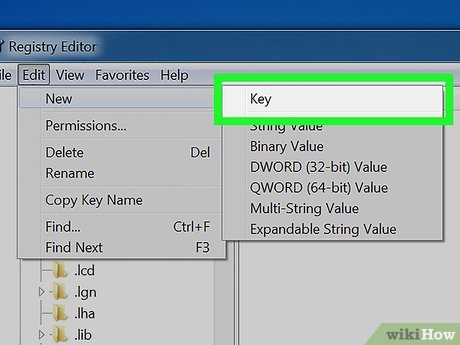 Click Add Key.
 -
 Name the new key. Now type '.lnk' (without quotation marks) as the key name. Make sure to leave the Class box blank.
 -
 Edit the Add Value box. On the Edit menu, click Add Value. Leave the Value Name box blank.
 -
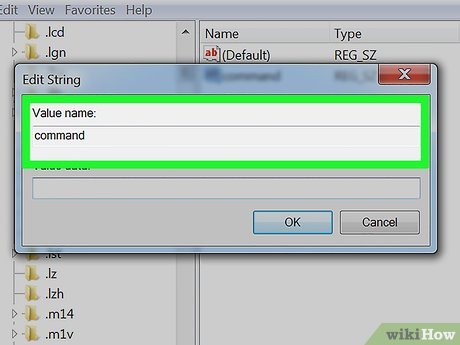 Type 'command' (without quotation marks).
 -
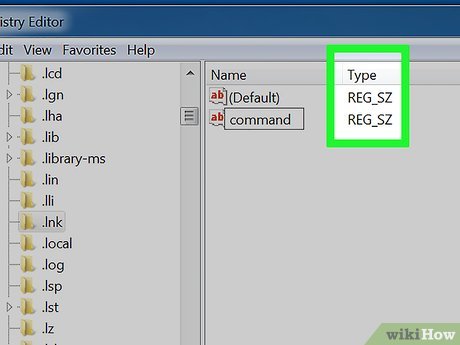 In the Data Type list, click REG_SZ.
 -
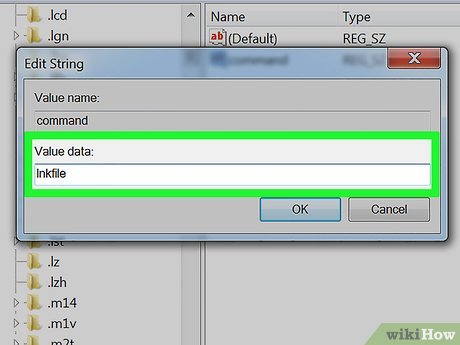 In the String Editor box, type 'lnkfile' (without quotation marks).
 -
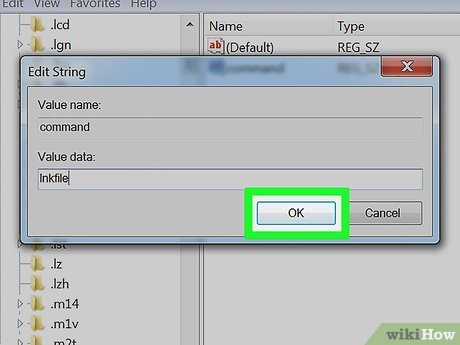 Click OK.
 -
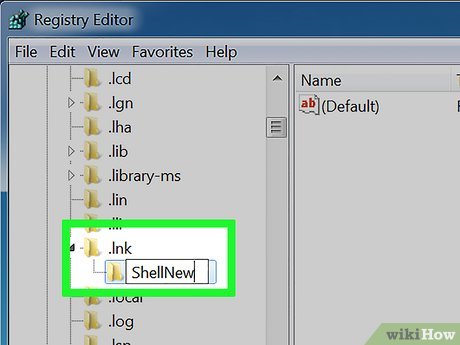 Type 'ShellNew' (without quotation marks). On the Edit menu, click Add Key. Then type 'ShellNew'.
- Make sure to leave the Class box empty.
-
 Click REG_SZ in the Data name box.
 -
 Type 'RunDLL32 AppWiz.Cpl,NewLinkHere %1' (without quotation marks) as the string value.
 -
 Restore the registry. Select the new key. Click Restore from the Registry. Then select the file that you saved on your disk or pen drive.
 -
 Restart your computer. Press the 'X' button on your Registry Editor. You will quit the program. Then reboot your computer to put your changes into effect.
 -
 Test your changes. Test a program menu or shortcut. If it works properly, your changes have been made successfully.
Was this article helpful?
Your feedback helps us improve.
Related Articles
 How to show the file extension, see the file extension on Windows 10/7/82 minutes read
 What is file extension?18 minutes read
 How to display file extensions and view file extensions on Windows 11/10/7/87 minutes read
 How to change the file extension in Windows 102 minutes read
 What is the lnk file extension, how to fix it?5 minutes read
 How to open and read the .DAT file?8 minutes read
Reader Comments 0
Sign in with email or Google to join the discussion.