How to Install Windows XP
Setting
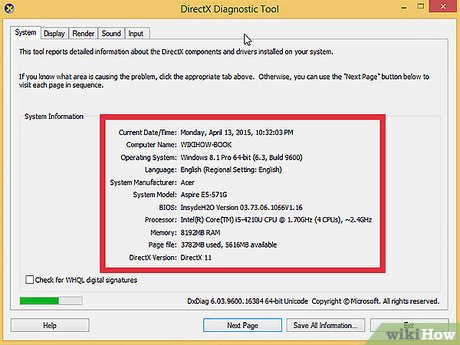
Make sure that the computer can run Windows XP. Your computer needs to meet or exceed the minimum configuration requirements to run Windows XP. Your configuration information can be found by checking your computer manufacturer's manual or by running DirectX Diagnostic on your current Windows operating system. computer.
To start DirectX Diagnostic, open the Run dialog box (press WinKey + R at the same time), type dxdiag and click OK.
Minimum configuration requirements:
300 MHz Intel or AMD CPU
128 megabytes (MB) system RAM
1.5 gigabytes (GB) of free disk space
Super VGA (800x600) or higher display conversion
CD or DVD-ROM
Keyboard and mouse or pointing devices
A network card is required to connect to the network and the Internet
Sound card and speakers or headphones
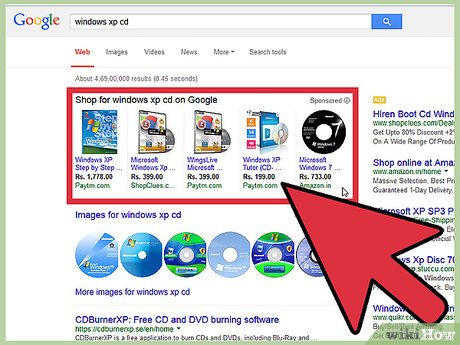
Find Windows XP Product Key. It is printed on a label on the software package or on the computer. It is a string of 5 groups of characters (each group has 5 characters), separated by hyphens, for a total of 25 characters. You need the product key to complete the Windows installation.
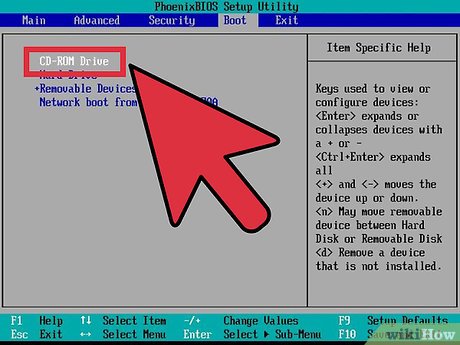
Set up the computer to boot from the CD/DVD. Before inserting the CD, it is necessary to set up your computer to boot from the CD instead of from the hard drive. This allows the Windows XP installation files to be loaded before the computer restarts to install the operating system. You can change the boot order from the BOOT menu in BIOS (Basic Input/Output System).
To enter your computer's BIOS, typically press F9 or DEL when the computer boots or the computer says you can press "setup". Click the blue "BIOS" link for more information.
In the BOOT menu, set the order so that your CD/DVD-ROM drive is the first boot device.
If you install Windows XP from a USB drive, make sure the USB drive is set as the first boot device. You may have to insert the USB drive for it to appear in the BOOT menu as an option.
Proceed with Installation
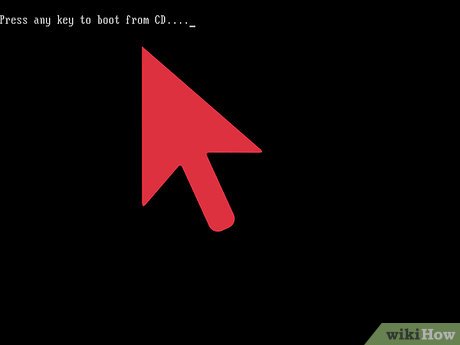
Load the installer. Once the boot order is set, insert the Windows XP CD into the drive and click Save and Exit from the BIOS. The computer restarts and you will receive the message: Press any key to boot from CD(Press any key to boot from CD). Press any key on the keyboard to start the Setup program.
Setup will load the necessary files to begin the installation, which may take a few minutes. Once the upload is complete, you will be taken to the Welcome screen.
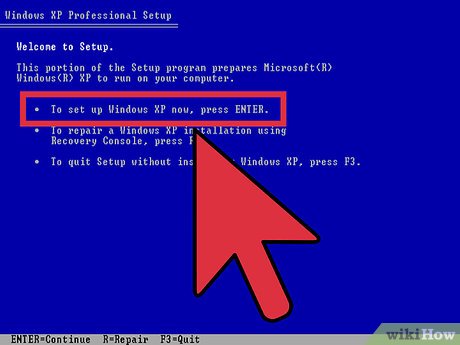
Press ENTER to start the installation. Once the download is complete, you will be taken to the Welcome screen. You are given a few options. If you are installing or reinstalling Windows XP, press ENTER to begin configuring the settings.
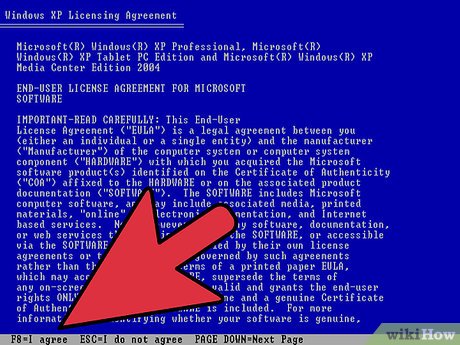
Read the License Agreement. This document tells you what you can and cannot do with Windows and your user rights. After reading, press F8 to agree to the terms.
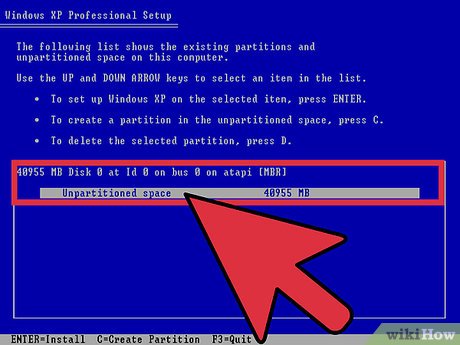
Select the partition you want to install on. You will see a list of available partitions on the hard drive on which you are installed. If you install Windows XP on a new hard drive, you will see that there is only one initial partition labeled "Unpartitioned space". If you have previously installed a version of Windows or Linux on your computer, there will likely be multiple partitions available.
Installing Windows XP will erase all data on the partition you select. Select a partition that is empty or contains data that you no longer care about losing.
You can delete partitions by pressing the "D" key. It will return "Unpartitioned space". All data will be lost on the deleted partition.
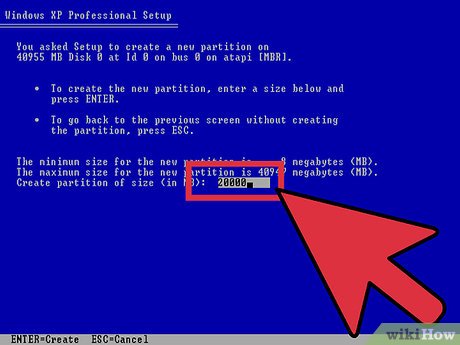
Create a new partition. Selecting Unpartitioned space and pressing the "C" key will open a new screen where you can set the size of the partition from the available space. Enter the size in megabytes (MB) for the new partition and then press ENTER.
By default, the partition will be set to a maximum capacity equal to the available space. If you don't plan to create multiple partitions, you can leave it in default mode.
Windows XP requires at least 1.5 gigabytes (1536 MB) for its installation files, but you'll want more space for programs, documents, downloads, and other files. 5 GB (5120 MB) is enough initial capacity for Windows XP and more if you plan to install many programs.
You can create multiple partitions on a drive. It allows to separate your programs from movies, music or to other operating system installations. Windows XP can only be installed on a separate partition.
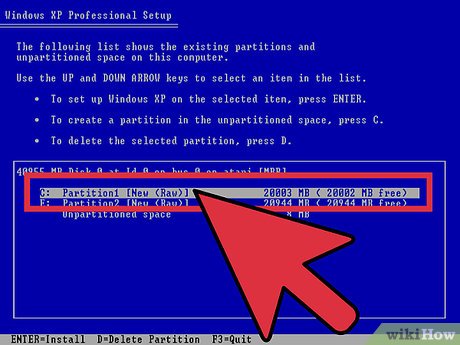
Select the new partition. After creating the installation partition, you are returned to the partition selection screen. Select the new partition, usually labeled "C: Partition 1 [Raw]" and press ENTER.
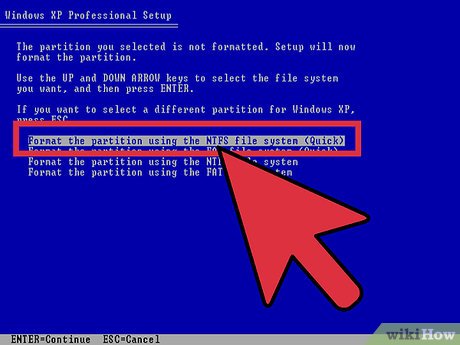
Select "Format the Partition using the NTFS File System" and press ENTER. NTFS (New Technology File System) is the preferred method, it supports a larger capacity of disk space per partition than FAT (File Allocation Table) and Includes security at the file system level. NTFS also includes system-level compression. There are almost no more suitable situations to choose FAT.
If the partition size is larger than 32 GB, you will not be able to choose FAT format.
Avoid using Quick Format, as this will bypass an important process of checking the hard drive for errors or bad sectors. The scanning process will consume most of the time when performing a full format. If there are physical errors on the drive, it's best to block them now rather than later.
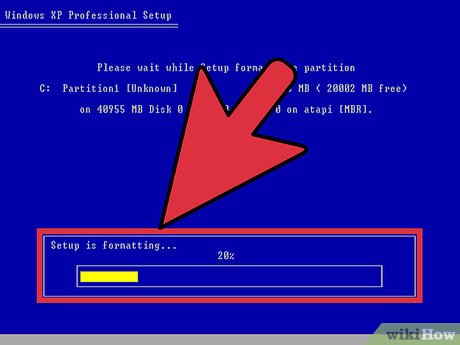
Wait for formatting to complete. The system will format the partition, processing time depends on the speed and size of the drive. In general, the larger the partition, the longer the process takes.
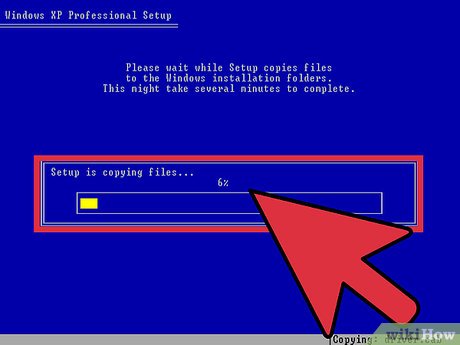
Wait for the Setup files to copy. Windows will begin copying files from the installation disc and prompt you to restart your computer when the process is complete. Press ENTER when prompted to restart, otherwise it will restart automatically after 15 seconds.
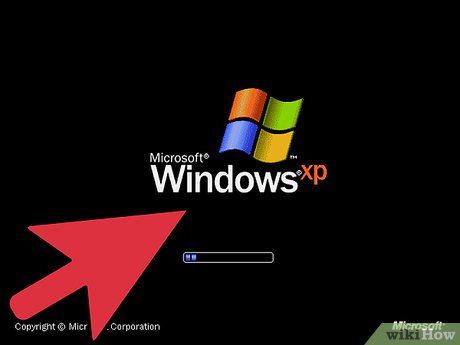
Allow the computer to boot normally. You will see a message asking you to press any key to boot from the CD. Ignore it and allow the computer to continue booting from the hard drive. You will see the Windows icon as when loading the Setup program.
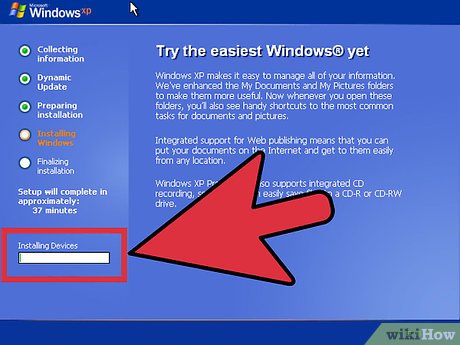
Wait for the installation process. After the Windows icon disappears, you'll see a list of remaining steps on the left side of the screen and tips for using Windows on the right. The time remaining for the installation is displayed below the list of remaining steps.
During this process, the screen often flickers, turns on and off, or changes size.
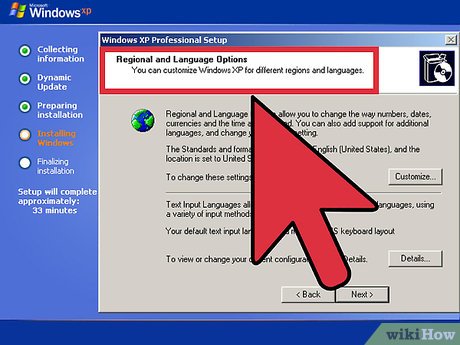
Select language and regional settings. During the installation process, a window appears asking you to select regional settings. Choose the settings appropriate for your region. Click Next when completed.
Enter your full name if desired. It will set you up as the "owner" of Windows and will tag you for certain things, such as when creating documents.
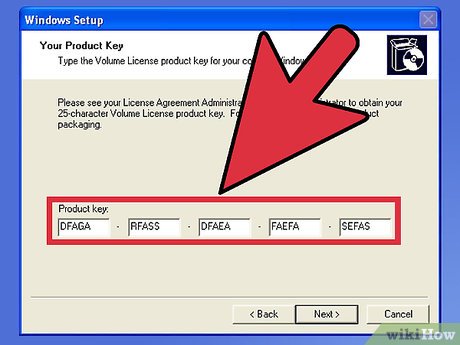
Enter the Product Key. You will not be able to complete the installation without a valid Product Key. Click "Next" to continue.
Some versions of Windows will not ask for a Product Key until installation is complete.
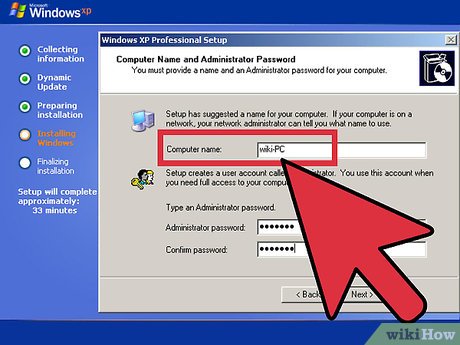
Name the computer. This will be the name representing the computer on the network. Windows will set a default name, but you can change it if you want. You can also set a password for the Administrator account. This is not required, but is recommended for public computers.
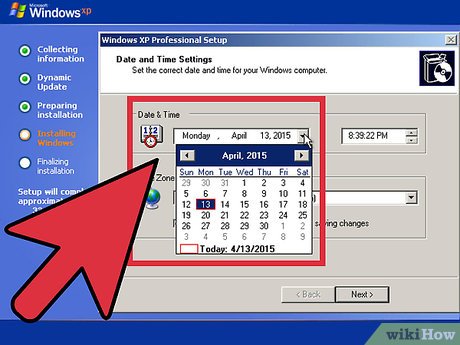
Select time zone. Make sure the date and time are correct. Click "Next" to continue.
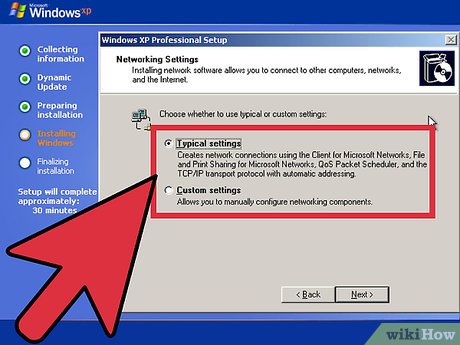
Select network settings. Almost all users who install Windows XP on their home or personal computer choose "Typical Settings" for Network Setup. If you installed Windows XP in a school or business environment, check with your system administrator, although Typical Settings may still work.
In the next window, almost all users select 'No, this computer is not on a network, or is on a network without a domain'. domain). If you are installing in an enterprise, ask your system administrator before choosing.
You can leave the default workgroup name set.
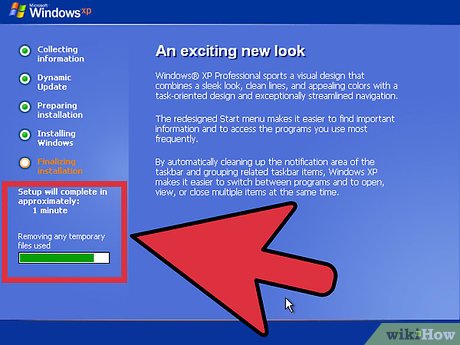
Wait for the installation to complete. It takes a few minutes and the computer will reboot when it completes the installation. After the computer restarts, you are taken to the Windows XP screen. At this point, the installation is complete, although there are a few things to do before Windows is fully used.
Complete Installation
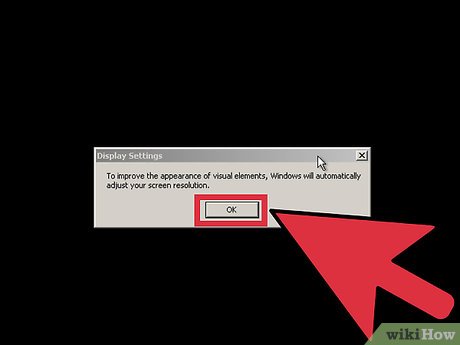
Set display options. After Windows starts, you are notified that Windows will automatically configure the display. Click OK to begin configuration. The screen will flash a few times, then you will be asked if you can read the boxes that appear.
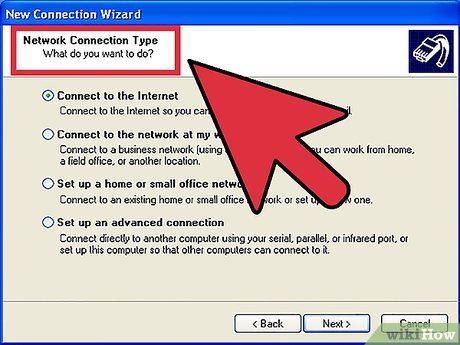
Set connection options. If your computer is connected to the internet, select your connection type. Click Next to continue.
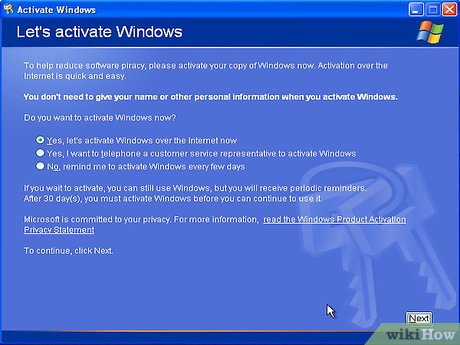
Activate your copy of Windows. If you are connected to the Internet, select "Activate Now", Windows will connect to the activation server and automatically authenticate your copy of Windows. If you haven't entered your Product Key yet, you need to enter it now.
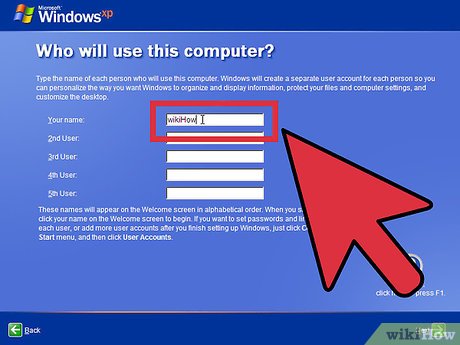
Create users. After activation, a window will appear allowing you to choose who can use the computer. Enter your name and the names of other people who will be using the machine. Click Next to continue.
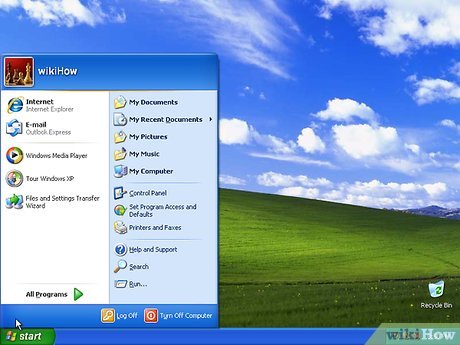
Start using Windows. You will now see the default Windows XP desktop. Congratulations! There are a few things you should do now to get Windows running smoothly:
Install the drivers you need for your computer hardware.
Install an antivirus program if you have an internet connection.
Reset the BIOS to boot from the hard drive instead of the CD.
You should read it
- ★ Install Windows 10 with a super fast USB in just a few simple steps
- ★ Install Win 10 for Android tablet
- ★ How to install Windows 7 using USB - Create a bootable USB to install Windows 7
- ★ Install Windows XP from a USB Flash drive
- ★ How to install Windows 11 iSO by USB, for machines that do not support