How to install Windows 7 using USB - Create a bootable USB to install Windows 7
We will guide you how to install Windows 7 using USB from A to Z, starting with creating a USB to install Windows 7 until installing and setting up the Windows 7 operating system from USB.
Table of Contents
Windows 7 is like other operating systems, you can install Windows 7 using USB , hard drive or Win disk. But installing Windows 7 using USB in particular or installing Windows from USB in general is the most economical, easy and most chosen way. Furthermore, after creating a Windows 7 installation USB, you can reuse it many times to install on multiple computers. And we will not need to use the DVD drive from the publisher on our computer and can still install Windows quickly.
In this article, we will guide readers on how to install Windows 7 using USB from A to Z, starting with creating a USB to install Windows 7 until installing and setting up the Windows 7 operating system using a USB device.
PREPARE TO INSTALL WIN 7 USING USB
- Minimum computer configuration to run Win 7: 2GB RAM, 1GHz chip, 20GB free hard drive, DirectX 9.
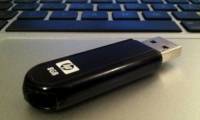
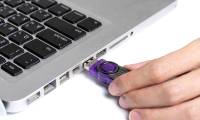
- 1 USB of at least 4GB, formatted to NTFS. Note: During the process, the USB will be reformatted, so you need to store all data in the USB to another device.
- Windows 7 .ISO file
- Tool to create USB to install Windows 7
STEPS TO INSTALL WIN 7 USING USB
Step 1:
First of all, you need to download the .ISO file of Windows 7 Professional (x86) or (x64). Next, install the Windows 7 USB DVD Download tool that supports the Windows 7 installer on USB according to the link below.
Requires the computer to have NET Framework 2.0 or higher installed. You download the latest version of NET Framework from the link below.
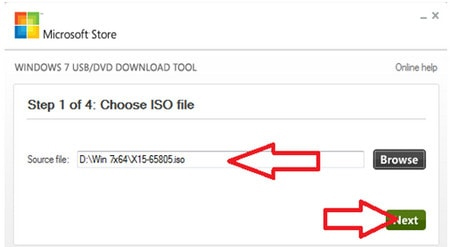
Step 2:
Launch the Windows 7 USB/DVD Download Tool software. At the first interface, click the Browse button and then find the folder containing the .ISO file. Then click Next .
Step 3:
Here, users will choose the Win 7 installation tool as USB device .

Step 4:
Next you need to select the USB device that is installing Windows 7, in case the computer is using multiple USB devices. Click Begin copying .
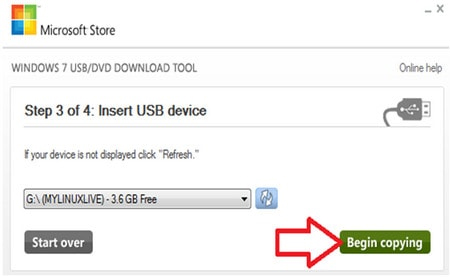
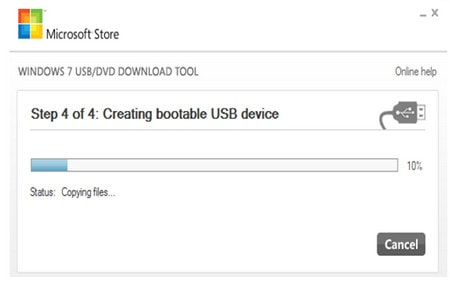
We wait for the Windows 7 USB boot creation process to complete to create a Windows 7 installation USB.
In addition, readers can also choose some other tools such as Rufus, Easy2Boot, USB Hiren's boot to create USB boot if desired.
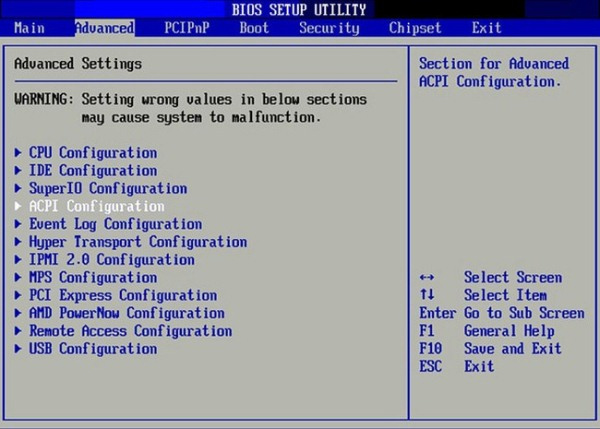
Step 5:
First of all, we will need to access the BIOS on each device. The key combination on each device to enter the BIOS will be different, depending on the model. Readers can refer to the article Instructions for accessing BIOS on different computer models.
In the BIOS interface, go to the section to select the operating system boot order from USB. Readers can refer to the article How to set up BIOS to boot from USB/CD/DVD, external hard drive.
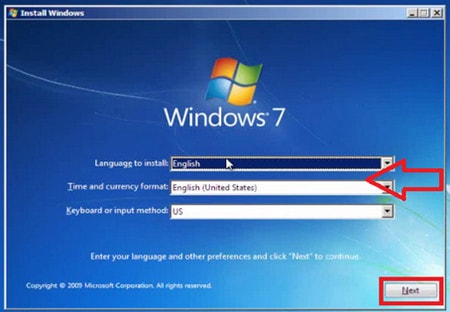
Step 6:
Soon you will reach the system settings interface. First, we will select the language and keyboard format as shown below, then click Next to continue.
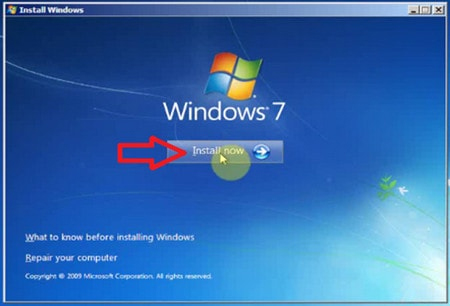
Step 7:
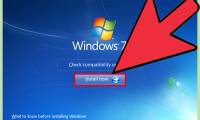
Next, you need to click Install now to install the program on the system.
We need to wait for the setup process to be done.

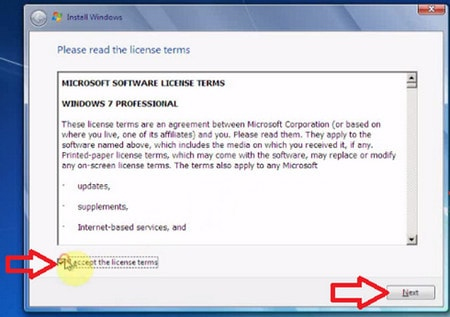
Step 8:
Microsoft's terms of use interface appears, click I accept the license the terms , then click Next .
Step 9:
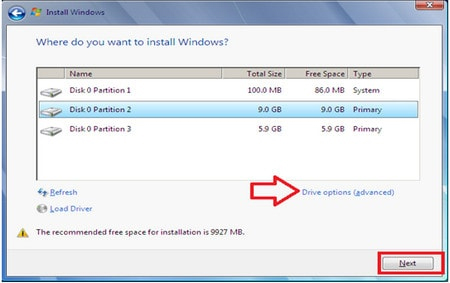
In the next interface, you need to select the partition to install the operating system. Click Next to continue if the hard drive does not have a previous operating system installed.
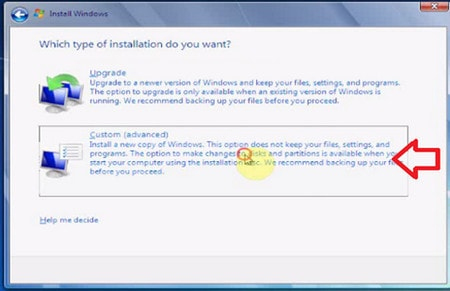
If the computer already has the operating system installed, we need to reformat the installation drive. Select Driver options (advanced) and then click Next .
Step 10:
Next we select the partition and click Format below. Click Next to proceed.
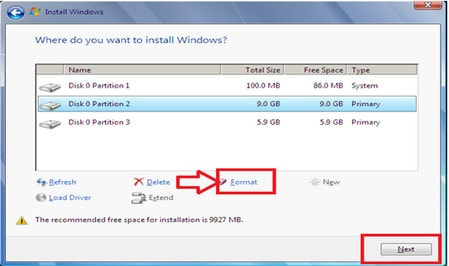
If you encounter an error of not being able to write Windows to this partition, please refer to the instructions: Fix "Windows Cannot Be Installed to a Disk" error
Step 11:
Finally, the Windows 7 installation interface appears. Users need to wait for this installation process to complete.
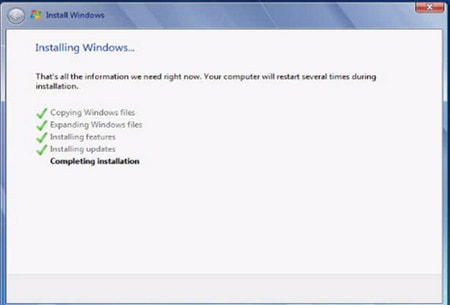
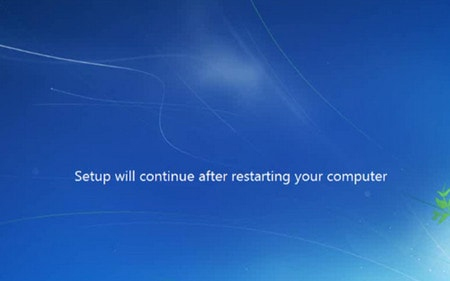
During the installation process, the computer will automatically restart and will then continue with setup work.
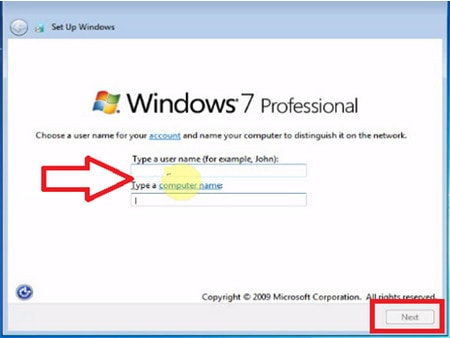
Step 12:
Then, the user will fill in the user information as shown below and click Next. First of all is information about the username and login name. Click Next .
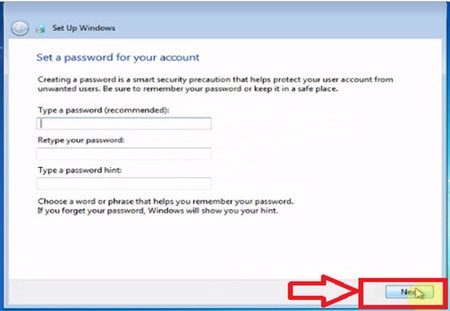
Then enter the password depending on whether the user chooses or not. Click Next to continue.
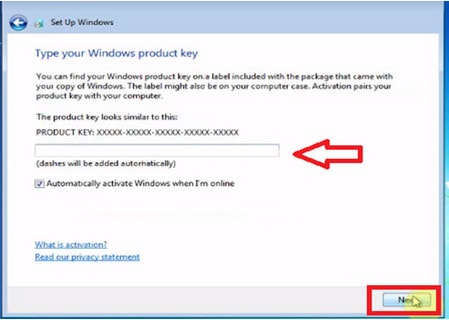
Step 13:
In the next interface, you will enter the license code, if any, into the Product Key box . In case there is no code, uncheck the box Automatic. Next, click Next .
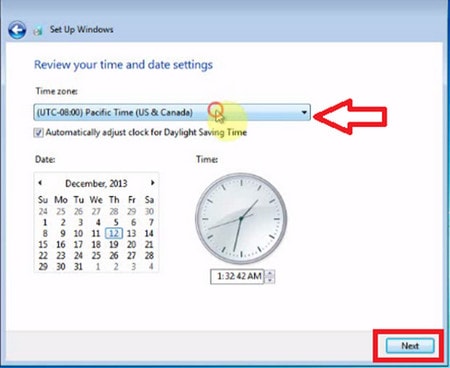
Step 14:
The user then sets the standard time and time zone for the computer. Click Next to go to the next step.
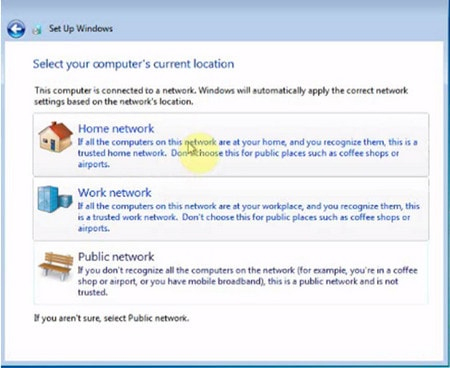
Step 15:
The next setup step is to select the network connection you are using on your computer and then click Next .
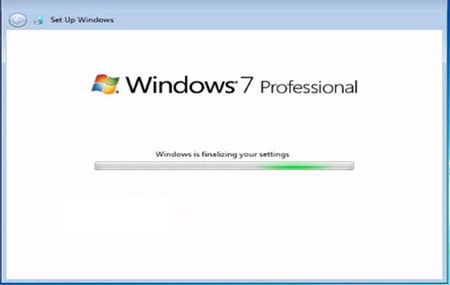
Step 16:
Thus the Windows 7 setup process is completed. The last step is to wait for the computer to reboot and you're done.
Above is a tutorial on how to install Windows 7 operating system from a USB device. In case you do not have a DVD installation disc or the disc has problems, you can use a USB device to boot Windows 7 installation as above.
Wishing you success!
Was this article helpful?
Your feedback helps us improve.
Related Articles
 4 tools to create USB boot install Windows 104 minutes read
 Create windows 10 bootable usb, install Windows 10 using USB11 minutes read
 Guide to quickly creating a bootable USB drive with Hiren's BootCD.10 minutes read
 How to Create a Bootable Windows 7 or Vista USB Drive6 minutes read
 Create a Windows 10 USB install with Easy2Boot is extremely simple9 minutes read
 How to create USB Boot with Command Prompt4 minutes read
Reader Comments 0
Sign in with email or Google to join the discussion.