How to Install Windows 10 on a Mac
Part 1 of 4:
Downloading the Installation File
-
 Ensure that your Mac meets the software and hardware requirements. To do so, click the Apple menu, then click About This Mac. Your Mac must meet the following requirements:
- OS X 10.10 (Yosemite) and later
- One of the following Mac models:
- MacBook Pro (2012 and up)
- MacBook Air (2012 and up)
- MacBook (2015 and up)
- iMac (2012 and up)
- Mac mini (2012 and up)
-
 Go to the Microsoft installer page. Enter https://www.microsoft.com/en-us/software-download/windows10 in your preferred browser. Make sure you perform this process on your Mac so that you receive the correct files when downloading. It will look like:
 -
 Select an edition of Windows 10. Scroll down, click the Select edition drop-down box, click a Windows 10 version, and then click Confirm.
- If you don't know which version to select, just click Windows 10.
-
 Select a language. Click the Choose one drop-down box, click your preferred language, and click Confirm.
 -
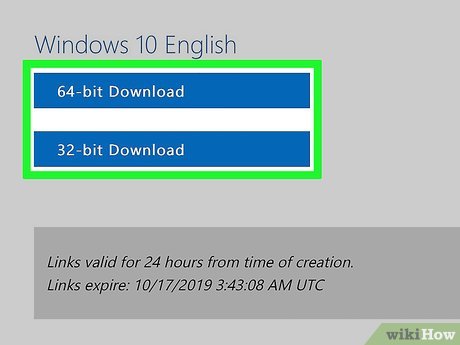
 Click 64-bit Download. It's in the middle of the page. Doing so will prompt the Windows 10 ISO file to download to your Mac; once it finishes, you can proceed with installing Windows 10.
Part 2 of 4:
Configuring Boot Camp
-
 Open the Finder. It's the blue, face-shaped icon in the Dock.
 -
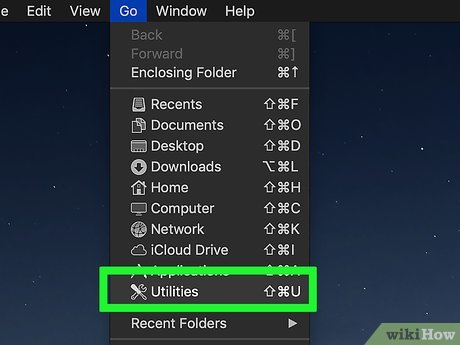
 Click the Go menu item. This option is on the left side of the menu bar that's at the top of your Mac's screen.
 -
 Click Utilities. It's in the Go drop-down menu.
 -
 Double-click Boot Camp Assistant. This icon looks like a grey hard drive.
 -
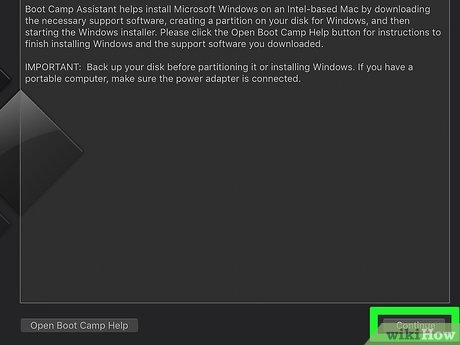
 Click Continue. It's in the bottom-right corner of the Boot Camp Assistant window.
 -
 Click Choose. This option is in the upper-right side of the window.
 -
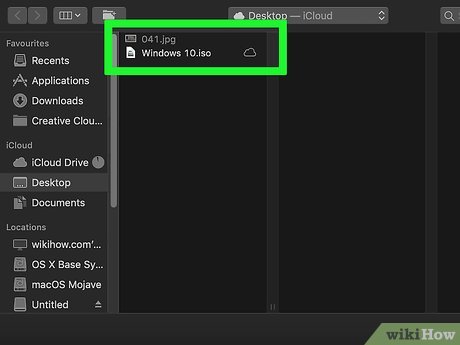
 Select your Windows 10 ISO file. Click it in the pop-up window to select it. You may have to navigate to the file's location (e.g., Downloads) first.
 -
 Click Open. It's in the bottom-right corner of the window. Doing so will select the ISO file as the Windows 10 installation.
 -
 Insert a USB flash drive. it must be at least 8GB in size, so that bootcamp can install windows on that drive for use on current the Mac. if you do not insert a USB flash drive, you will see the message to insert one..'
 -
 Increase or decrease the amount of space for Windows 10. Click and drag the Windows 10 partition icon, which is on the right side of the window, left to increase the amount of hard drive space or right to decrease the hard drive space.
- If you're satisfied with the amount of space reserved for Windows 10 and your Mac's default operating system, skip this step.
-
 If the previous step does not appear, and you see something like this. Just re-do this section of steps until it gives you the results we are expecting.
 -
 Click Install. It's in the bottom-right corner of the window. Doing so will begin installing Windows 10 support software.
 -
 Enter your administrator password when prompted, then click OK. This will reboot your Mac into the Windows 10 installation process.
Part 3 of 4:
Setting Up Windows 10
-
 Select a language and region, then click Next. You'll select this information from the drop-down boxes in the middle of the window.
 -
 Enter your product key if you have it. If you don't have a product key, just click I don't have a product key.
 -
 Select a Windows 10 version, then click Next. You can usually select Windows 10 Home or Windows 10 Pro.
 -
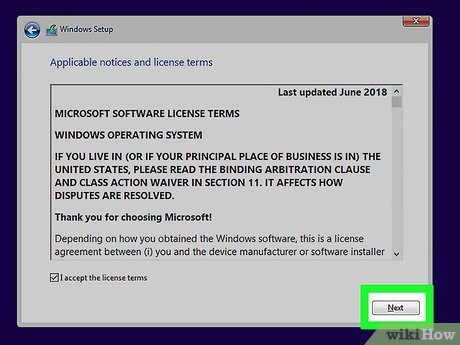
 Click I agree. It's in the bottom-right corner of the window.
 -
 Click Next. The installation process will resume; once it completes, your Mac will reboot into the Windows 10 setup window.
 -
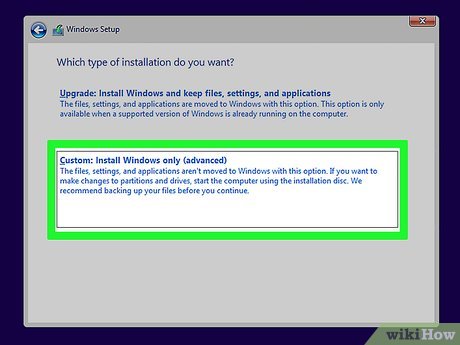
 Select a Windows 10 setup option. You can click either Customize or Use Express settings.
- Customize will allow you to go through and enable or disable specific features of Windows 10's personalization.
- Use Express settings automatically enables all personalization features for Windows 10. You can disable these later if you like.
-
 Follow the on-screen instructions. Depending on your selected setup option, this process will vary.
 -
 Create a Windows 10 account, then click Next. This entails adding a name for the primary user, as well as adding a password if you like.
 -
 Select a Cortana option. Cortana is Windows 10's version of Siri; you can click Use Cortana to set up your Cortana preferences, or click Not now to bypass the setup for now.
- If you do decide to set up Cortana, you'll do so before proceeding to the next step.
-
 Wait for Windows 10 to finish rebooting. Once it does, the only thing left to do is finish installing the drivers needed to run Windows 10 on your Mac.
Part 4 of 4:
Installing Boot Camp Drivers
-
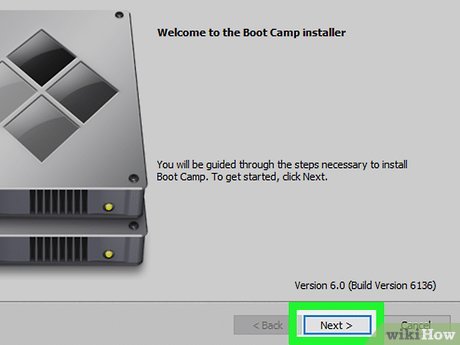
 Click Next. This button is in the bottom-right corner of the Boot Camp window.
 -
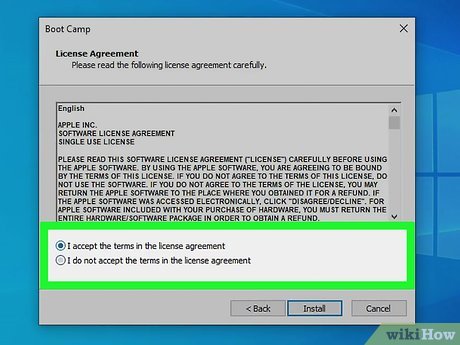
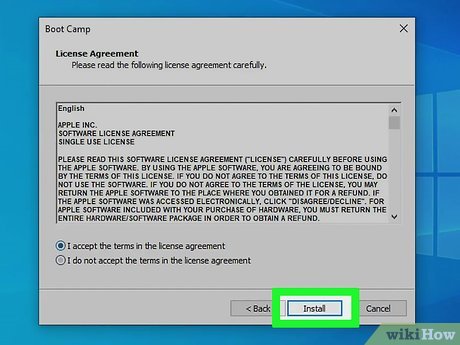
 Check the "I accept" box, then click Install. Do so begins the drivers' installation process.
 -
 Click Install on any prompts. This setup process installs drivers to help Windows 10 work with your Mac's hardware (e.g., the touch bar on newer Macs), so you may see several pop-up windows with different drivers to install.
 -
 Click Finish when prompted. It's at the bottom of the window. This will restart your computer, thereby completing the installation process. You have successfully installed Windows 10 on your Mac.
- To switch between macOS and Windows 10, restart your computer and hold down the ⌥ Option key, then select your preferred operating system from the Startup Manager.
Share by
David Pac
Update 04 March 2020


