How to Install Fonts on Windows 7
Windows 7 allows you to quickly add new font files if you have administrator access. This allows you to create unique documents that stand out from the crowd. If you don't have administrator access, there's a workaround you can use to add....
Method 1 of 2:
With Admin Access
-
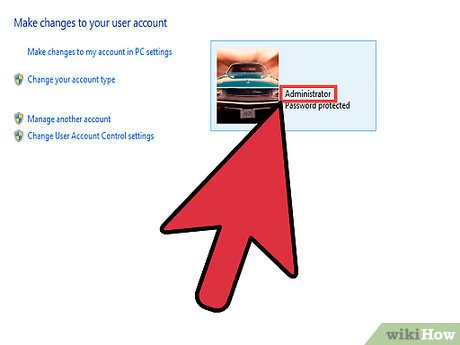 Log in as an Administrator. You will need to be logged in as an administrator in order to install font files. If you don't have admin access, see the next section for a workaround.[1]
- You can use a command prompt trick to reset the password for the administrator account if you don't remember it. You'll need your Windows 7 installation DVD in order to do this. Click here for instructions.
-
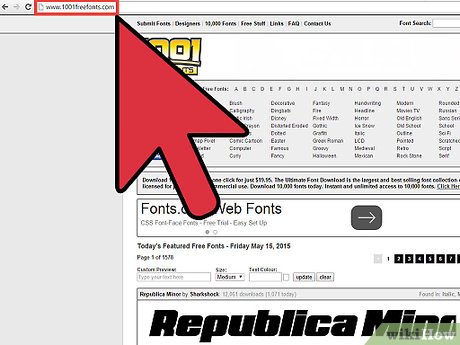 Find a font to download. There are a variety of sites that host font files that you can download and use. Make sure that you trust the site that you're downloading from. Popular font sites include dafont.com, fontspace.com, and fontsquirrel.com.
- Fonts may download as a ZIP or RAR file, or may download just as the font file itself (TTF or OTF). If you download a ZIP file, double-click it to open it and find the font file(s). Drag the files to your desktop or click the "Extract all" button. If you download a RAR file, you'll need a program that can open RAR files like WinRAR or 7-Zip.
- Avoid any font that downloads as an EXE file or as an installer.
-
 Double-click the font file to open the Font Preview window. This will allow you to see how the font looks on your screen. The font file may not show the extension, but it should have an icon of a piece of paper with a small "A" on it.
- You'll need to have removed the font file from the ZIP or RAR file before you can open it in Font Preview.
-
 Click the .Install button to install the font. The button is located at the top of the Font Preview window.
- You can also right-click on the font file or multiple font files at once and select "Install".
- Another installation method is to open the Control Panel from the Start menu, click the "View by" menu and select "Small icons", open the "Fonts" option, and then drag the file(s) into the list.
-
 Confirm that you want to make changes and enter the administrator password (if prompted). Depending on your computer and account settings, you may be prompted by User Account Control to confirm that you want to add the fonts, and you may get a security warning that your file was downloaded for them internet. You may also be prompted for your administrator password.
 -
 Use your new fonts. Fonts should install immediately after you confirm that you want to install it. You can then select the fonts in programs that support changing fonts, such as Office or Photoshop.
- Older fonts may not install correctly. Make sure the font you want to install is Windows 7 compatible.
-
 Delete fonts you don't want anymore. If you no longer want a font that you've installed, you can remove it using the Fonts utility in the Control Panel.
- Click the Start menu and open the Control Panel.
- Use the "View by" menu to select "Small icons" or "Large icons".
- Open the "Fonts" option.
- Find the font you want to delete in the list. You can use the search bar at the top of the window as well.
- Right-click on the font you want to remove and select "Delete". You will be asked to confirm that you want to remove the font. Any documents that you've created with that font will be reverted to a system font.
Method 2 of 2:
Without Admin Access
-
 Download PortableApps Platform. This is a program that lets you "create" a portable program, which will allow you to install fonts without having to have administrator access. This is great for schools or work environments where you can't bother IT every time you want to use a new font.
- You can download Platform from portableapps.com/download.
-
 Start the installation process. Normally, you'd need administrator access to install programs, but you can set Platform to install to your user folder so that you can bypass this restriction.
 -
 Choose "Set a custom location" when prompted for an installation location. Select your desktop, as you don't need administrator access for this personal location. You can also use your "My Documents" folder.
 -
 Open the "PortableApps" folder that's created on your desktop. Open the "PortableApps.com" folder and then the "Data" folder.
 -
 Create a "Fonts" folder in the "Data" folder. There may already be a Fonts folder. If there isn't, right-click and select "New" → "Folder". Name the folder "Fonts".
 -
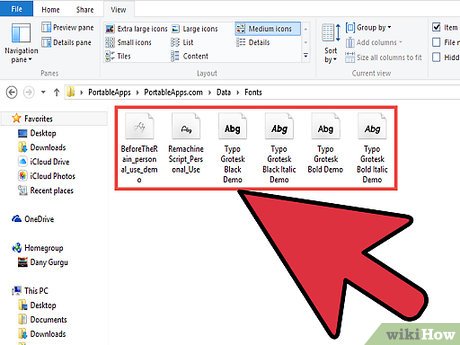 Place all the custom fonts you want to install into the new Fonts folder. You can copy and paste them or click and drag them from your Downloads folder.
- Only download fonts from trusted locations. If you intend to use the fonts for commercial purposes, they must be licensed for free use.
-
 Exit Platform by right-clicking on its icon in the System Tray and selecting "Exit". Restart Platform as soon as it closes.
 -
 Use your new fonts. Your new fonts should now appear in any program that supports new fonts. You can add new fonts to the Fonts folder in the Platform directory whenever you want to add more.[2]