How to Recover Deleted Files in Windows 7
If you accidentally deleted a file or folder on your Windows 7 PC, fret not--you can easily recover it from your Recycle Bin! If, however, you have since emptied your Recycle Bin, you may have to restore a previous version of your file...
Table of Contents
Part 1 of 4:
Recovering from the Recycle Bin
-
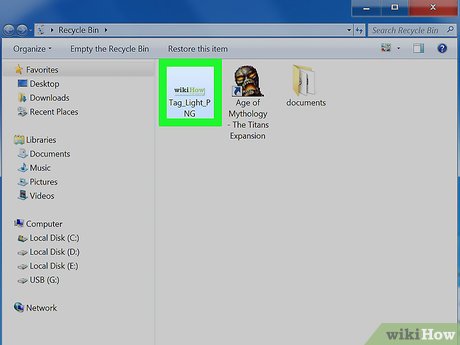
 Double-click "Recycle Bin". This program should be on your desktop.
 -
 Right-click your deleted file.
 -
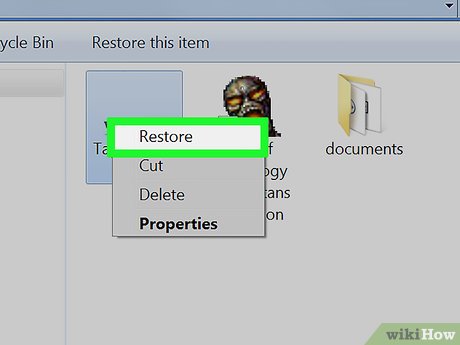 Click Restore.
 -
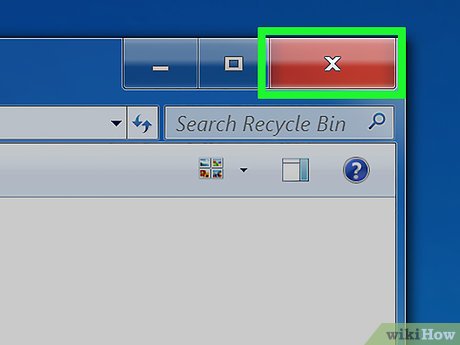 Exit Recycle Bin. Your deleted file should now be on your desktop!
Part 2 of 4:
Restoring Files Using a Backup
-
 Click ⊞ Win. Windows 7 automatically saves versions of your files from previous backups; if you recently deleted your files, you may be able to restore them using a backup.
 -
 Click Control Panel.
 -
 Click System and Maintenance.
 -
 Click Backup and Restore.
 -
 Click Restore my files.
 -
 Click the file(s) you wish to restore. You can search through your backed up files in three ways:[1]
- Click Search to type in a file's name.
- Click Browse for Files to manually click through destination folders.
- Click Browse for Folders to manually search for folders specifically.
-
 Click Next.
 -
 Click a restore destination. You can restore to the original destination (default) or you can click the radio button next to "In the following location" and then browse for a restoration point.
 -
 Click View Restored Files.
 -
 Click Finish. Your files should now be restored!
Part 3 of 4:
Restoring Files from a Previous Version
-
 Double-click "My Computer". If this app isn't on your desktop, click ⊞ Win and then click "My Computer" on the right side of the menu.
 -
 Double-click the file's old location. For example, if it was in the "Music" folder, double-click that.
 -
 Right-click the file's specific location. For example, if the file lived in the "iTunes" subfolder, you would right-click "iTunes".
 -
 Click Restore previous versions.
 -
 Click a restore point.
 -
 Click OK. If you have File History enabled, your file should restore to your desktop![2]
Part 4 of 4:
Using the Recuva App
-
 Open the Recuva website. Recuva is a free app that scans your hard drive for deleted files; since files don't actually disappear completely from your drive when you delete them, there's a chance you'll be able to recover the file.
 -
 Click Free Download.
 -
 Click a download link.
 -
 Wait for your download to finish. In the meantime, make sure you have the file's download destination folder (e.g., your desktop) open.
 -
 Double-click the Recuva setup. If prompted, you will have to confirm that you want to allow Recuva to access your computer.
 -
 Click "No thanks, I don't need CCleaner".
 -
 Click Install.
 -
 Click Run Recuva. If you don't want to view the release notes, you can click the checkbox next to "View Release Notes" below the Install button.
 -
 Click Next.
 -
 Select a file type. If you aren't sure which type of document you need, click the radio button next to "All Files".
- An All Files scan will take a long time to complete.
-
 Click Next.
 -
 Select a file location. If you don't know where to start, click the radio button next to "I'm not sure".
 -
 Click Next.
 -
 Click "Start". If this is your second scan with Recuva, also click the box next to "Enable Deep Scan".
 -
 Click the boxes next to files you wish to recover.
 -
 Click Recover.
 -
 Click a restore point. For example, you might click "Desktop".
 -
 Click OK. Your file(s) will begin restoring!
Was this article helpful?
Your feedback helps us improve.
Related Articles
 How to Recover Files Deleted by Windows Defender2 minutes read
 How to recover deleted files on Linux8 minutes read
 How to use Foremost to recover deleted files in Linux5 minutes read
 How to recover deleted data or Secure format10 minutes read
 How to Recover Accidentally Deleted Files in OS X6 minutes read
 How to recover deleted files from the Recycle Bin4 minutes read
Reader Comments 0
Sign in with email or Google to join the discussion.