How to Install a Screensaver File in Windows
Screensavers not only protect your computer screen from damage, but also complete your computer's theme and simply look cool. Most users have one of the default Windows screensavers set, but these can become boring over time. Many....
Part 1 of 3:
Installing the Screensaver
-
 Download the screensaver, which should be in the scr file format.
 -
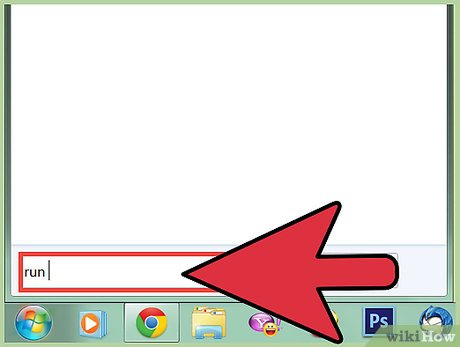 Open the Run dialog. Press the ⊞ Win + R keys simultaneously.
 -
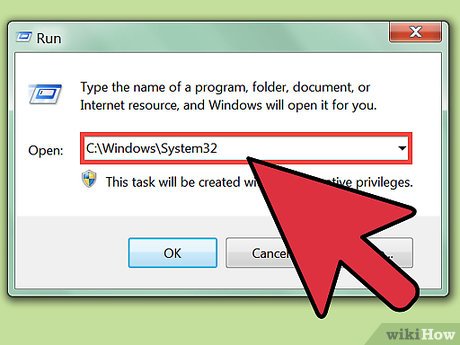 Type C:WindowsSystem32 into the Run dialog.
 -
 Open the System32 system folder. In the Run dialog, click OK.
 -
 Install the screensaver file. Drag the scr screensaver file into the System32 window to relocate it into the System32 folder.
 -
 Confirm that you want to move the file.
Part 2 of 3:
Setting the Screensaver
-
 Right click the desktop.
 -
 Click Personalize in the context menu to open your Personalization settings window.
 -
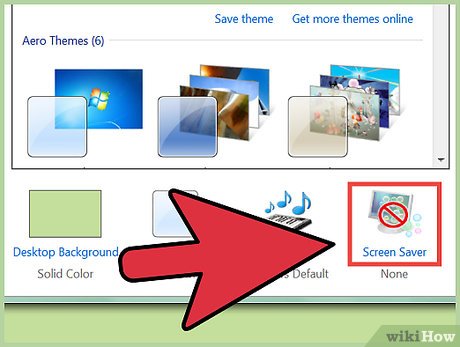 Click Screensaver in the window to open the Screen Saver Settings dialog.
 -
 Expand the combo box in the dialog to display your installed screensavers.
 -
 Select the screensaver you installed.
 -
 Click OK on the Screen Saver Settings Dialog.
Part 3 of 3:
Uninstalling the Screensaver
-
 Open the Run dialog. Press the ⊞ Win + R keys simultaneously.
 -
 Type C:WindowsSystem32 into the Run dialog.
 -
 Open the System32 system folder. In the Run dialog, click OK.
 -
 Locate the screensaver file that you had previously moved into the folder.
 -
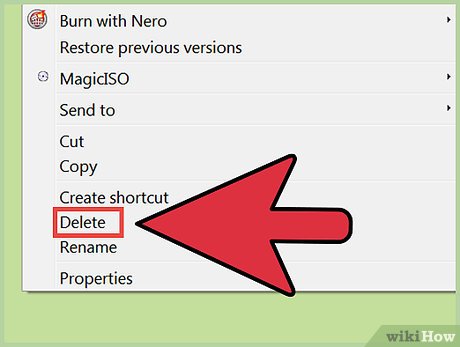 Right click the file and select Delete from the context menu.
 -
 Confirm that you want to delete the file.