How to Disable Windows Login Screensaver
The default Windows login screensaver, while endearing, can quickly drain battery power or prove distracting, giving you plenty of incentive to remove it. Whether you would like to rid your login screen of this quirk entirely or just set a...
Table of Contents
Method 1 of 2:
Disabling the Login Screensaver
-
 Log in to your account. If you share a computer with one user or more, make sure you are using the administrator account; otherwise, you won't be able to make changes to the system settings.
 -
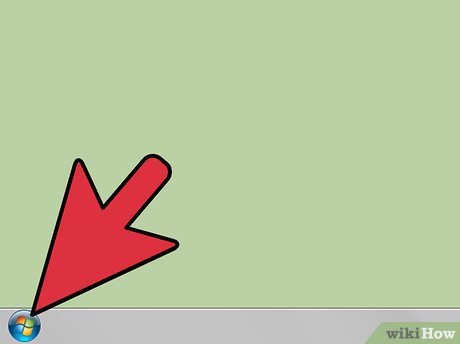 Bring up the Start menu. Find the Start button and click it to bring up the Start menu; the appearance of your Start button will vary depending on your version of Windows, but it should always be in the lower left-hand corner of the screen.
 -
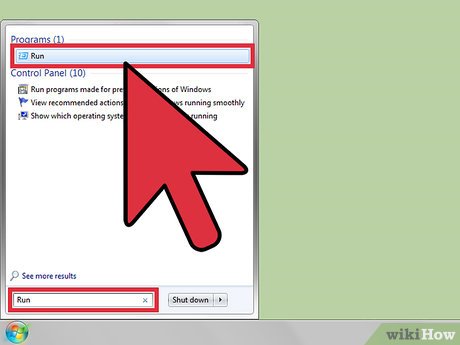 Find Run in your start menu and open it. If Run isn't listed as a default app, type "Run" into the search bar at the bottom of your Start menu. The pertaining app should appear in the search results.
 -
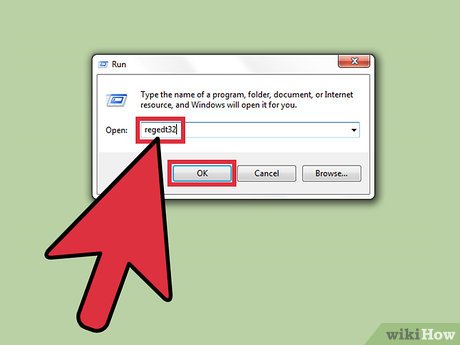
 Bring up the Registry Editor. Type "regedt32" without the quotation marks into Run and click OK to bring up the Registry Editor. This program will allow you to make changes to system processes--in this case, the login screensaver values.
- Your computer may display a warning that reads "Do you want to allow this app to make changes to your PC?" followed by app information for the Registry Editor. If this happens, simply click OK to proceed.
-
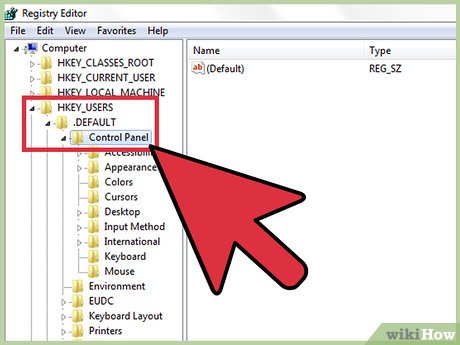
 Locate the "HKEY_USERS" file. You can find this file in the upper left-hand corner of the editor. Click to expand it, then click the folder labeled ".DEFAULT" in the resulting drop-down menu to do the same, followed by "Control Panel". [1]
 -
 Locate and click on the "Desktop" folder to view its contents. Scroll through the right-hand side of the screen to find the value labeled ScreenSaveActive, then double-click it.
- In older versions of Windows, you will have to select a subfolder of "Desktop" labeled "Details" to view the ScreenSaveActive file.
-
 Replace the number 1 with a number 0 in the Value Data box. This will prevent the screensaver from playing after several minutes of inactivity on the Login screen.
- You should also find the ScreenSaveTimeOut value and set it to 0, just to ensure that all of the system files corroborate. [2]
Method 2 of 2:
Changing the Login Screensaver Time Parameters
-
 Log in to your account. If you share a computer with one user or more, make sure you are using the administrator account; otherwise, you won't be able to make changes to the system settings.
 -
 Bring up the Start menu. Find the Start button and click it to bring up the Start menu; the appearance of your Start button will vary depending on your version of Windows, but it should always be in the lower left-hand corner of the screen.
 -
 Find Run in your start menu and open it. If Run isn't listed as a default app, type "Run" into the search bar at the bottom of your Start menu. The pertaining app should appear in the search results.
 -
 Bring up the Registry Editor. Type "regedt32" without the quotation marks into Run and click OK to bring up the Registry Editor. This program will allow you to make changes to system processes--in this case, the login screensaver timeout values.
 -
 Locate the "HKEY_USERS" file. You can find this file in the upper left-hand corner of the editor. Click to expand it, then click the folder labeled ".DEFAULT" in the resulting drop-down menu to do the same, followed by "Control Panel".
 -
 Locate and click on the "Desktop" folder to view its contents. Scroll through the right-hand side of the screen to find the value labeled ScreenSaveTimeOut, then double-click it. [3]
- In older versions of Windows, you will have to select a subfolder of "Desktop" labeled "Details" to view the ScreenSaveTimeOut file.
-
 Replace the current Value data number with your desired number of seconds. Editing this value will determine when the screensaver goes live; for example, changing the default setting of 900 to 1800 will change the time limit from 15 minutes to 30 minutes.
Was this article helpful?
Your feedback helps us improve.
Related Articles
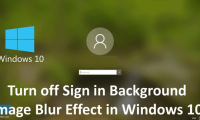 How to disable background log blurring on Windows 107 minutes read
 Top 10 Best Screensaver programs for Windows 105 minutes read
 How to install and use screensavers of 'classic' versions of Windows on Windows 114 minutes read
 How to enable the Login Login hidden on Windows 103 minutes read
 Displays the login information for the last time you log on to a Windows 10 computer3 minutes read
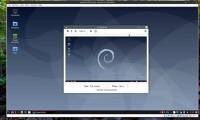 How to enable / disable automatic login in Debian 105 minutes read
Reader Comments 0
Sign in with email or Google to join the discussion.