How to Install a Printer Without an Installation Disc
Use a USB cable on Windows
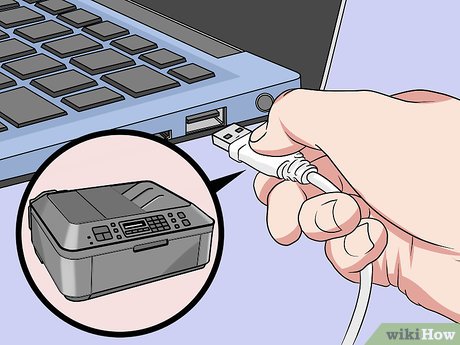
Attach the printer's USB cable to the computer. The cable must be securely attached to one of the USB ports on the side of the laptop or on the front or back of the desktop CPU case.
If your printer doesn't have a USB cable, you'll have to purchase one that fits your printer before continuing. Find a cable by entering the printer model number and the keyword "USB cable" into the search engine. If you can't find a USB cable for your printer, you'll have to install the software manually.
You may also need to attach the non-USB end of the cable to the printer.
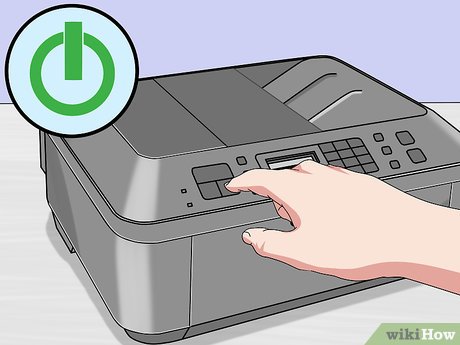
Turn on the printer. Press the printer's power button to turn on the printer. Remember to wait about a minute after this operation before continuing.
If connecting the printer to your computer doesn't start the installation process, you'll need to take the following steps.
In many cases, turning on the printer after connecting it to the computer will initiate the installation process. If so, follow the on-screen instructions until the printer is installed.
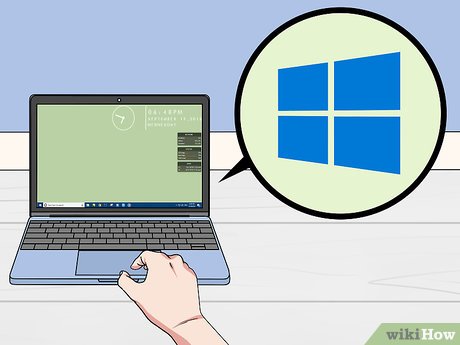
Open Start . Click the Windows icon in the bottom left corner of the screen. The Start menu will display.
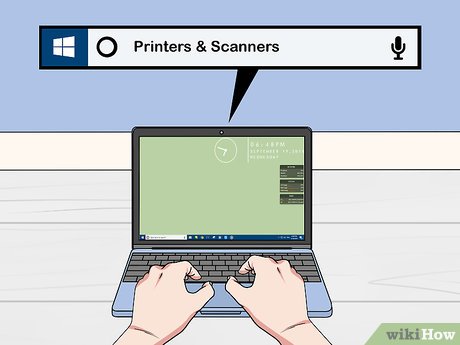
Enter printers & scannersStart. This is to search for the Printers & Scanners section on your computer.
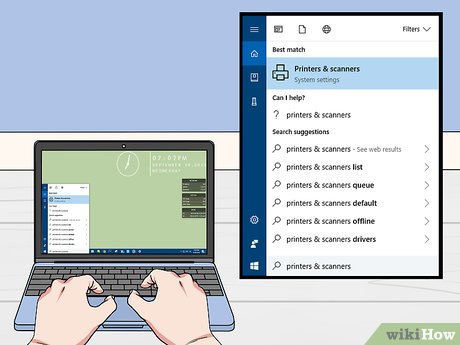
Click Printers & scanners . You'll see this option at the top of the Start window.
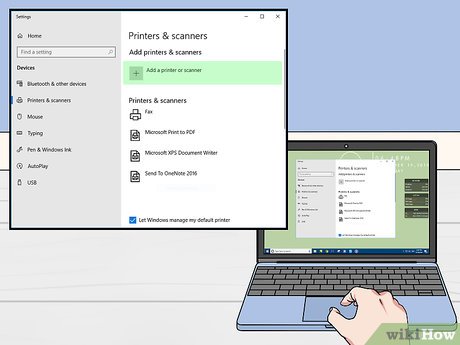
Click Add a printer or scanner . It's the option at the top of the Printers & Scanners window.
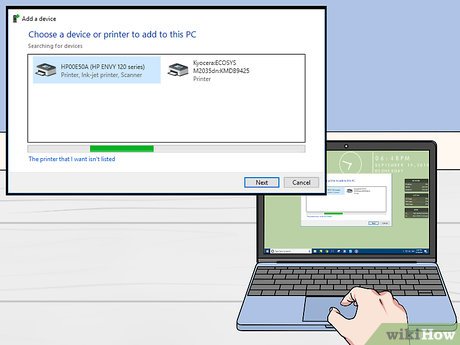
Click the printer's name. You will see this information in the Add a printer or scanner window . This opens the printer settings window.
If the printer's name doesn't appear here, click the printer that I want isn't listed link , then select a search option and execute. follow the instructions on the screen. You may have to download the printer's software before continuing.
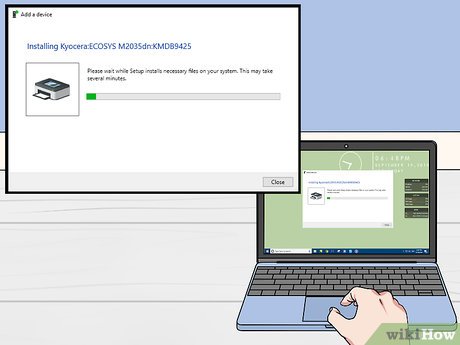
Follow the on-screen installation steps. Each printer will have a different installation process. After the installation is complete, you can use the printer.
Use a USB cable on your Mac
Make sure your printer is compatible with your Mac. Not all printers can operate on Mac operating systems. Before you install a printer on your Mac, find out online whether your printer is compatible with your Mac.
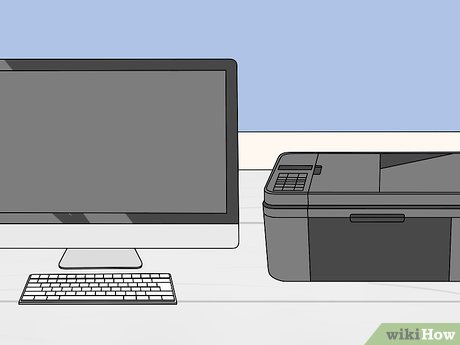
Make sure the printer is located close to the computer. Most printers have a relatively short USB cable that lets you connect the printer and Mac for direct printer-to-computer communication. To use this cable, your printer and computer must be located close to each other.
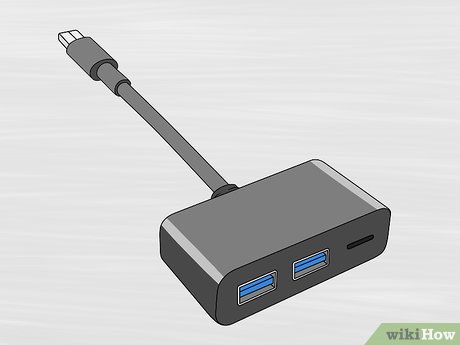
Make sure you have a USB adapter when you need it. Most newer Macs don't have traditional USB ports, only smaller USB-C ports. In this case, you'll need Apple's USB to USB-C adapter so you can connect the USB cable to your Mac.
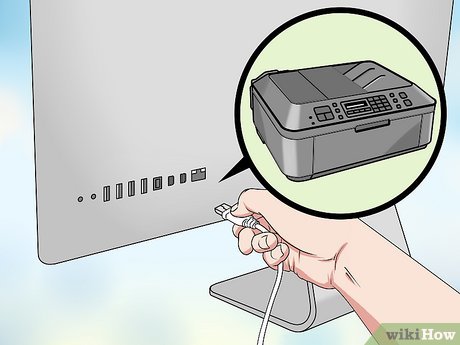
Attach the printer's USB cable to the computer. The cable must be securely attached to one of the USB ports on the side of the laptop or on the back of the iMac desktop display.
If you need an adapter, attach the adapter to the USB-C port first, then attach the cable to the USB adapter.
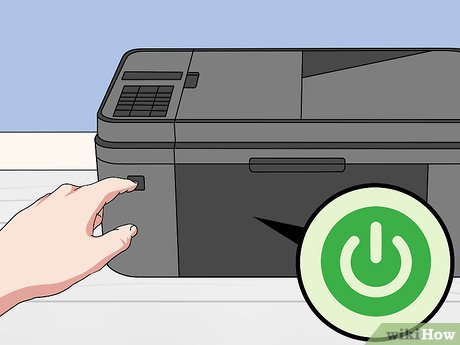
Turn on the printer. Press the printer's power button to turn on the printer.
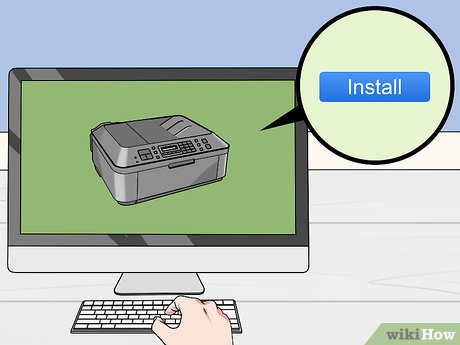
Click Install when asked. Your Mac will automatically search for your printer and determine if an update is necessary; If you have a printer installed on your Mac, you'll get a request to update.
Follow the instructions on the screen. You need to follow the steps in the printer setup process to install the latest software and drivers on your Mac. When the installation is complete, you can use the printer.
Download software
Refer to the printer's user manual. The user manual will have specific instructions on how to install the printer without software. In this case, you just need to follow the instructions to find and download the printer's software.

Visit the printer manufacturer's website. For example, you would visit http://www.hp.com/ if you used an HP printer. The following are the websites of popular printer manufacturers:
Canon - https://www.usa.canon.com/internet/portal/us/home/support
Epson - https://epson.com/
Brother - http://www.brother-usa.com/printer/

Click the Printers tab . Each manufacturer's website will have a different interface; You'll probably find this option in the menu at the top of the page.
If you see a search bar at the top of the web page, enter your printer's model number there and skip to the next step.
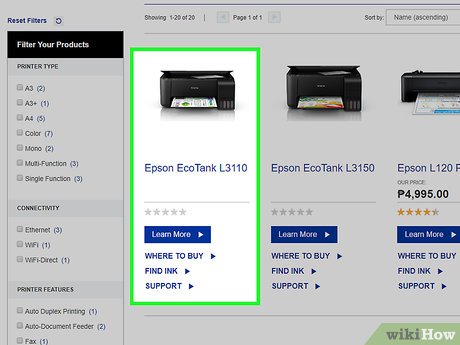
Search for your printer type. You can drag the scroll bar to see the printer models listed on the website, or enter the printer model number in the search bar if possible.
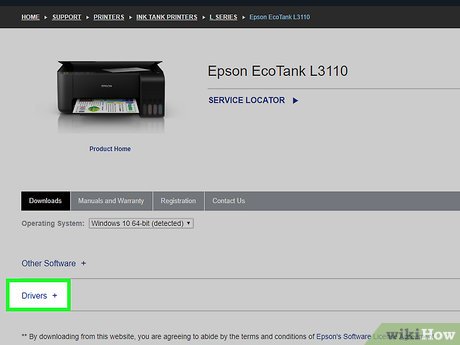
Find the "Software" download link. You will have to re-enter the printer's model number into the search bar to find the appropriate software here.
Some websites place the Download Software link in very small font size at the bottom of the page.
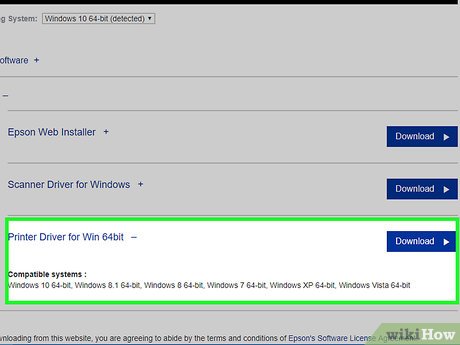
Click the download link to download the printer software. This is the process of downloading the software to your computer.
Wait for the printer software download to complete. This process can take from a few seconds to a few minutes.
Please select the folder to save the file first if you are asked.
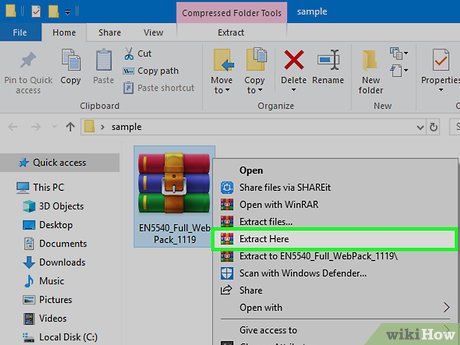
Unzip the folder containing the software if you use Windows. You just need to double-click the folder, double-click the installation file, select OK when asked, select the folder and click Extract Here. to extract the folder.
Mac users just need to double-click to open the folder.
Skip this step if the software is downloaded as an unzipped installation file.
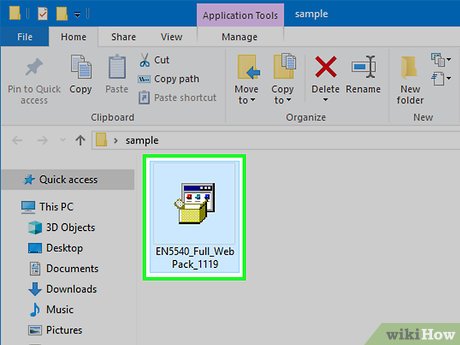
Double-click the software installation file. On a Windows computer, you will first have to open the newly extracted folder and double-click the EXE file in it. Mac users just need to double-click the installation file (usually a DMG file) to open it.
If your Mac uses MacOS Sierra, you'll need to verify the software before continuing.
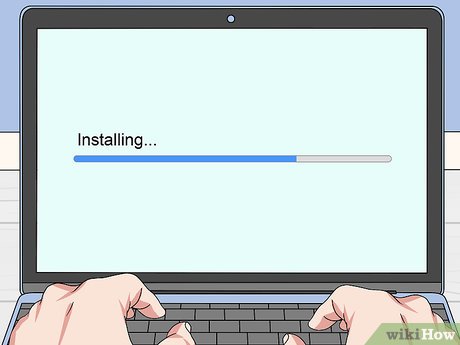
Follow the instructions on the screen. What you see after double-clicking the software installation file will vary depending on the operating system and printer in use; So, you just need to follow the on-screen instructions until the installation is complete.
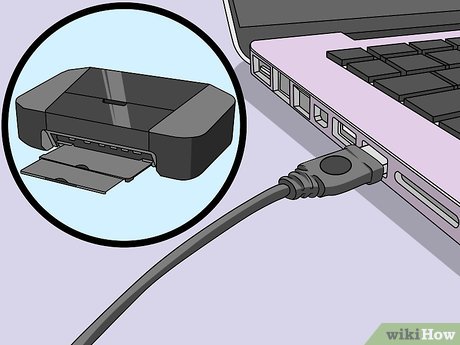
Connect to the printer. If your printer has a USB cable, try connecting the printer to your computer to see if the computer recognizes the printer. If the printer only has a Wi-Fi connection, you need to make sure the printer and computer are both connected to the network. Now you can use the printer.
You should read it
- Inkjet (inkjet) and laser printers: Which type is right for you?
- How to fix offline errors of printers on Windows 10
- How to add a printer on Windows 11
- The printer has ink smudges - Causes and ways to fix the printer ink smudge error
- Select the location of the printer in the office
- How to fix Windows errors not connected to the printer
 How to Set Up a Canon Wireless Printer
 How to Set Up a Shared Printer on a Network
 How to Install a New Processor
 How to Format a Flash Drive
 How to Format a DVD–RW Disc
 How to Clean a Computer/LCD Screen